What’s up, everyone!
Recently Microsoft announced new preview features for Windows 365 Boot. I thought it was a good idea to have a look at these new features and find out how they enhance the user experience. In this post I will start with the configuration steps on how to configure Windows 365 Boot with these preview options and follow up with a post on the user experience.
But before we start, let’s have a quick look at the newly announced features:
- Manage local PC settings through Windows 365 Boot: this is a great addition. Users have the ability to sign into their Cloud PC from a Windows 365 Boot device and configure local PC settings from the Cloud PC. Just think about multiple displays etc.
- Windows 365 Boot sign-in page customization: IT admins can now select an image that is displayed at the Windows 365 Boot sign-in page.
- Windows 365 Boot devices mode (shared and dedicated): IT admins can now configure a Windows 365 Boot device for shared use or to be used by one user.
Configuring Windows 365 Boot with the public preview features
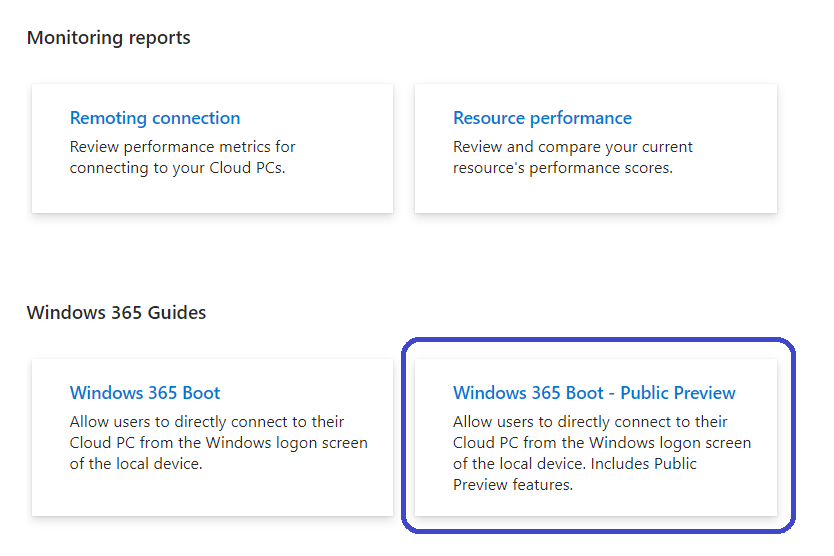
Setting up Windows 365 Boot is done via something that’s called a Windows 365 configuration guide. There’s one for Windows 365 Boot (as we know it) and now we have a second one that makes use of the new features, that one is called Windows 365 Boot – Public Preview.
Just like the Windows 365 Boot guide, the new Windows 365 Boot – Public Preview guide will guide you through a couple of configuration steps to configure your tenant. To start the new guide, sign into the Microsoft Intune admin center, Devices, Windows 365, click the Windows 365 Boot – Public Preview guide.
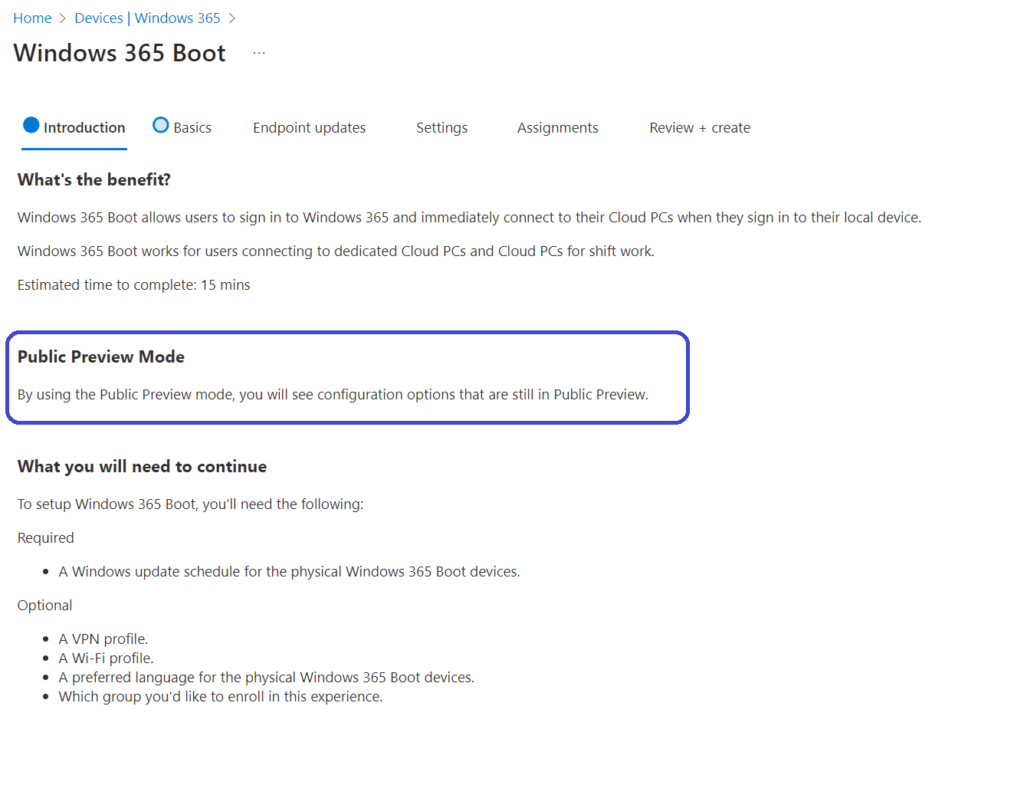
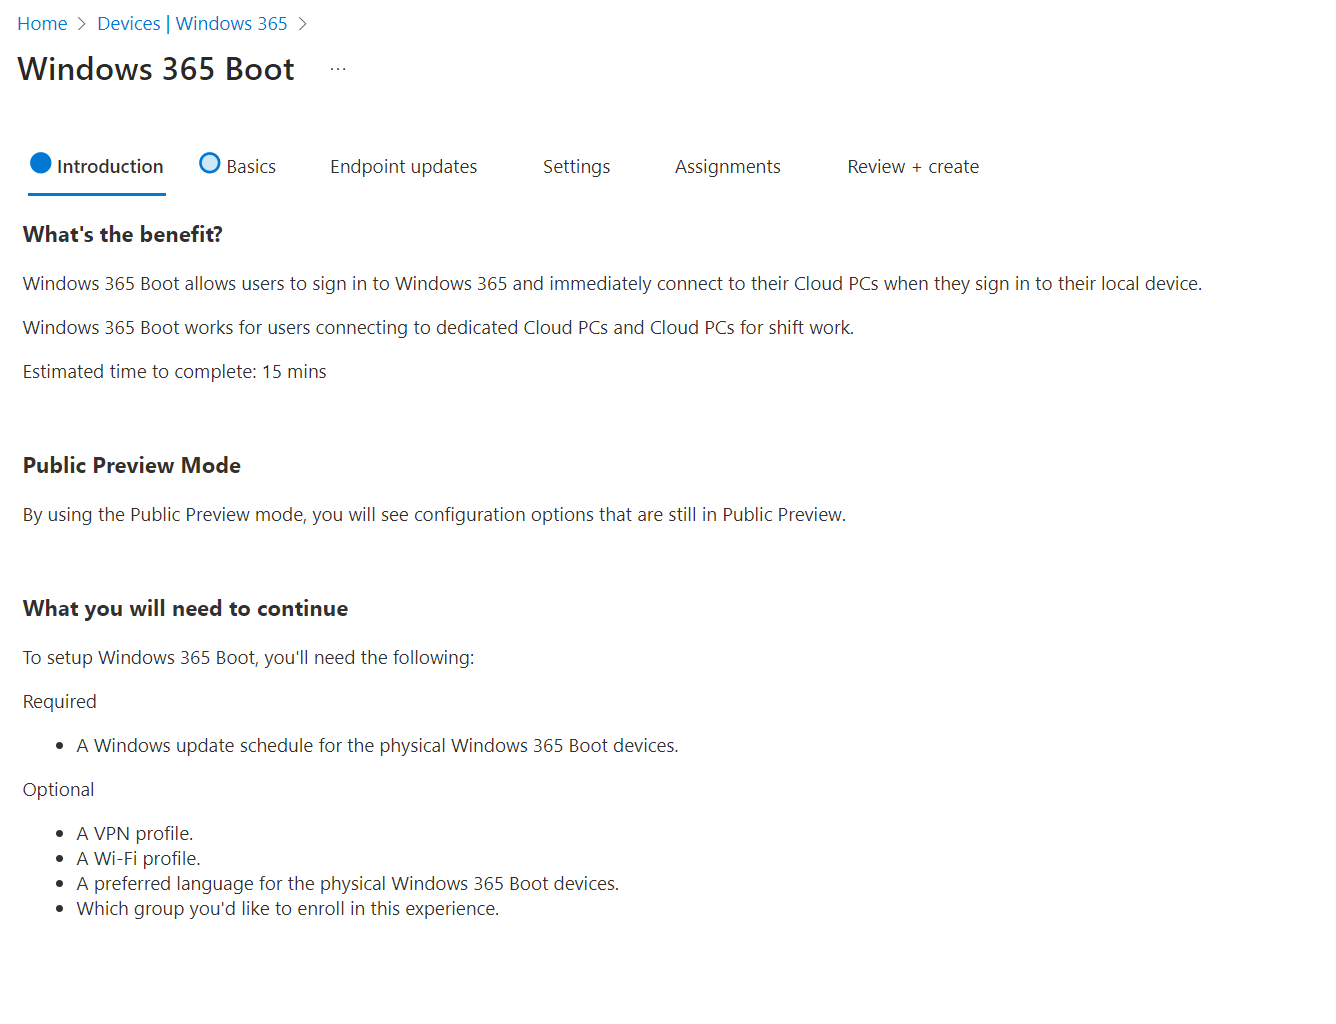
The first step gives IT admins a bit of information, especially about using the Public Preview mode.
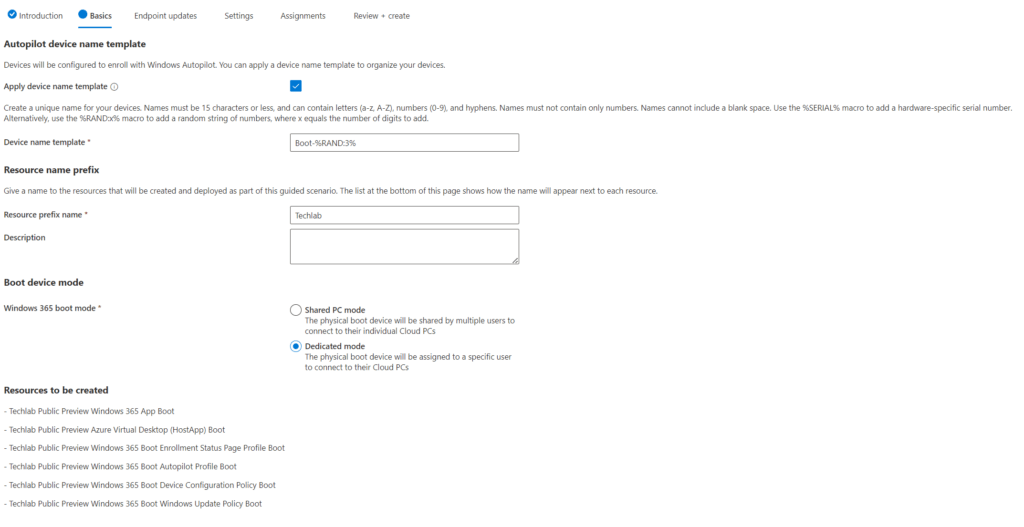
The second step is named Basics. Here IT admins:
- can apply a device name template to provide a custom name for endpoints that are deployed as a Boot device.
- define a resource prefix name (each resource that is created will start with this name)
- optionally a description
- choose between shared pc mode and dedicated mode
- get an view an overview of the resources that will be created
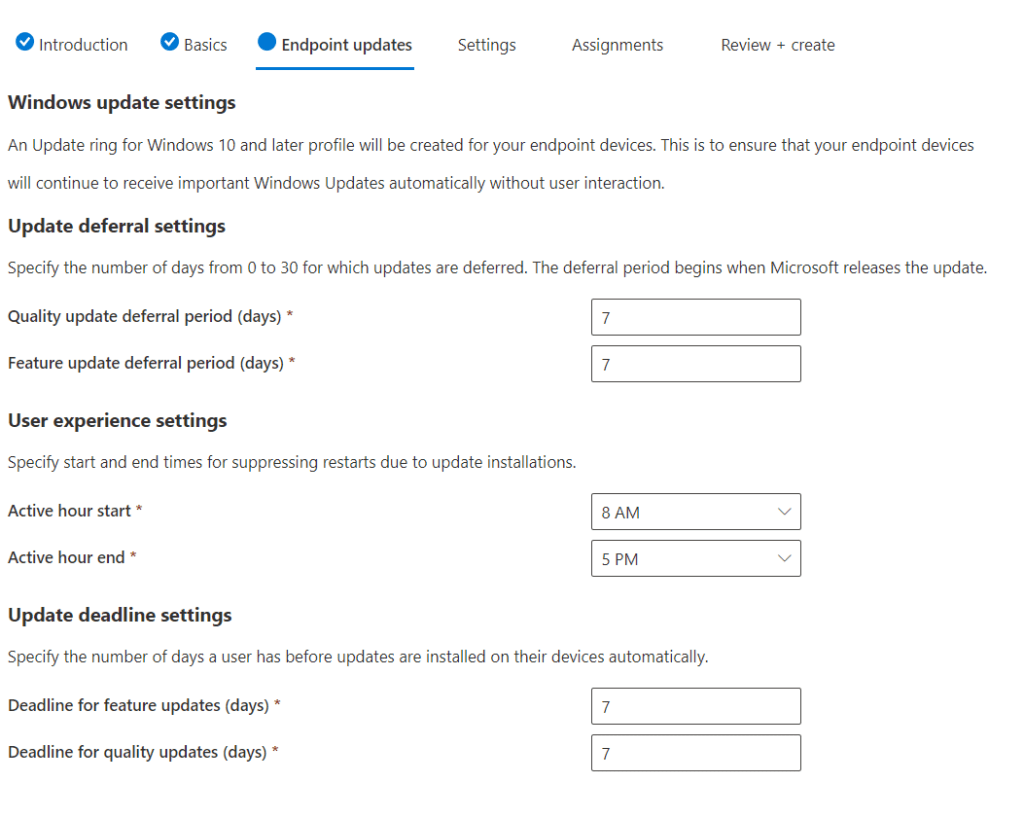
The next step is all about configuring updates for the endpoint. The following screenshot shows the default values:
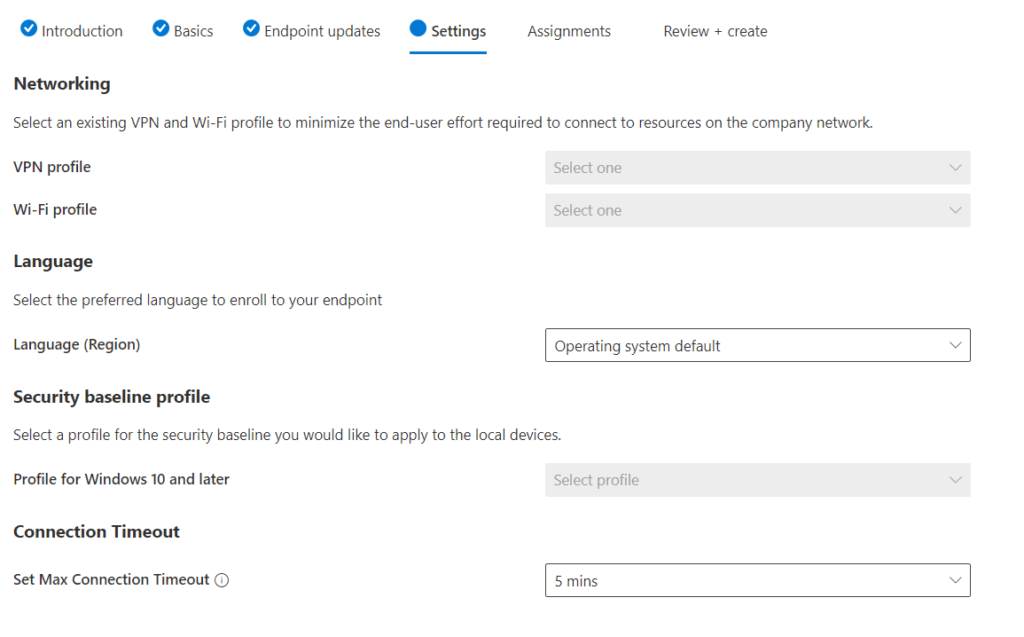
The Settings step allows IT admins to:
- select a VPN and Wi-Fi profile if they have been configured earlier
- Select the language
- Select a security baseline profile
- Define a connection time out
Once all of the settings have been properly configured, all that’s left to do is to assign this profile to a group. This could be an Entra ID group that already exists or just create a new one.
Should you choose to use a group that already exist, make sure that this group is not used for anything else.
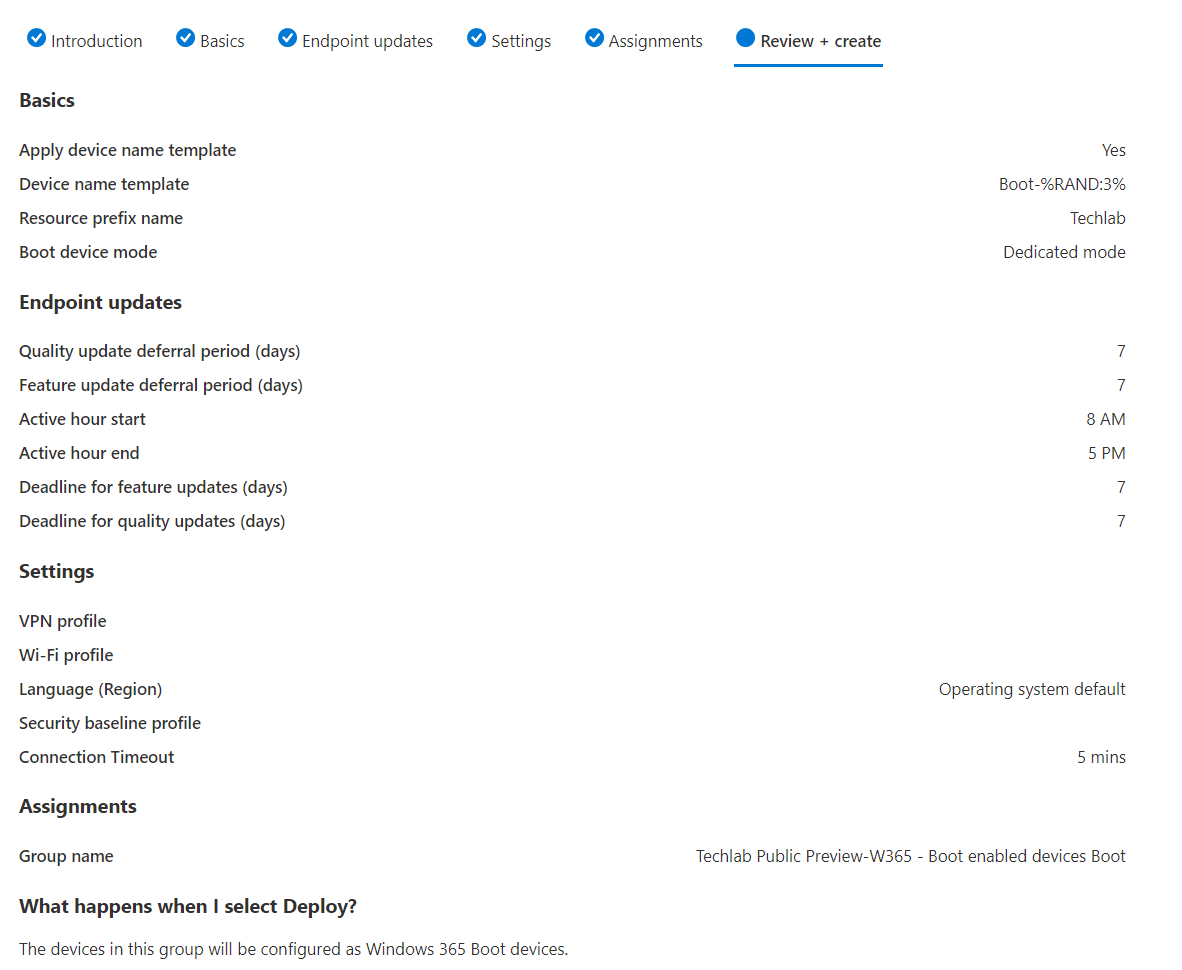
All that’s left is to take a moment to admire your awesome work:
But wait, there’s more:
Of course, at this point you need to save or create the policy. Hint: that button you need was alllllllllll the way to the right hand side of the screen:
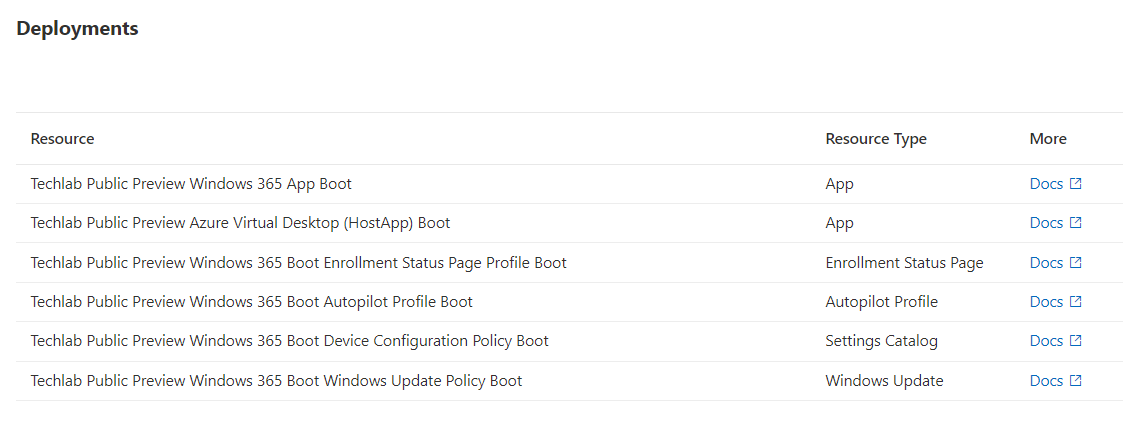
You’ll get a nice confirmation that the required resources are created in Intune:
That’s all there is to configure Windows 365 Boot with the public preview features. Make sure to checkout the next post to view the user experience.
Resources
I used the following resources for this blog:
What’s new in Windows 365 Enterprise | Microsoft Learn
Google for the awesome kitty




One thought on “A first look at the new Windows 365 Boot features”