What’s up, everyone!
Of course this week was all about Microsoft Ignite 2023 which was packed with a lot great announcements by Microsoft. And this week I’ll have a look at one of these announcements, the new Windows app. It’s a unified experience to sign into a variety of different solutions. It will also be made available of a lot of different platforms. Well done Microsoft!
Let’s check it out!
Prerequisites
Here are the prerequisites for Windows:
- Internet access
- An account with a devices or apps assigned to it
- Windows 10/11
You can find the prerequisites for macOS, iOS/iPadOS and a web browser right here.
Currently the Windows app is available for the following platforms;
- Windows 10 / 11
- macOS
- iOS
- iPadOS
- Web browsers
- Coming soon: Android
Introducing a unified experience
Let’s start with the ‘problem’, right? Currently each solution has it’s own supported ways to connect to a desktop or app. Let’s use Windows 365 as an example.
You can use;
- The Windows 365 app
- The webclient (https://windows365.microsoft.com)
- The Remote Desktop app which is designed for AVD
If you compare that to AVD, you have the following options;
- The Remote Desktop app (store app or win32)
- The webclient (https://client.wvd.microsoft.com/arm/webclient)
- and of course the OS specific client for macOS or iOS etc.
Installing the Windows app
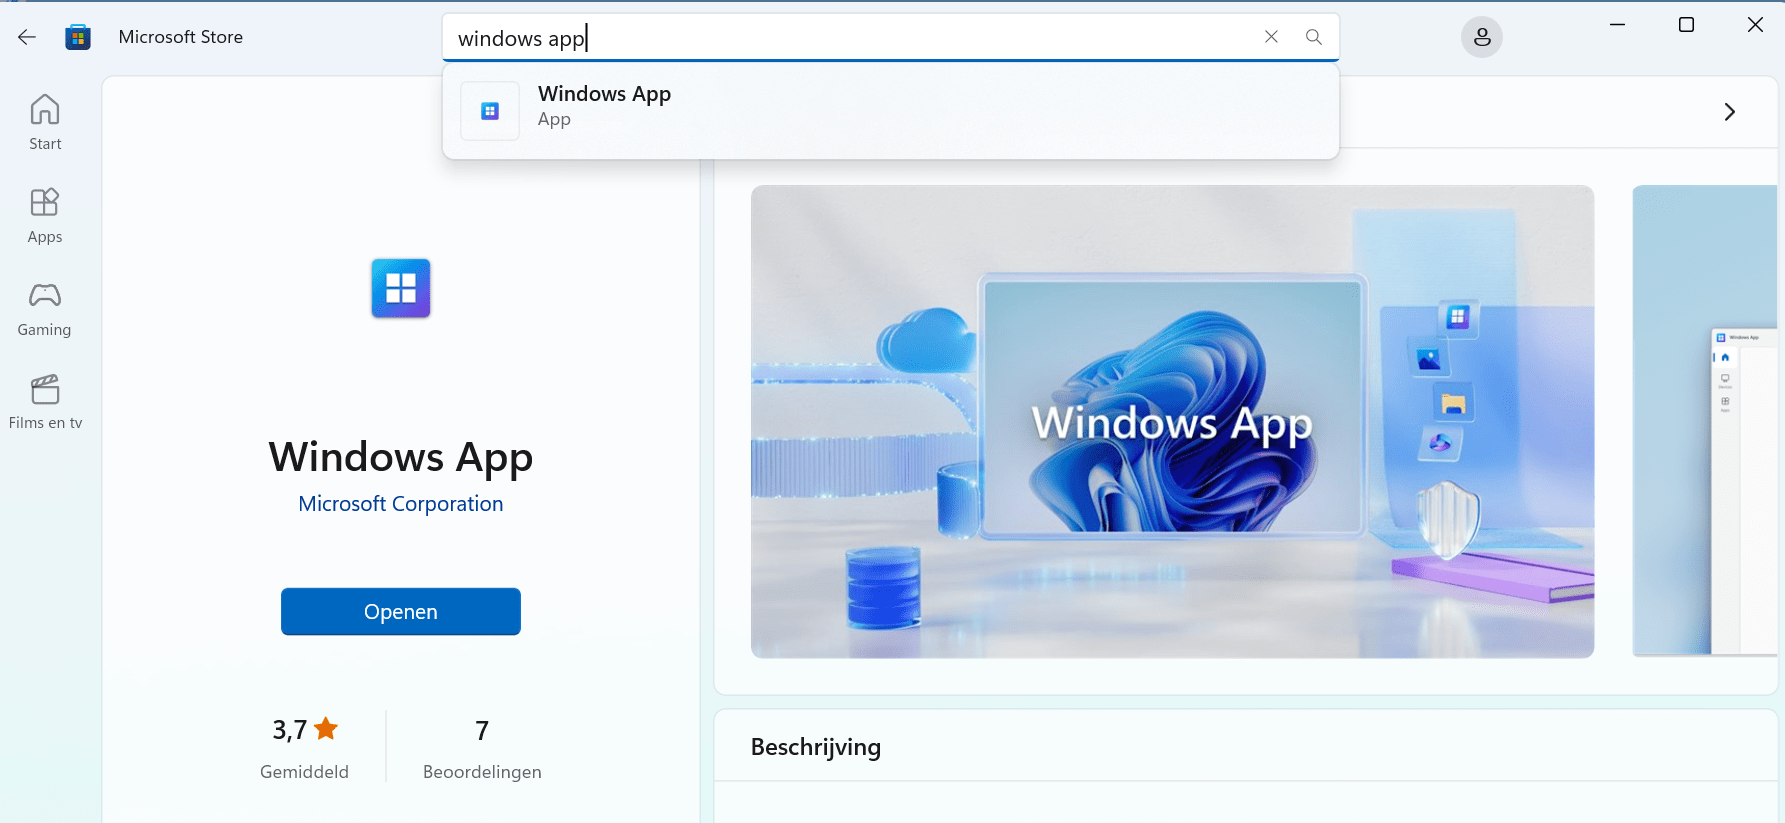
In this demo I will install the app on a Windows 11 system. Open the Microsoft Store and search for Windows app. Another way to get the app is by searching the Microsoft Store on the web.
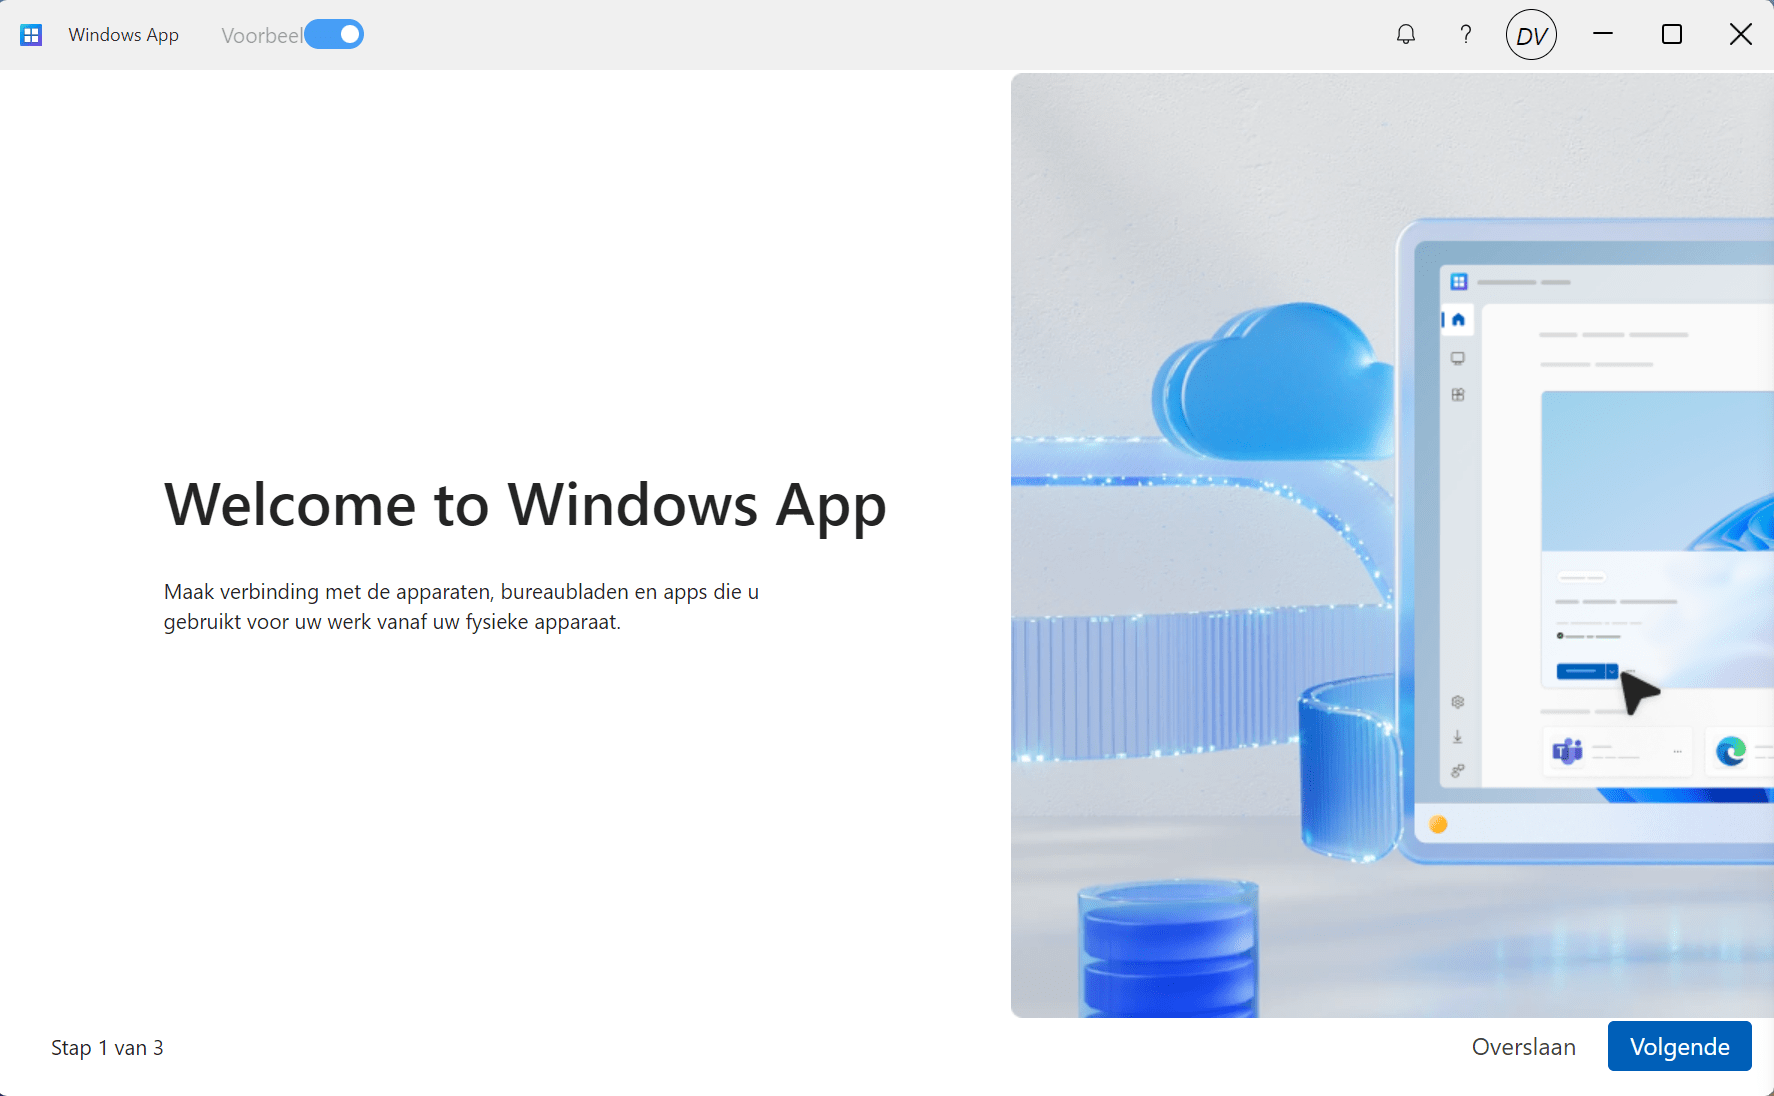
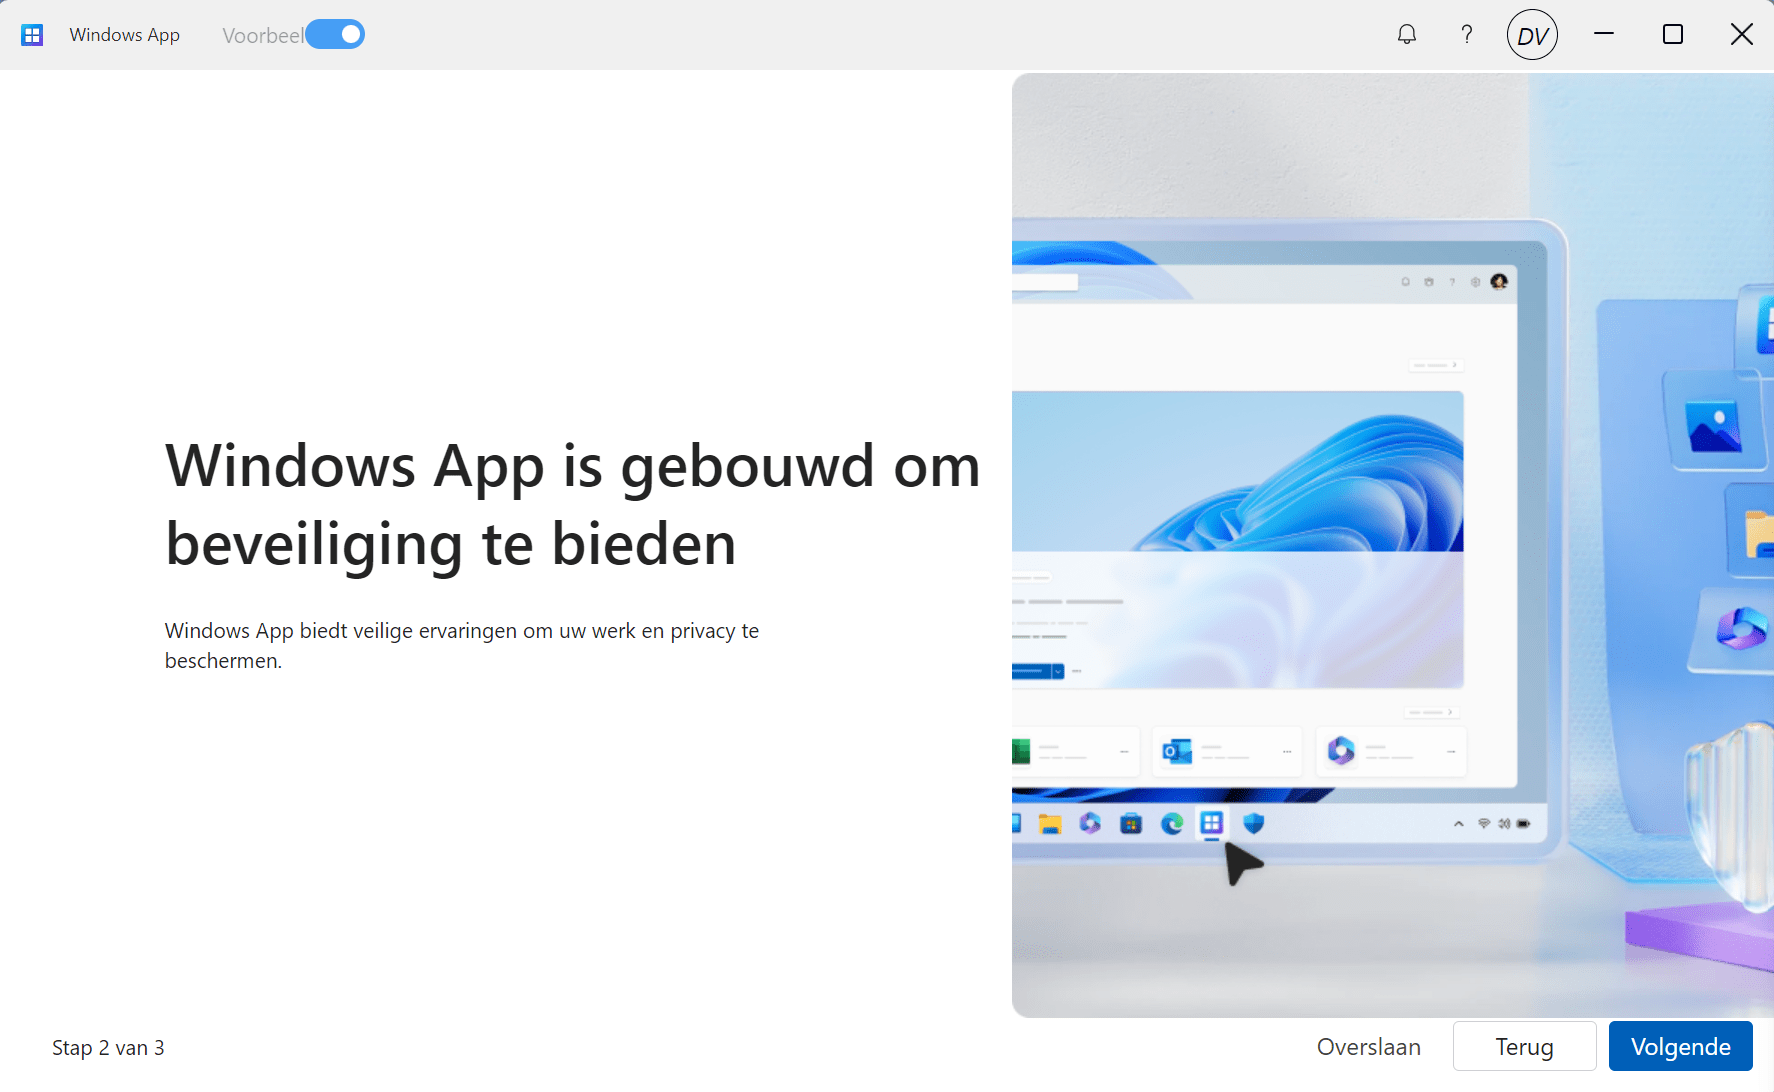
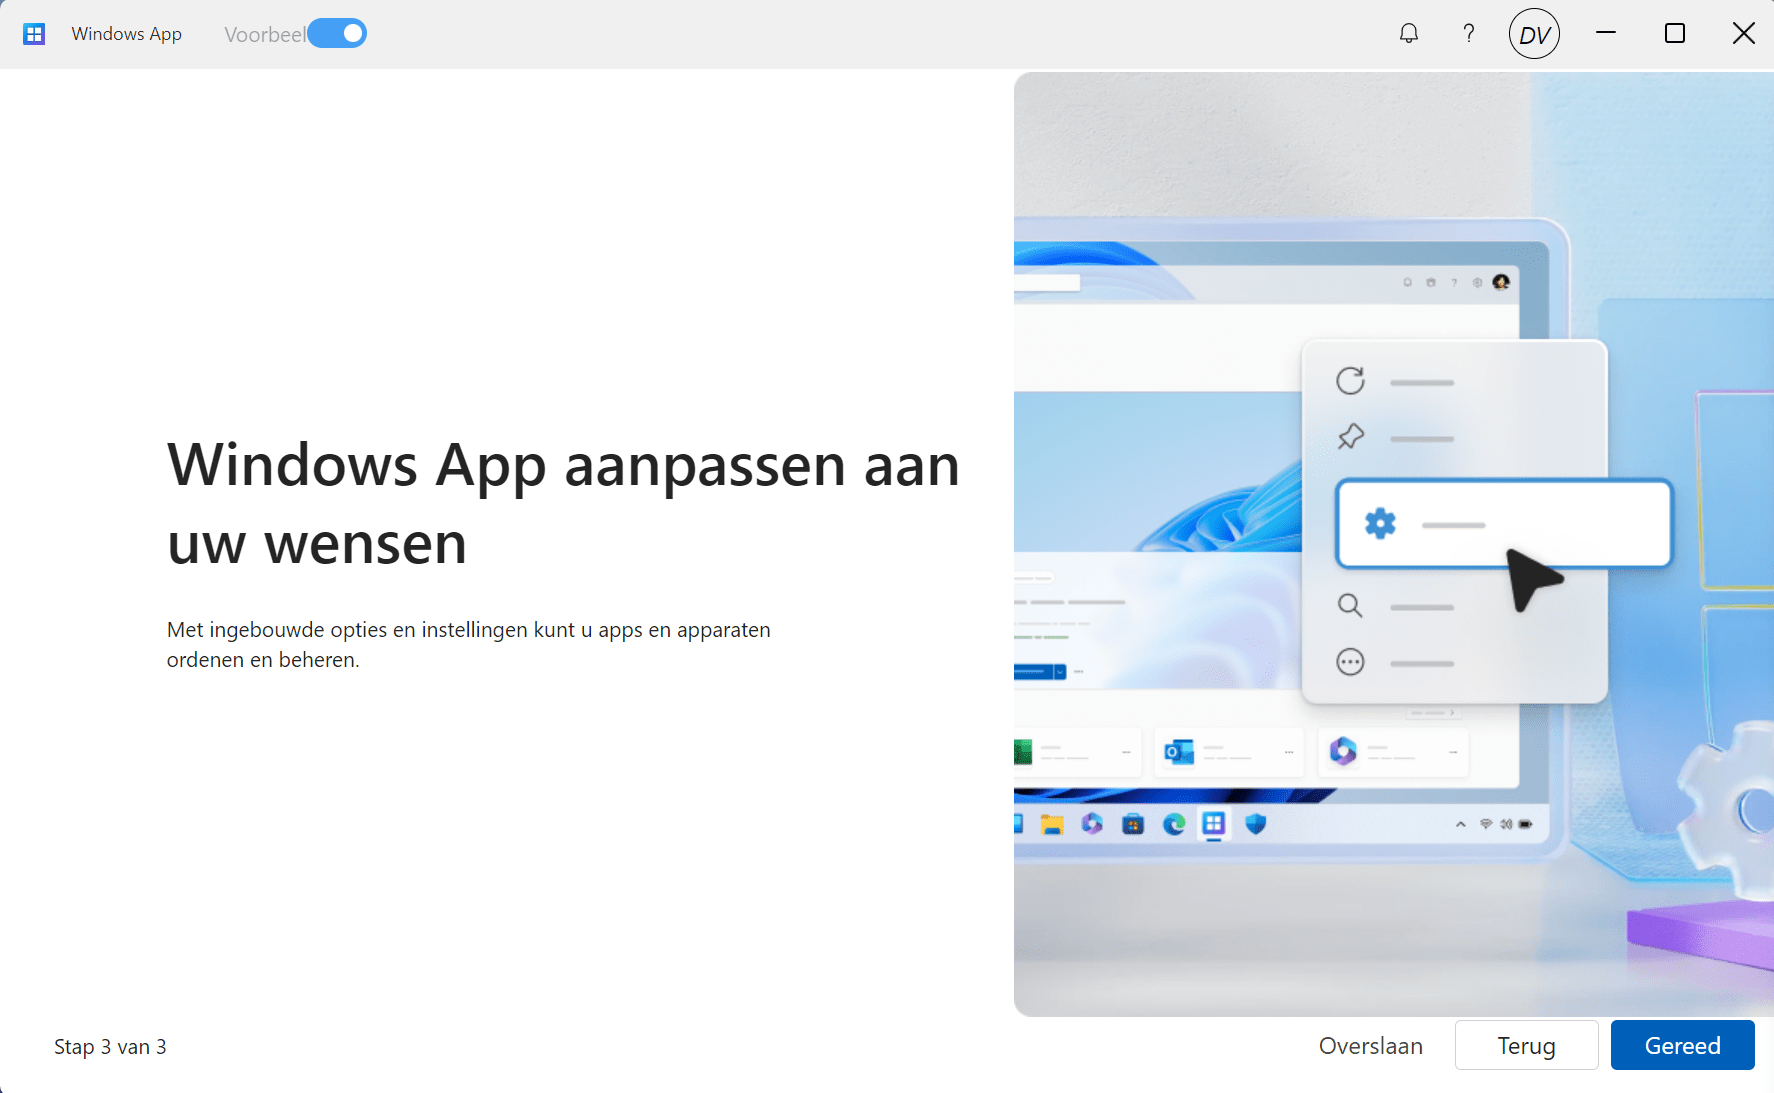
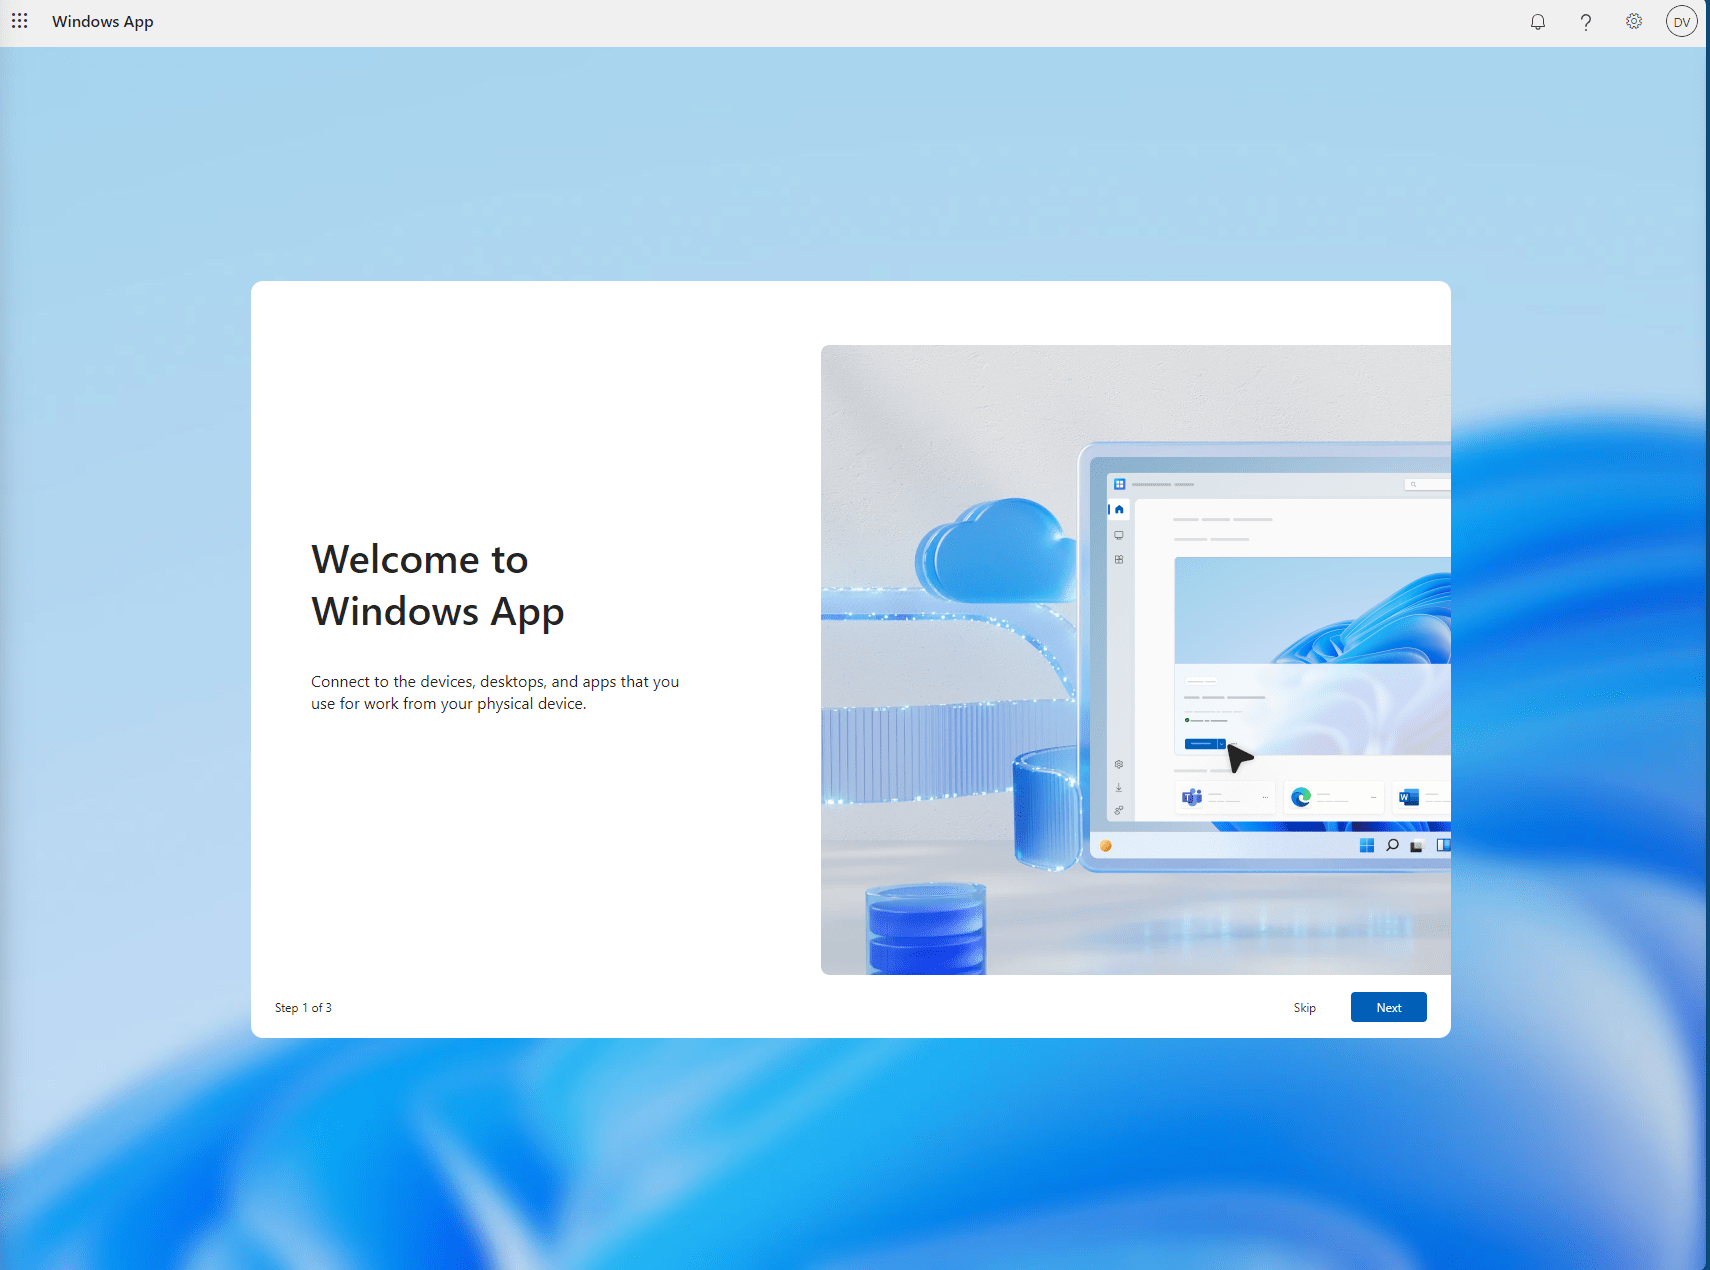
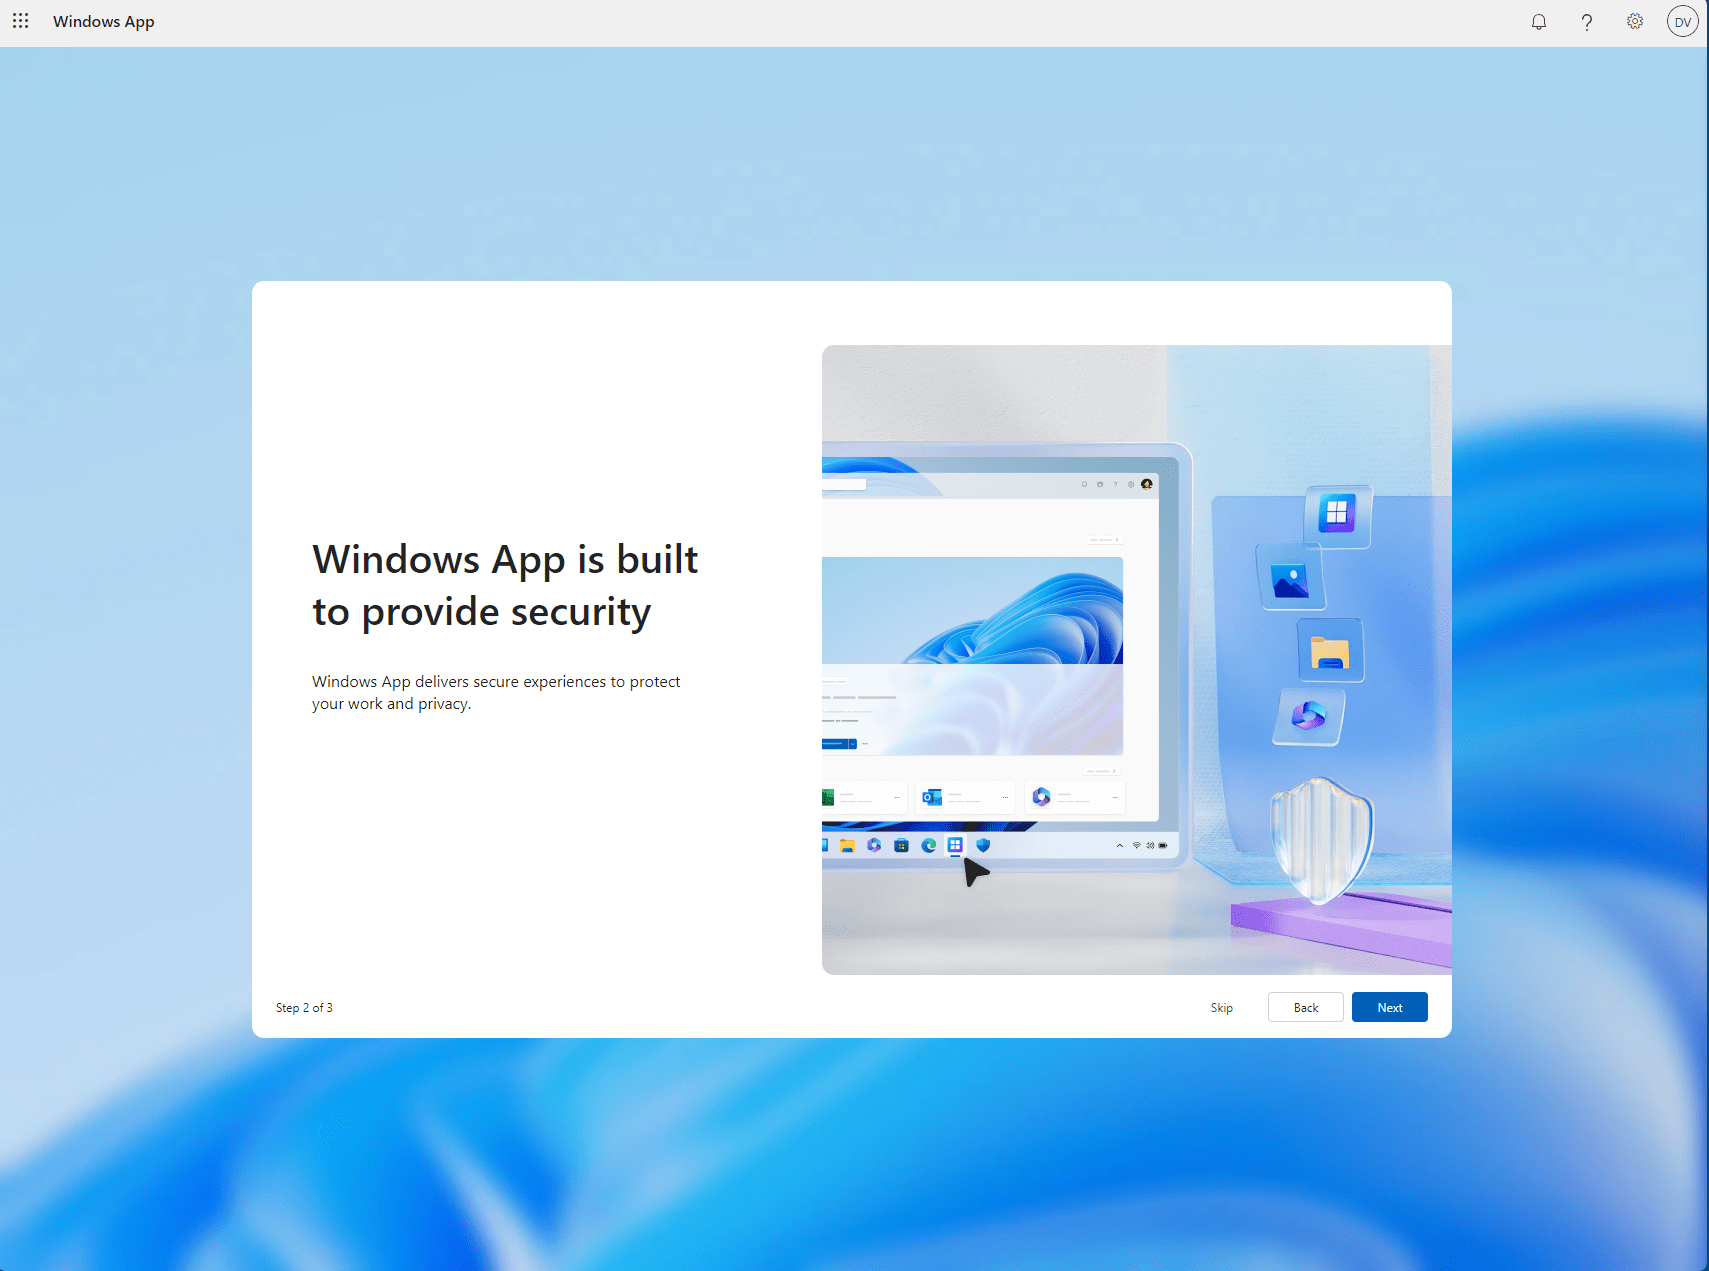
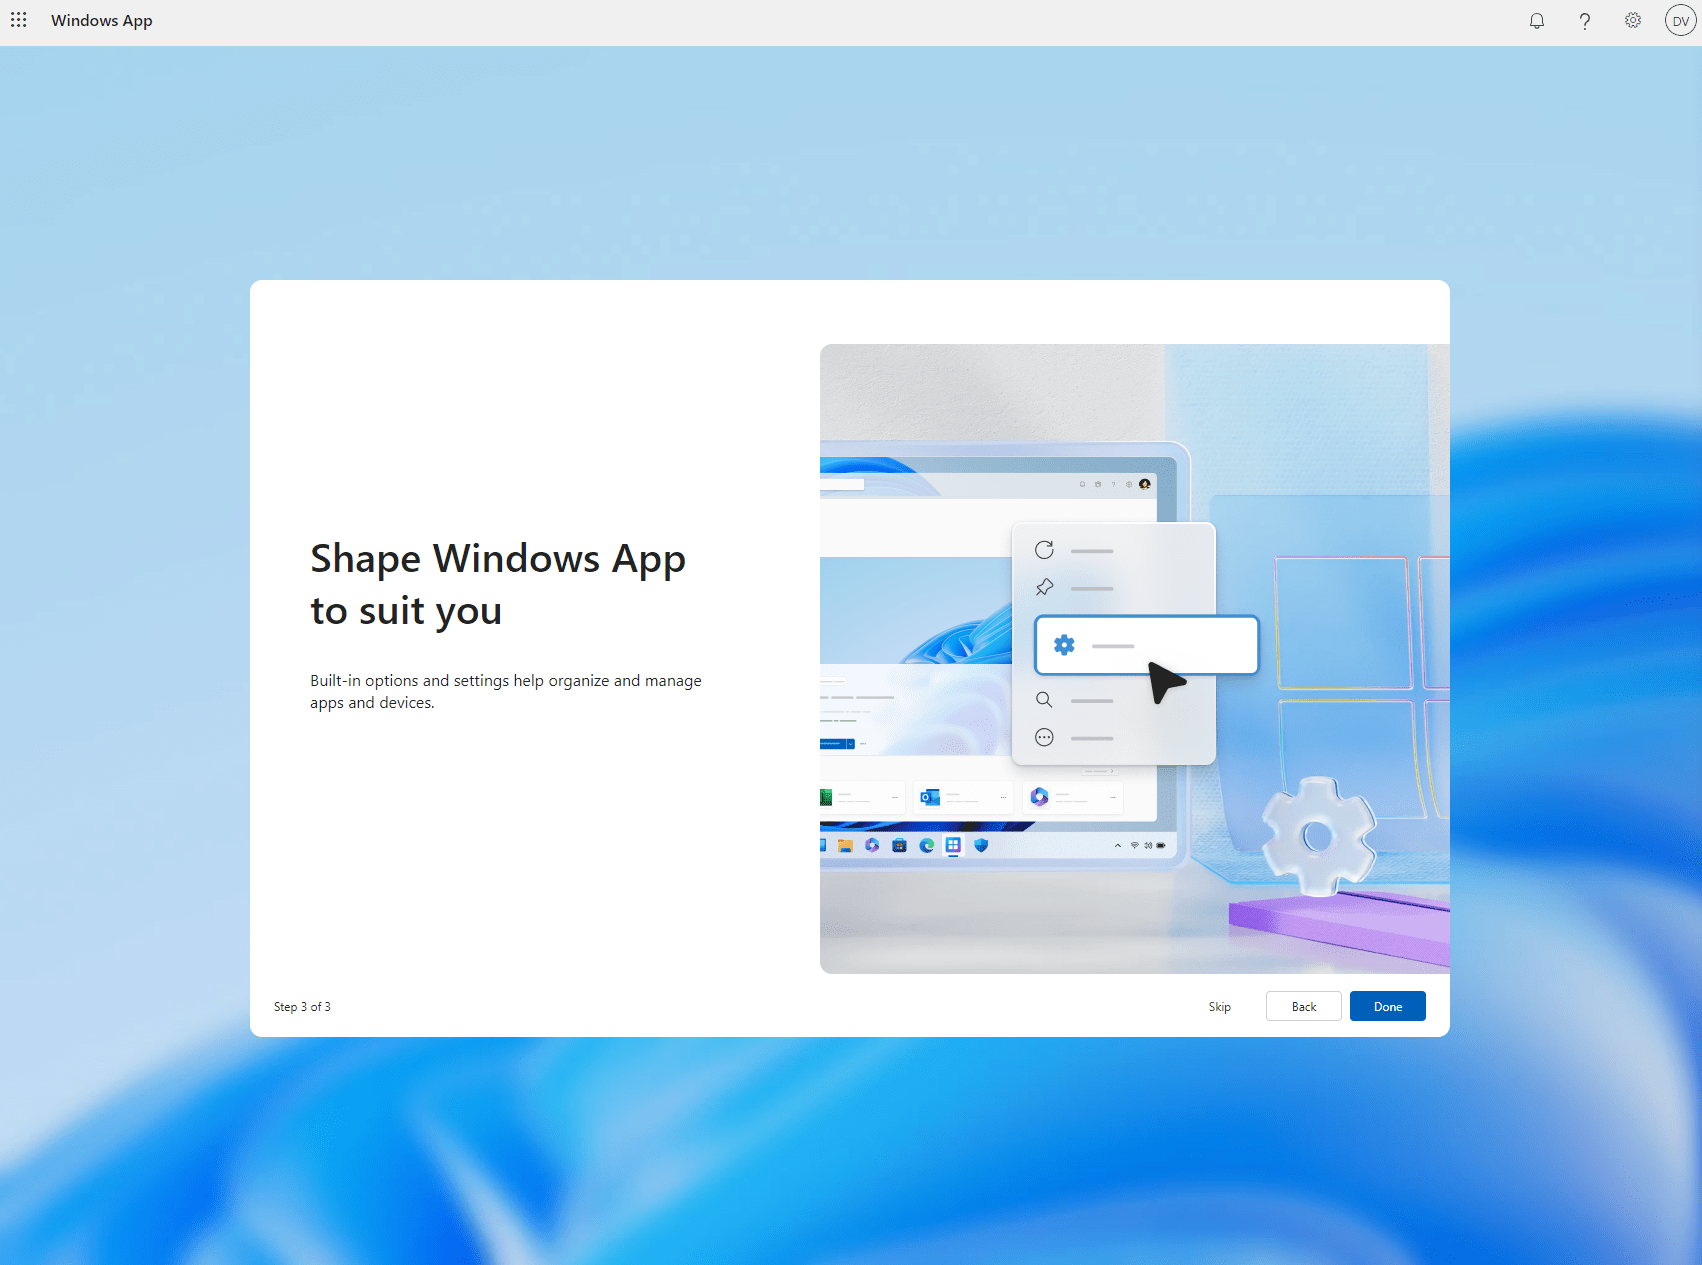
You should be able to find the Windows app in the start menu once it’s installed. Let’s start the app. You will get a nice introduction to the Windows app.
Using the Windows app
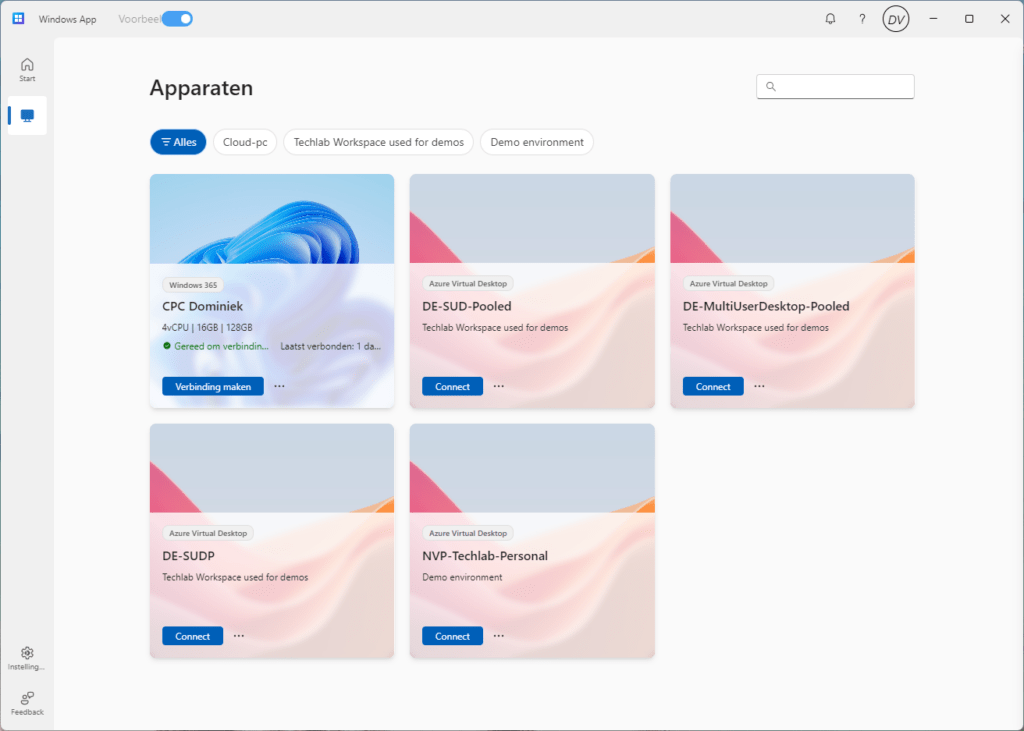
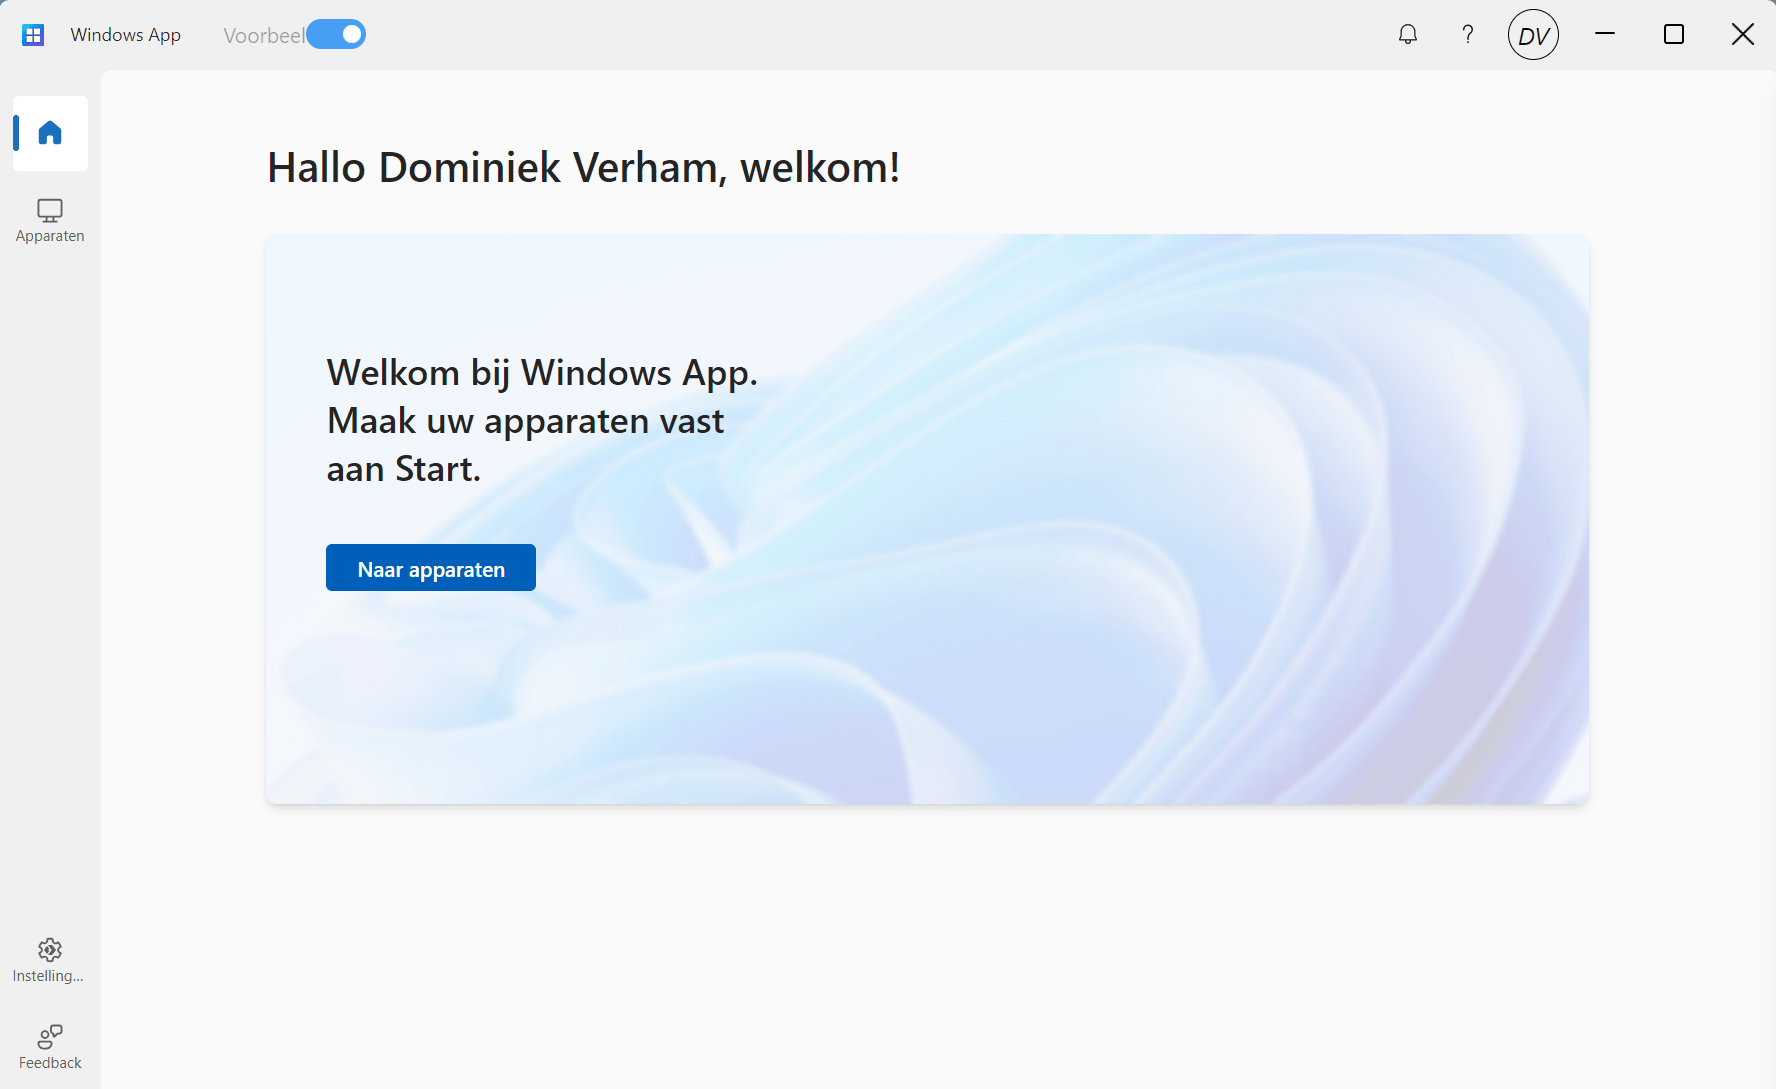
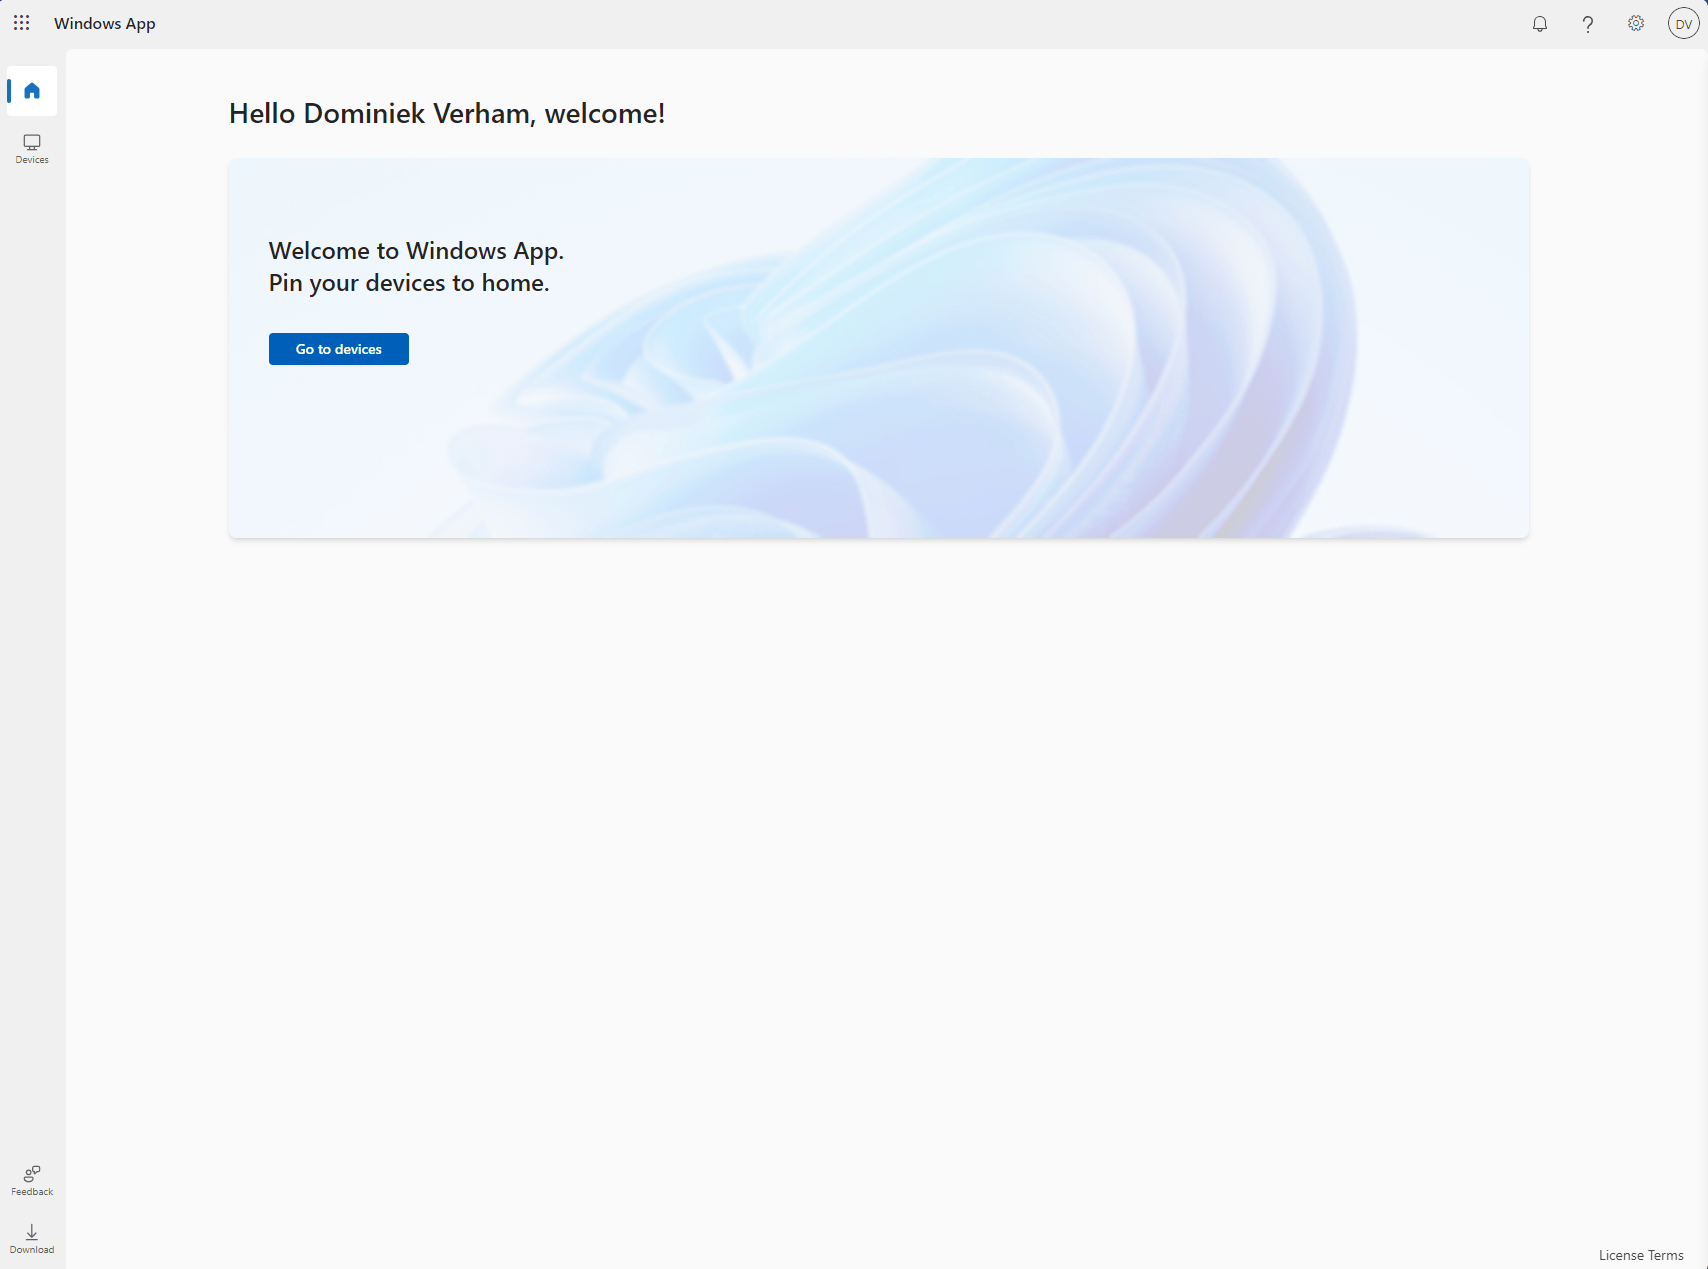
The app has a familiar feel to it. By default it will show you the start screen where you can pin your favorite endpoints.
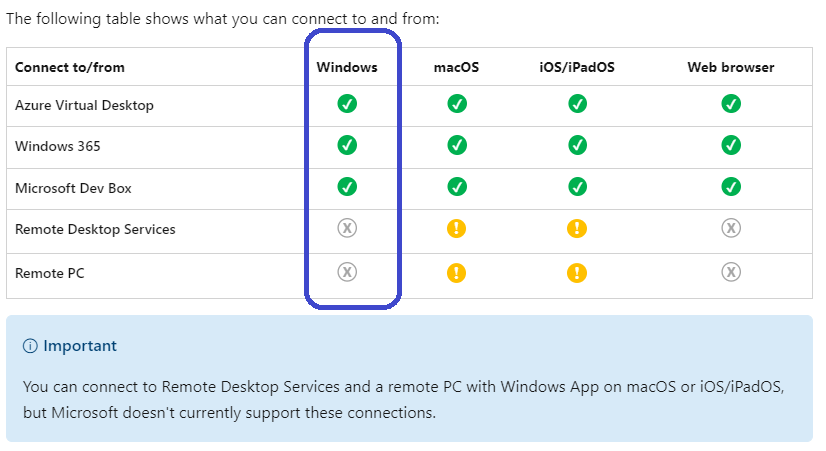
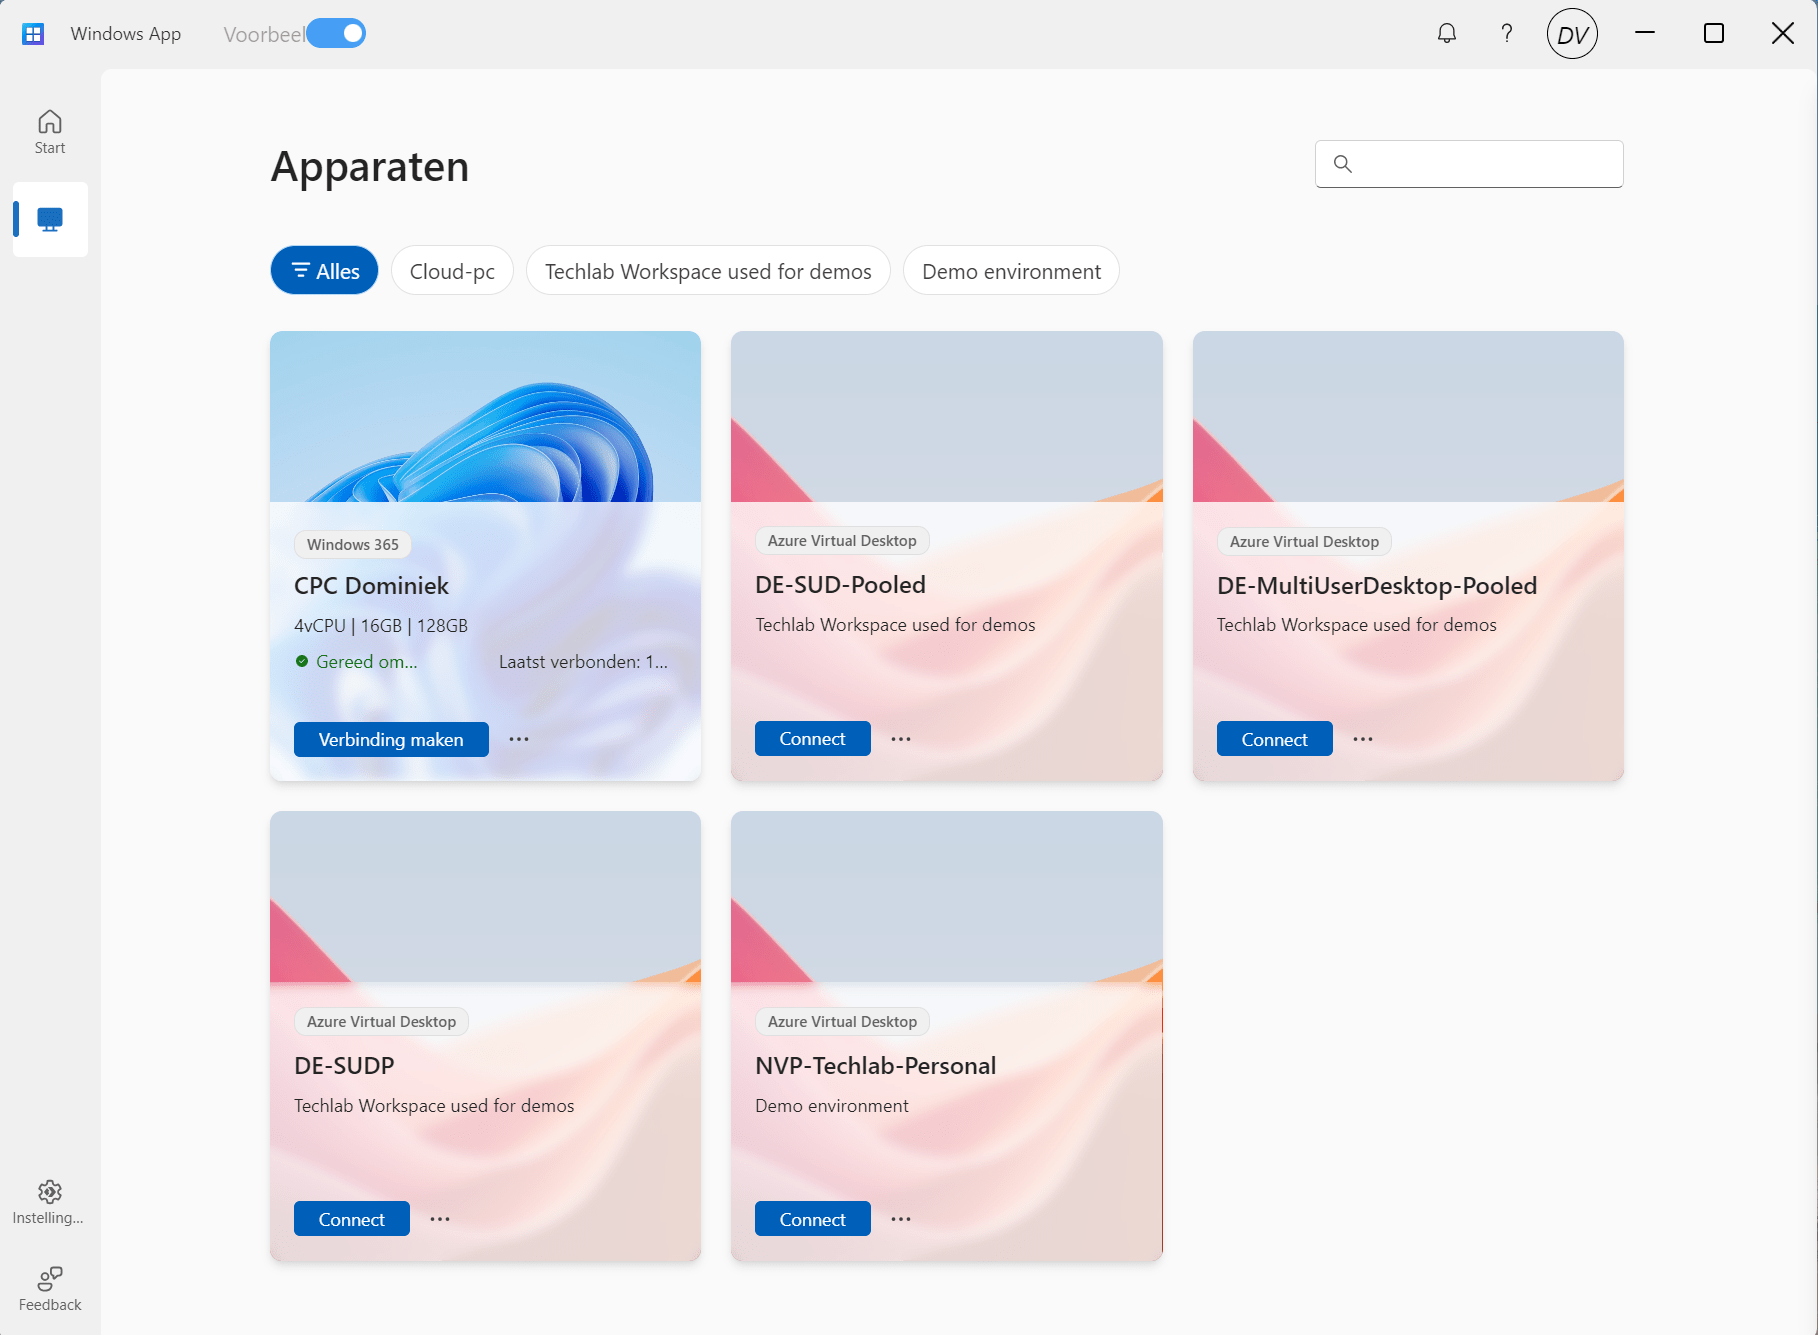
The second icon in the bar on the left will bring you to the devices screen. This will show you the assigned devices from Windows 365, Azure Virtual Desktop and Dev Box. You can’t connect to RDS or Remote PC, those are available (but not supported) from macOS or iPad/iPadOS.
In my case I have a Cloud PC and some desktops in AVD assigned to my account;
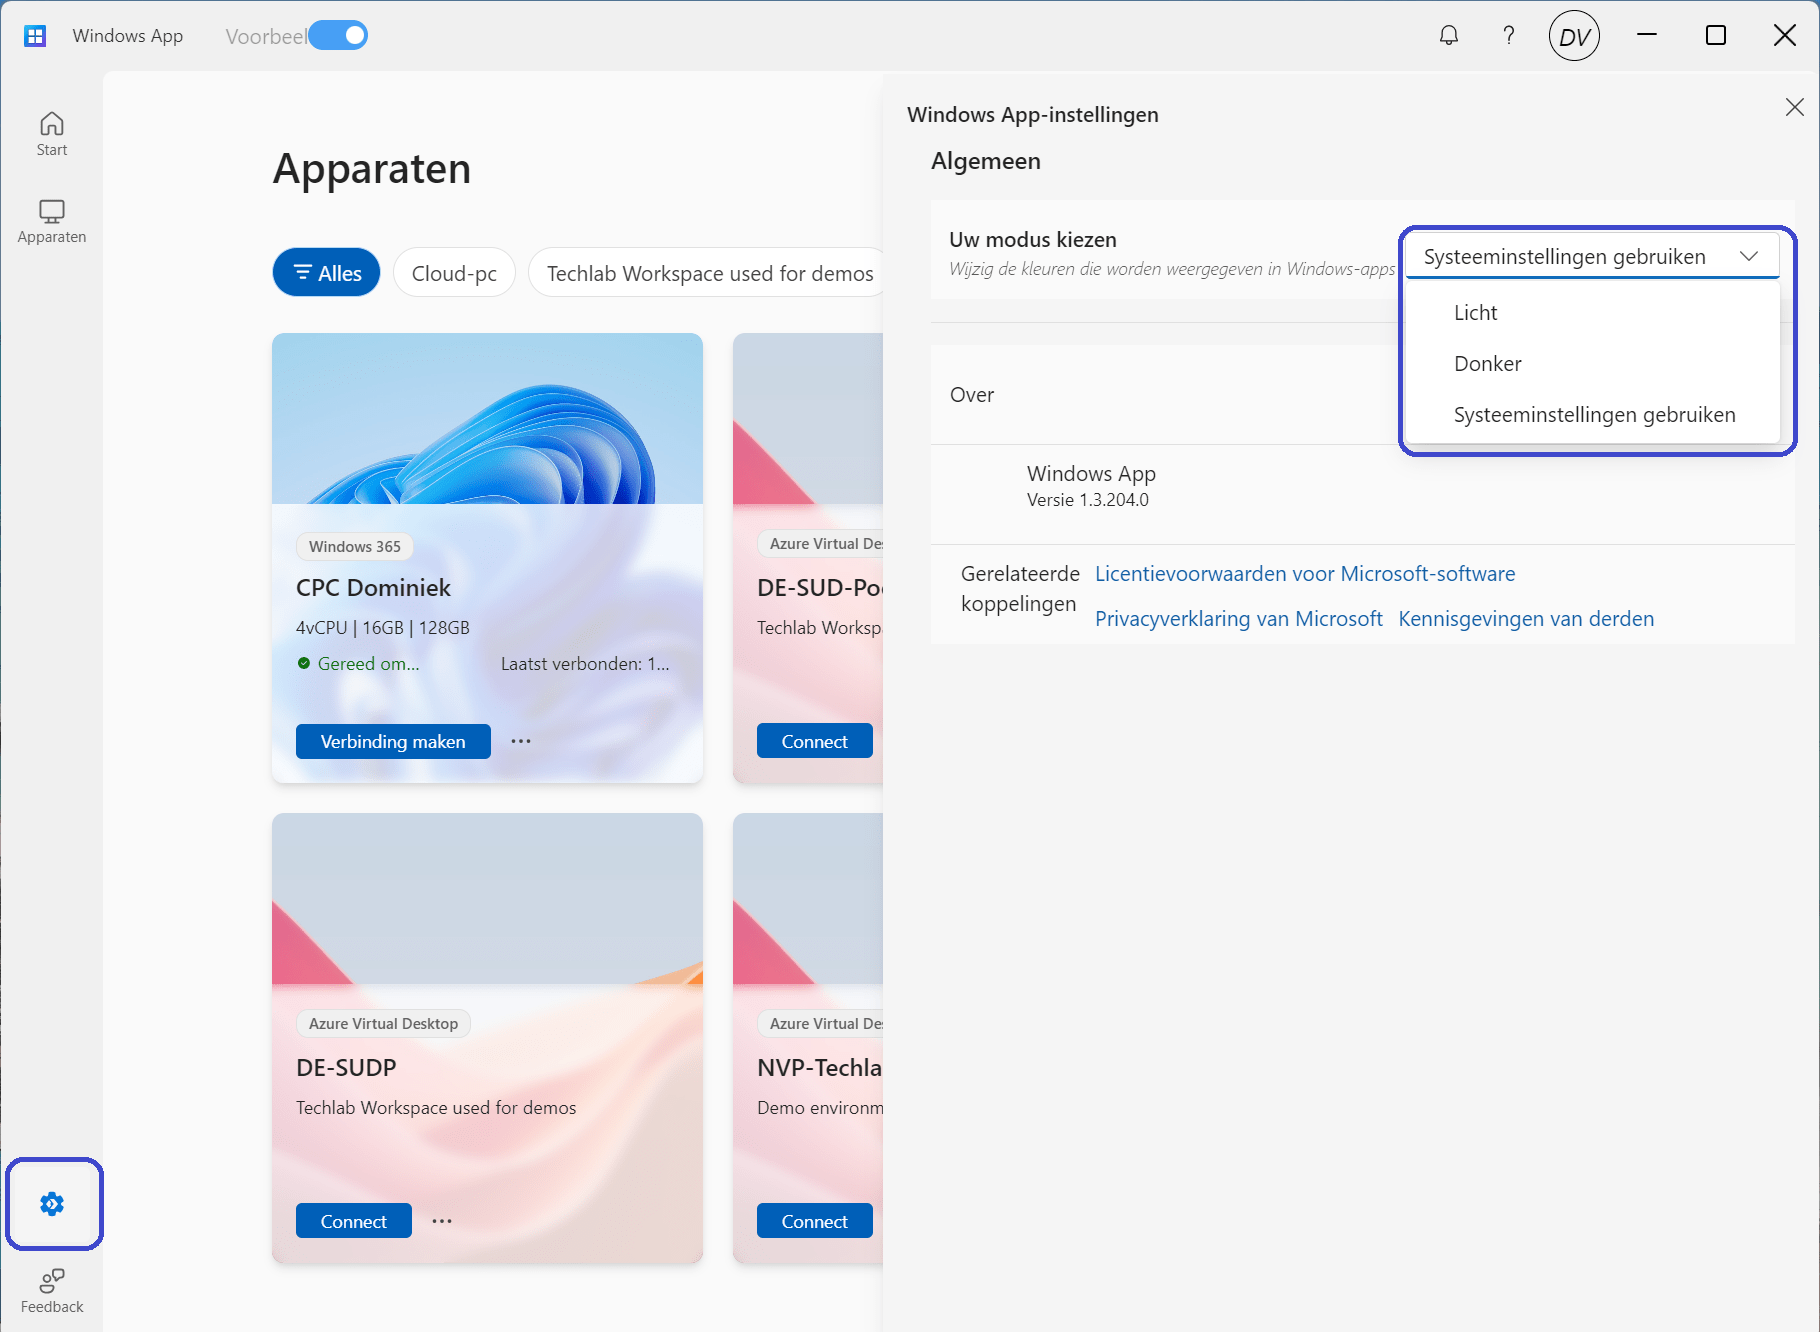
The gear icon will give you the ability to select light or dark mode, or follow the system settings. The last icon will open the feedback hub which you can use to provide valuable feedback to Microsoft.
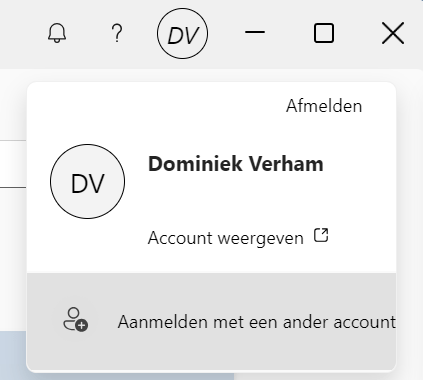
Microsoft added an easy way to add and change accounts. The Windows 365 app didn’t have this feature, we needed to sign out and sign in each time we wanted to change an account.
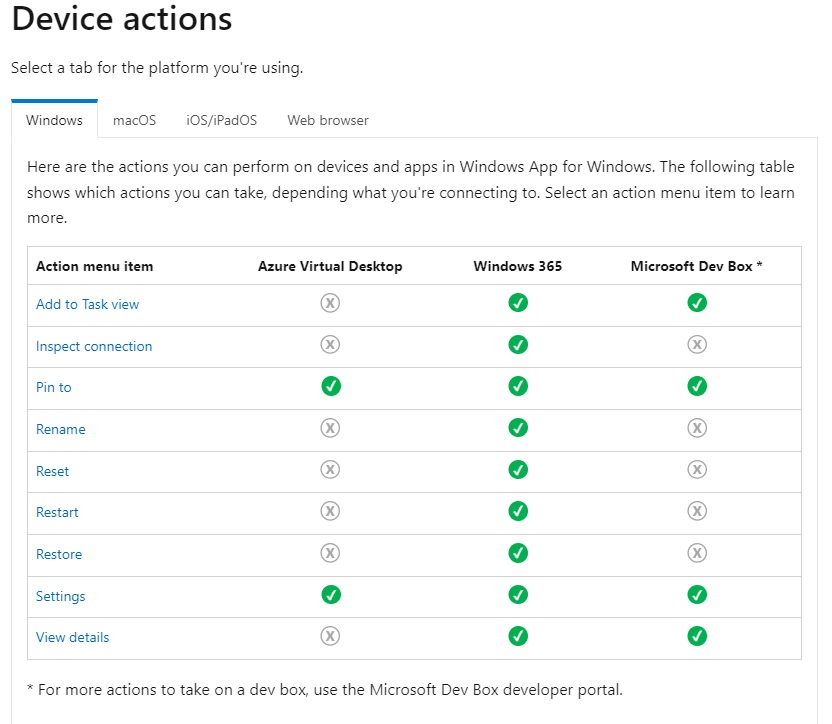
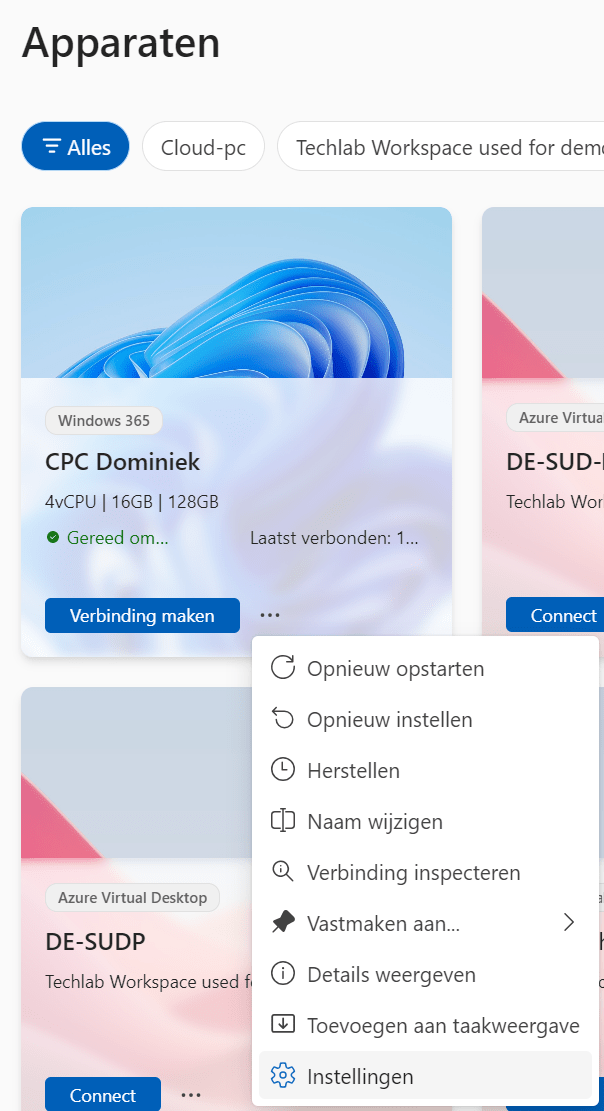
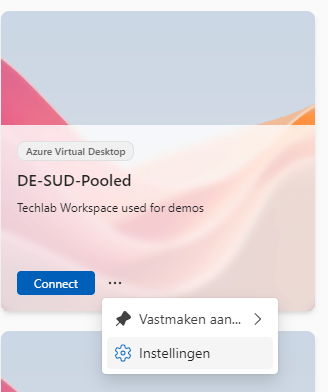
Windows 365 has a lot of actions that users can perform from the ellipsis (3 dots) and I wonder if the new Windows app supports these actions. So it’s time to go back to the devices overview and click the ellipsis next to the Cloud PC.
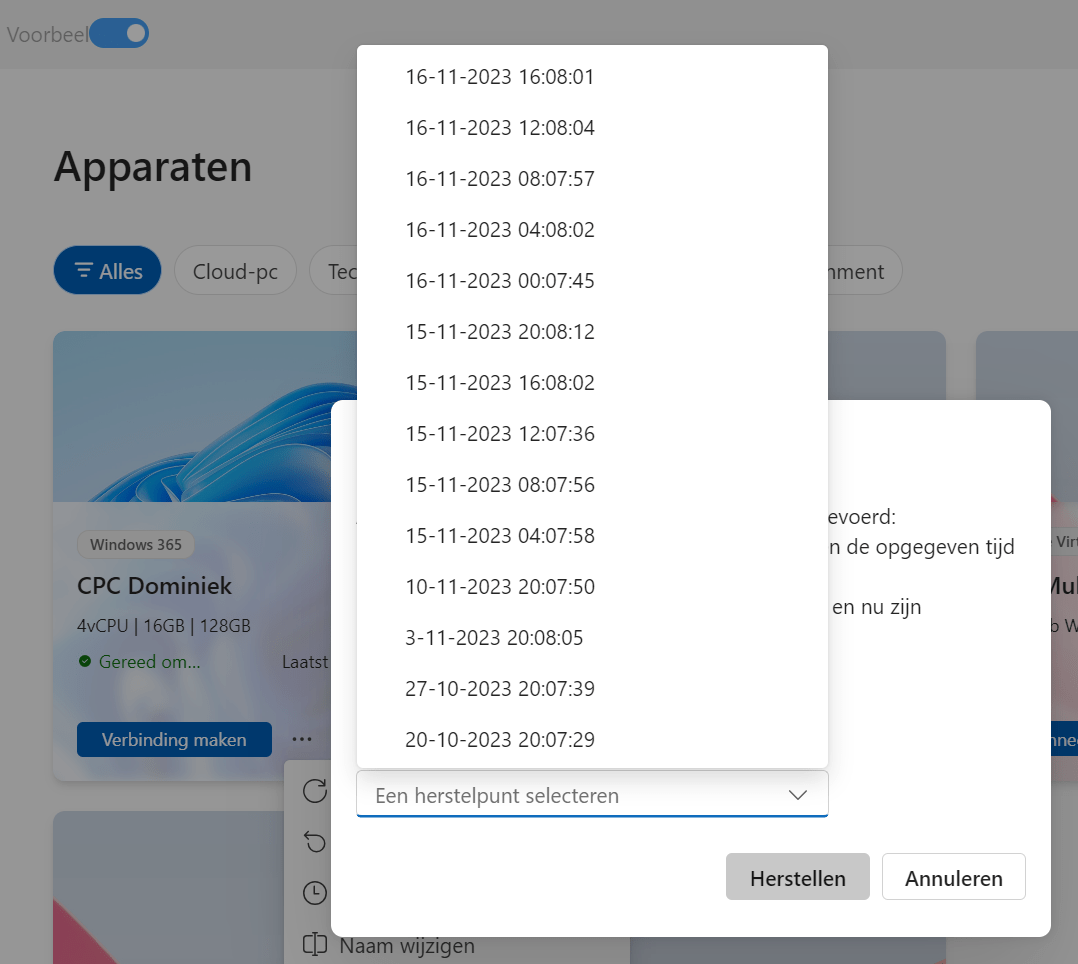
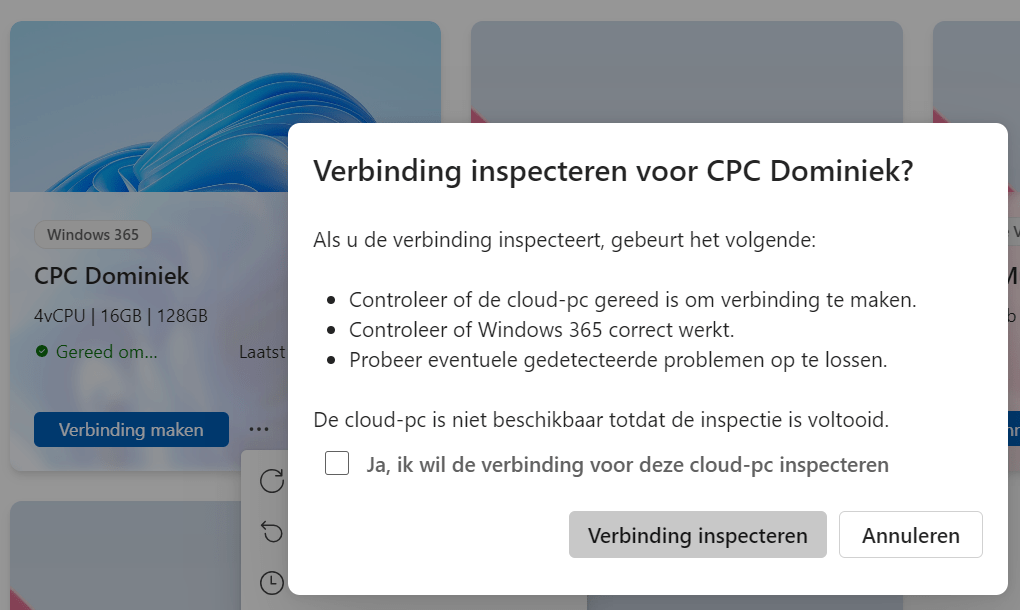
Apologies that everything is in Dutch, but let me assure you that all the actions are available. We can;
- Reboot the Cloud PC
- Reset the Cloud PC
- Use point in time recovery
- Change the name of the Cloud PC
- Inspect connection
- Use the Pin to option to pin to;
- Start (no, this is not the Windows start menu, but the start screen of the Windows app)
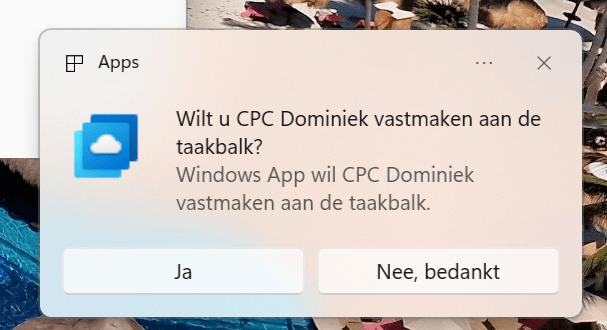
- Taskbar
- Show details
- Add to task view (if you want to enable the Windows 365 Switch feature)
- Open settings
Every actions seems to be in fine working order;
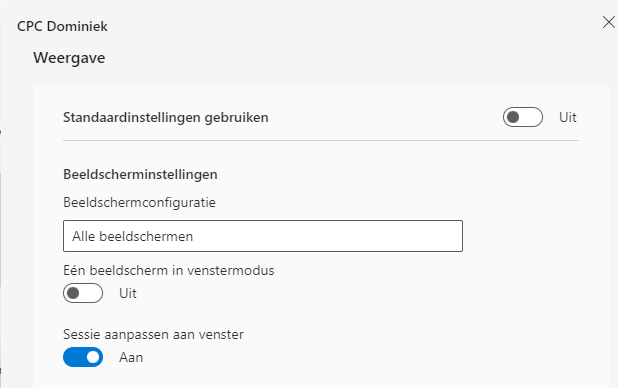
Azure Virtual Desktop doesn’t have the same features. You can pin the desktop to the start screen of the Windows app or change the display settings;
You can find an overview of the supported device actions here;
Admittedly I had some issues before I got the app on my system. Once installed it worked like a charm and I can easily see this becoming one of my favorite apps!
Using the Windows app in the webclient
And yes, there’s a webclient available as well! All you need to do is use a recent browser and navigate to https://windows.cloud.microsoft.
You’ll need to sign in and you will get a nice introduction as well:
Once signed in you will get the familiar overview of the home screen, the devices overview and you configure the settings of the webclient using the gear button on the top right corner.
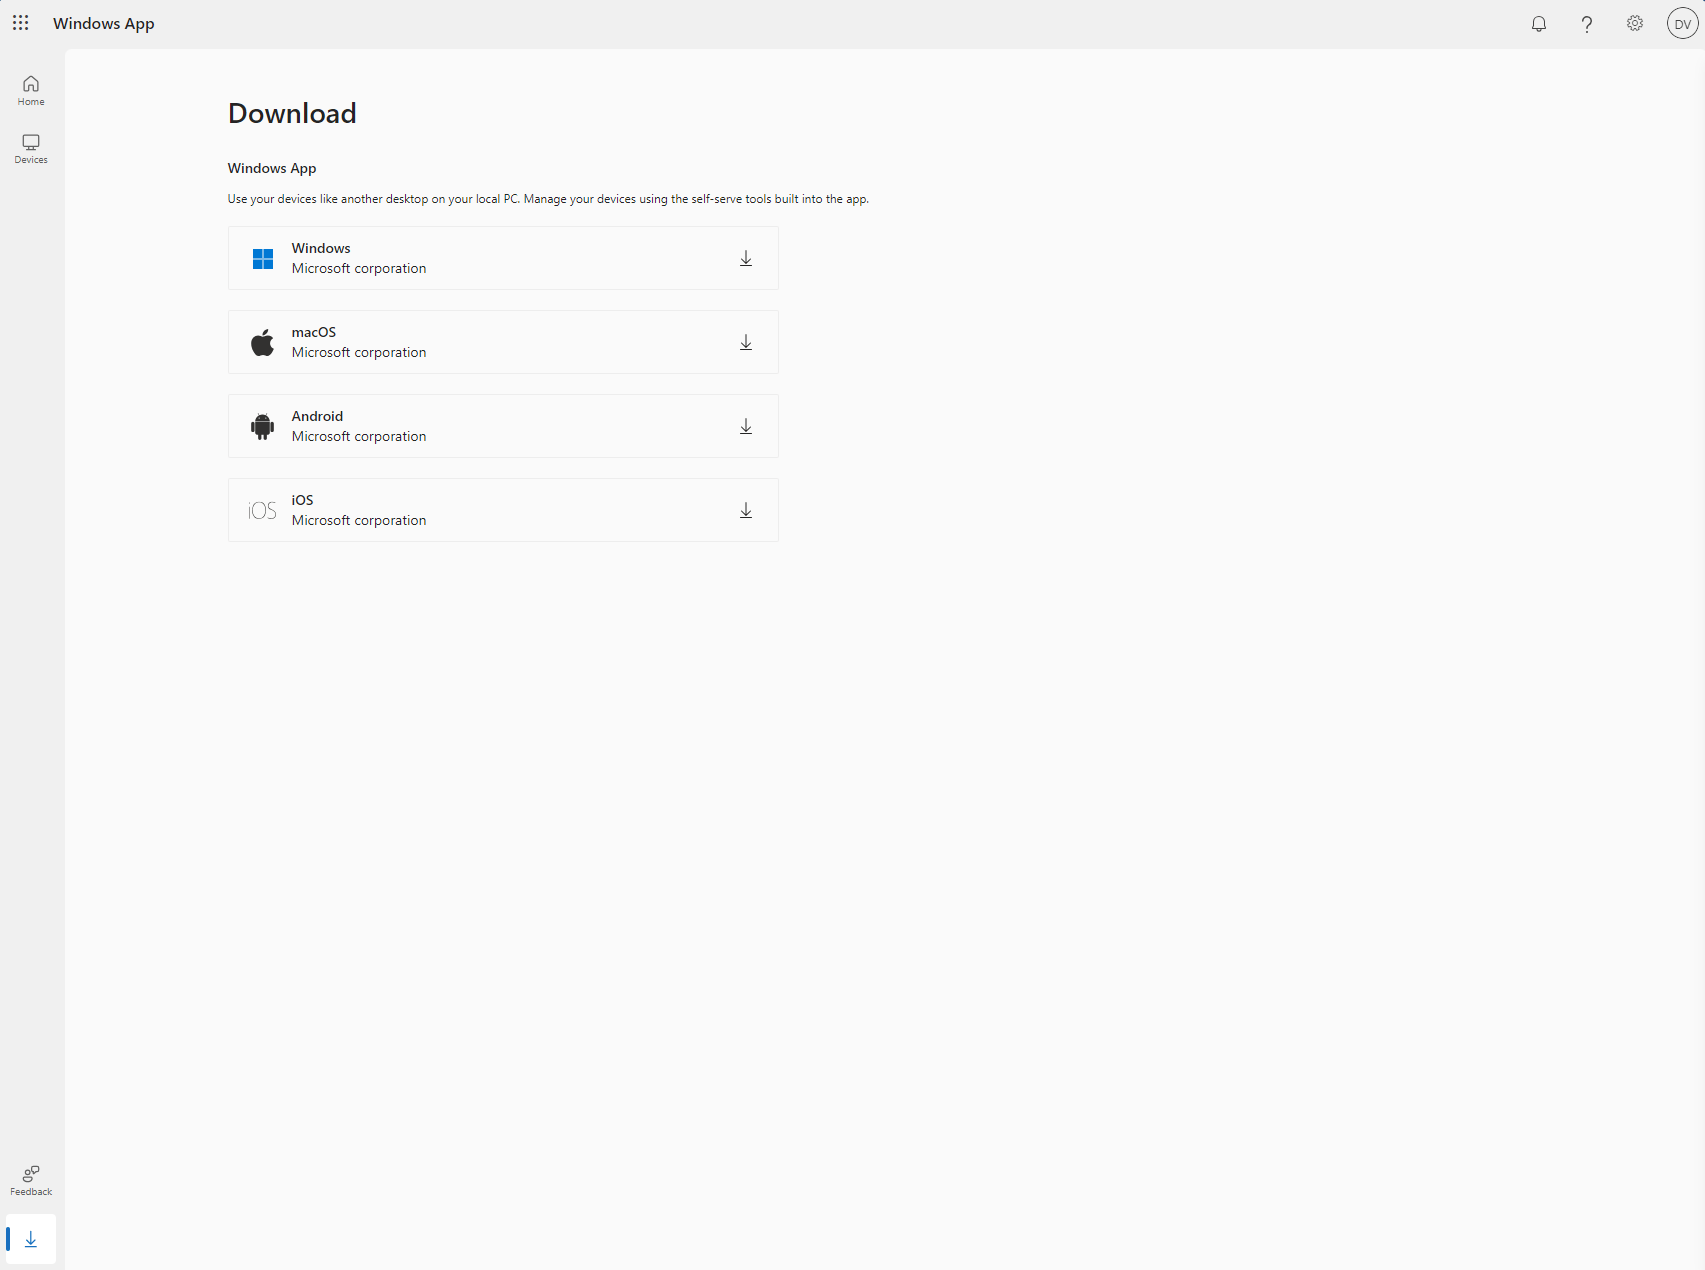
Just like other webclients you will get a download icon in the right bottom corner where you can download the available clients. Now don’t get too excited! I know you spotted the Android client there, currently that link will bring you to the Microsoft Remote Desktop client.
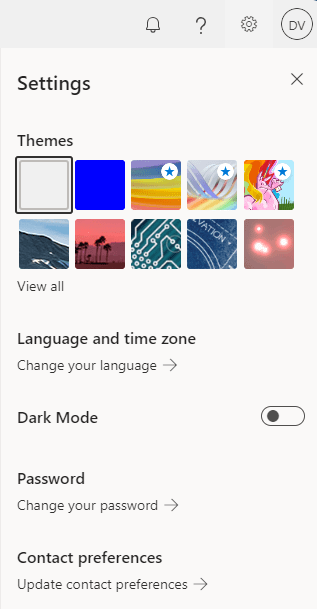
Using these settings you can configure;
- A theme
- Change you language and time zone
- Enable dark mode
- Change your password
- Update contact preferences
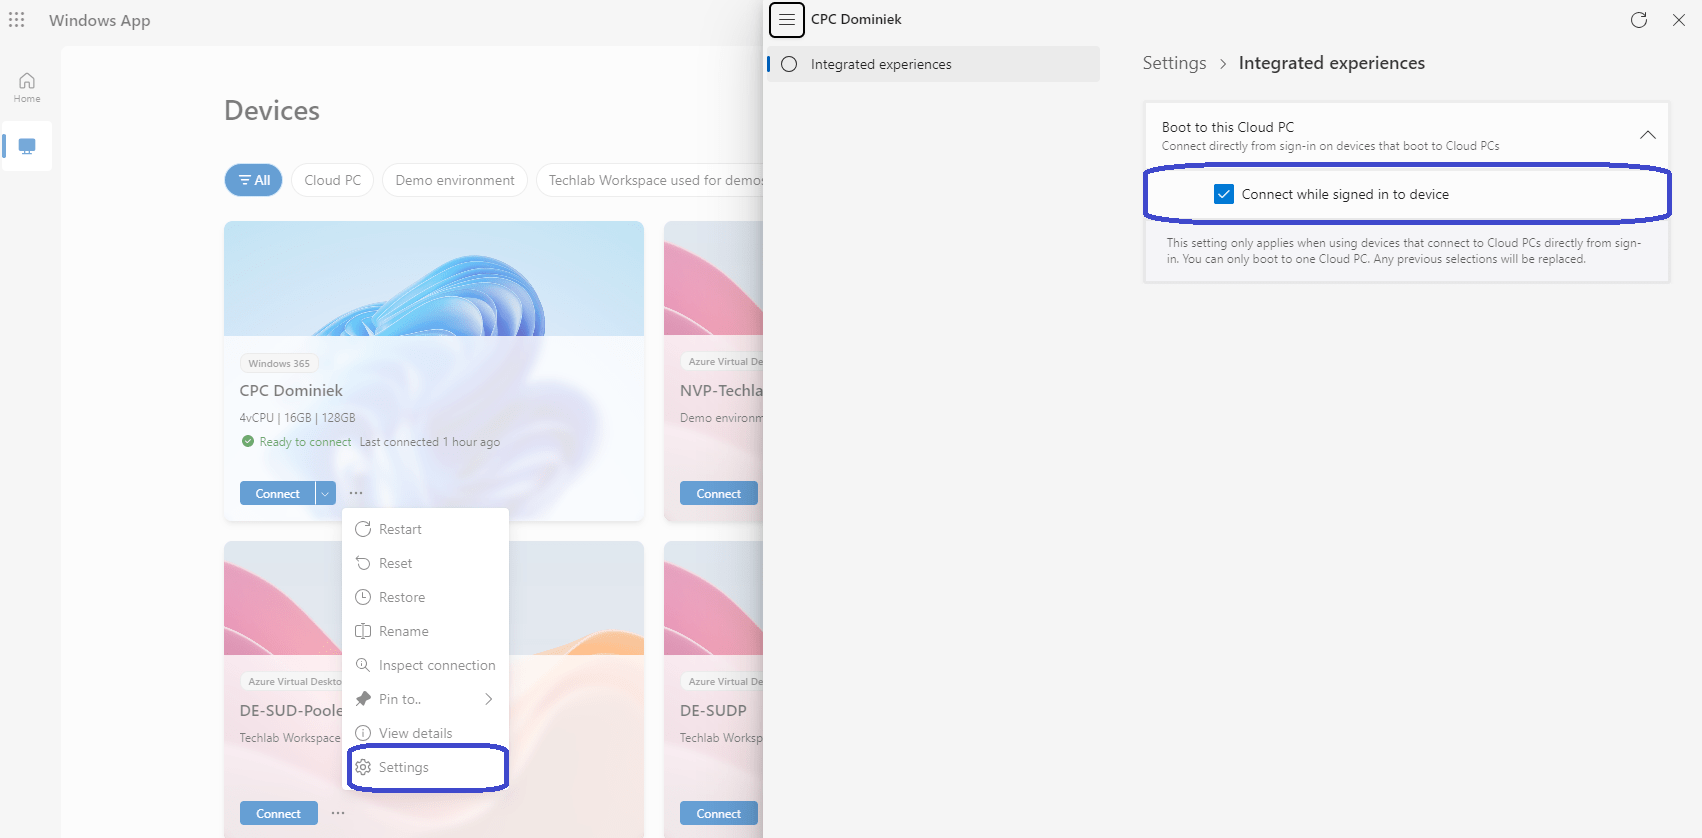
The windows app webclient also supports selecting the Cloud PC that you want to connect to if you are using Windows 365 Boot and have multiple devices connected:
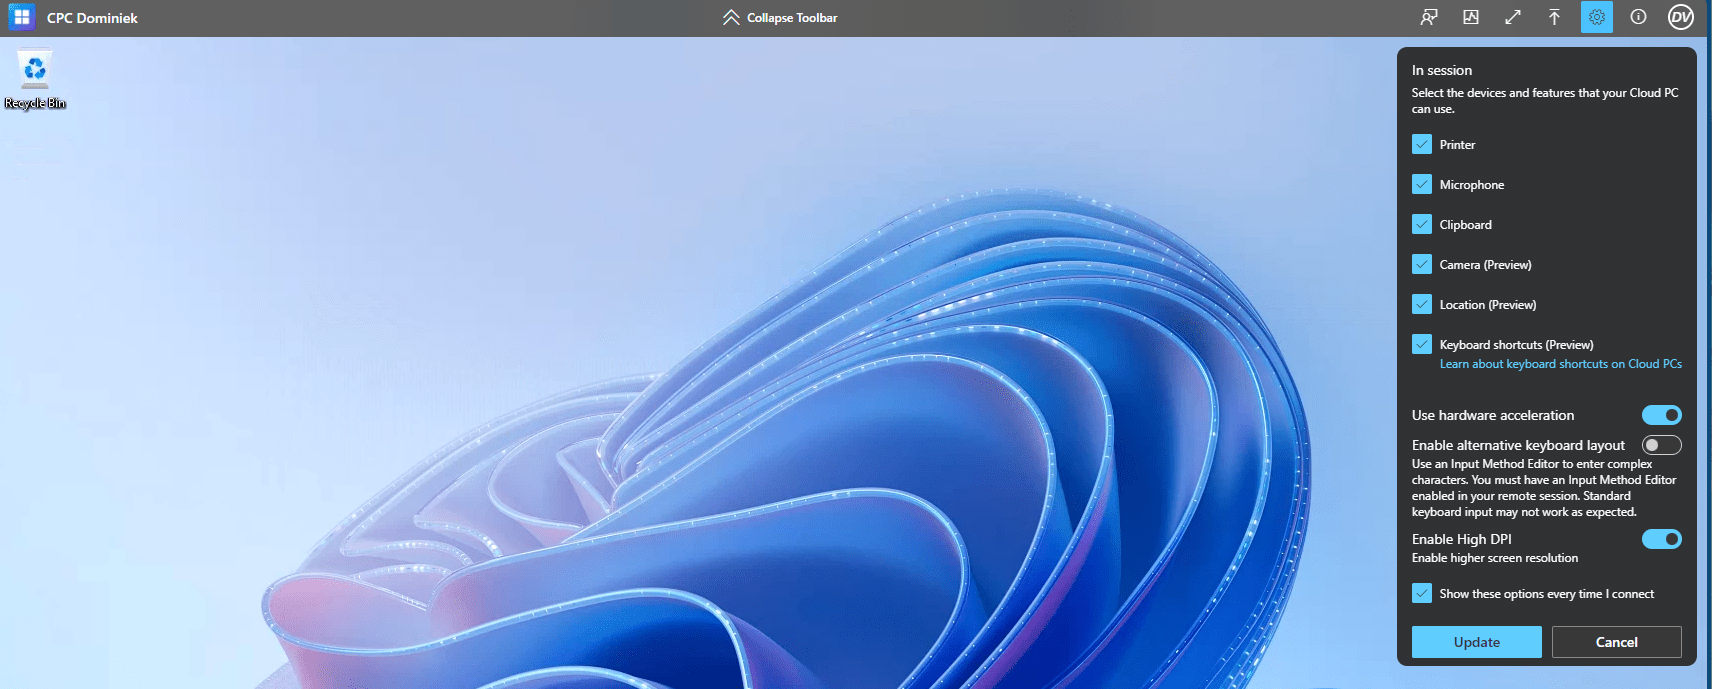
Once connected to the Cloud PC you can make use of all the device redirections and enable High DPI for a better user experience, just like you would using the Windows 365 webclient:
Resources
I used the following resources for this post:
What is Windows App? – Windows App | Microsoft Learn
Your home for Microsoft Ignite
Windows app in the Microsoft Store

One thought on “Introducing the Windows app”