What’s up, everyone!
Did you know that we can make use of the Enrollment Status Page (ESP) for a Cloud PC deployment? Let’s find out why we should use it, what it can do for us and how to set it up! Enjoy!
What Is The ESP
Let’s start with the Enrollment Status Page. Simply put, it is the page that shows the provisioning status to you or the end user when you are enrolling Windows devices and helps you to sign in for the first time. You have some control how this page behaves as an admin and you can configure settings for the ESP using Intune.
It works for both Windows 10 and 11. The screen does look different for each operating system but the functionality is the same. It has three phases;
- Device Preparation
- Device Setup
- Account Setup
- TPM key attestations (when applicable)
- Progress in joining Azure AD
- Enrolling into Intune
- Installation of Intune management extensions
Phase 2: Device Setup
In this phase the ESP tracks the following items if they are assigned to all devices or a group in which the device is a member;
- Security Policies
- Applications
- Connectivity Profiles assigned to all devices
- Certificate Profiles assigned to all devices
Phase 3: Account Setup
In this phase the ESP tracks the following items if they are assigned to the current logged in user;
- Security policies
- Applications
- Connectivity Profiles
- Certificates
I recommend the following Github page if you want a full description, troubleshooting information or learn more on known issues for the ESP.
Why Use The ESP For Cloud PC's
Let’s take a look at the behavior when a Cloud PC is provisioned. The Windows 365 service creates the Cloud PC, it enrolls the Cloud PC into Intune and then it waits for the user to sign in. During this waiting period, the Cloud PC requests the Intune policies and it performs background tasks that are assigned to the device.
Once the user logs in for the first time, the Cloud PC will process all actions targeted to the user. The user can use the Cloud PC in the meantime.
This behavior will change if you enable the ESP. The ESP does not support the first and second phase, but it does support the Account Setup phase. This means that the provisioning process will run as mentioned above until the device actions complete. Once the user logs in for the first time, the ESP will appear and start from phase 3, the account setup. This will make sure all your user settings, policies and apps are installed before the user can actually use his or her Cloud PC. This might add to a better user experience.
How To Configure The ESP For Cloud PCs
The first thing you should know is that this process is time sensitive. Dynamics groups are not supported for this reason. You can target the ESP to the All Devices group, but more likely you’ll want to configure a filter.
Create a filter
And the filter we need only uses the enrollmentProfileName property. This property refers to the name of the provisioning policy that was used to provision the Cloud PC.
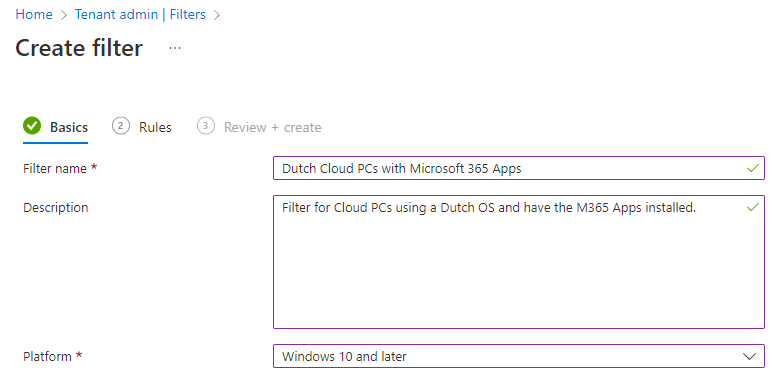
In my case, the name is CPC-PP-W11-Apps-NL-AP. Go to Devices, Other, Filters or Tenant Admin, Filters. Create a new filter and;
- Enter a name for the filter
- Enter a description
- Choose Windows 10 and later as platform
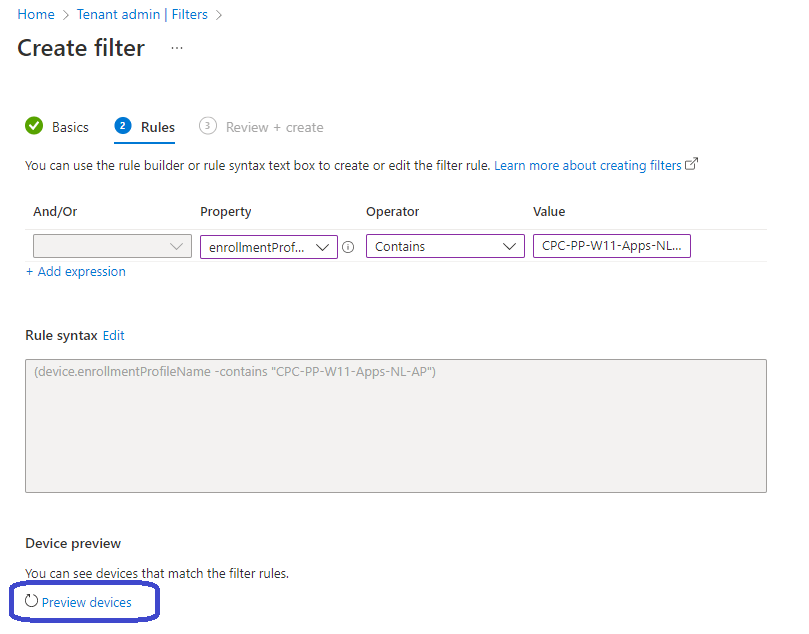
On the Rules tab;
- Property: enrollmentProfileName
- Operator: Contains
- Value: The name of your provisioning policy
Remember; you can click on the Preview devices link if you already provisioned devices earlier.
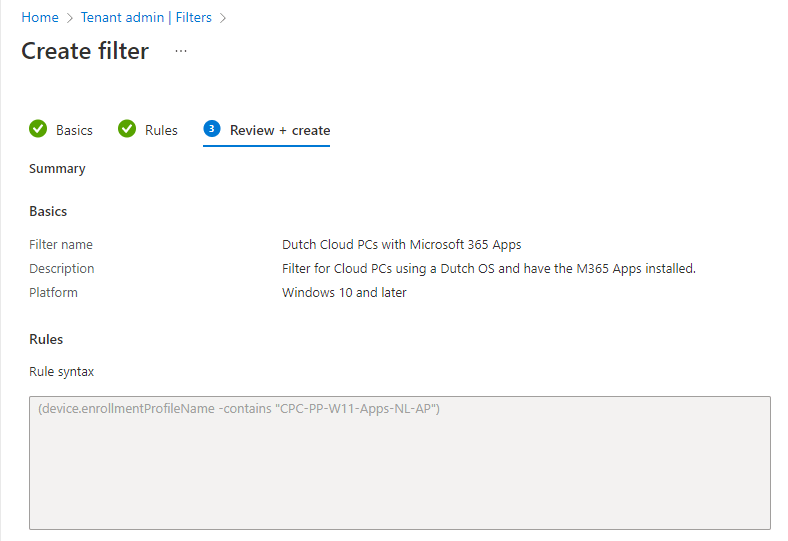
Admire your brilliant work and save that filter.
Configure the enrollment status page
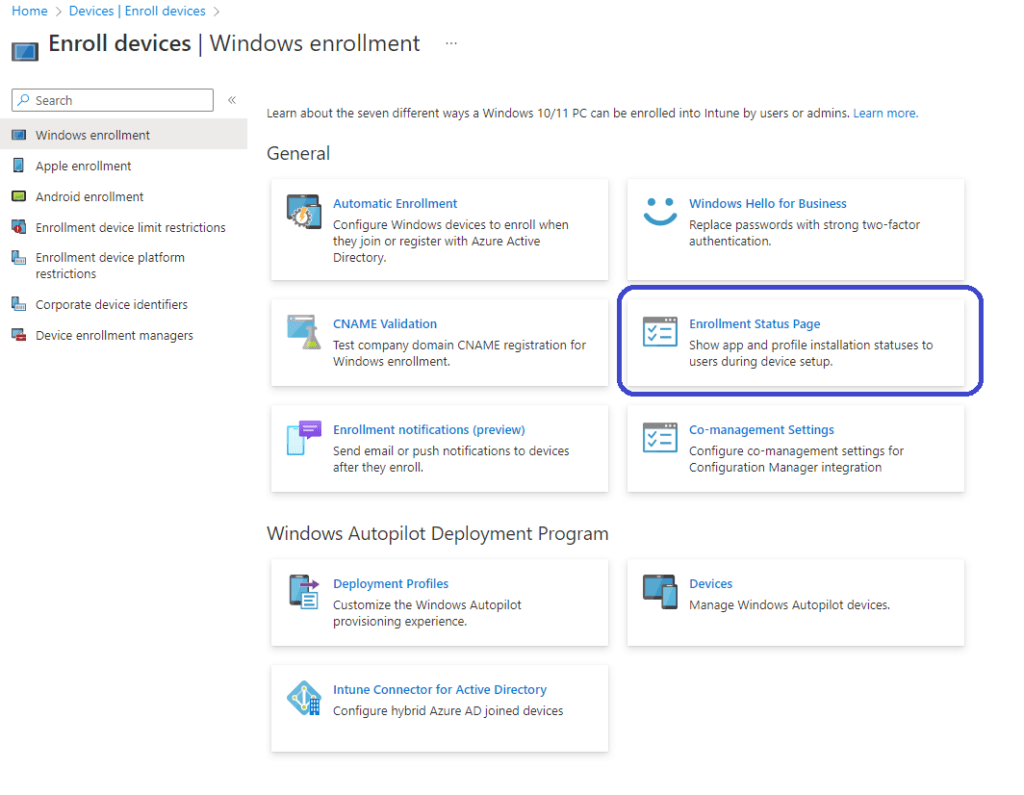
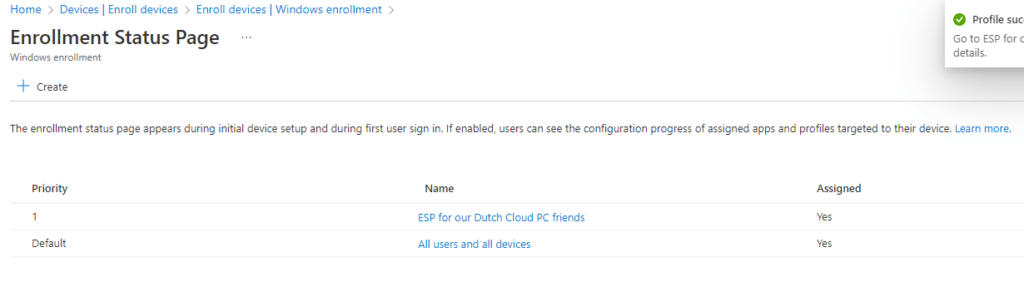
Alright, now it’s time to go to our Enrollment Status Page options. Go to Devices, Device Enrollment, Enroll devices. Click the Enrollment Status Page button.
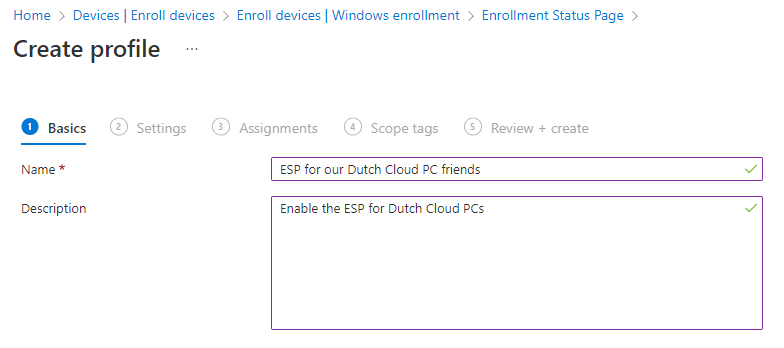
Let’s create a new ESP for our Dutch Cloud PCs. Click on the + Create button. As usual, provide a name and description.
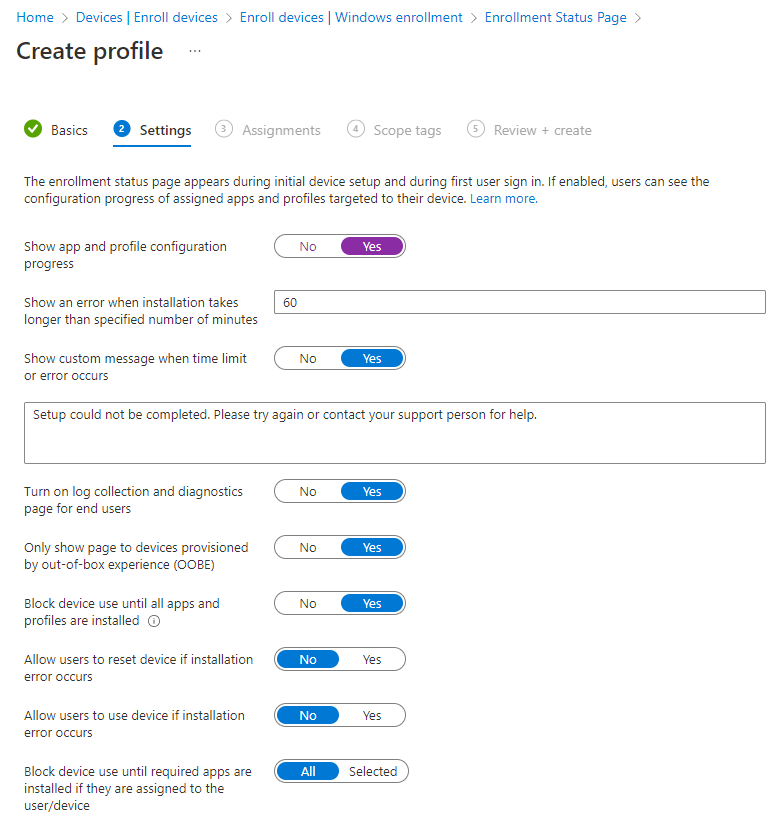
Toggle the slider to Yes to shows app and profile configuration process. Configure the ESP as you like. I’ll leave everything else set to default for this demo.
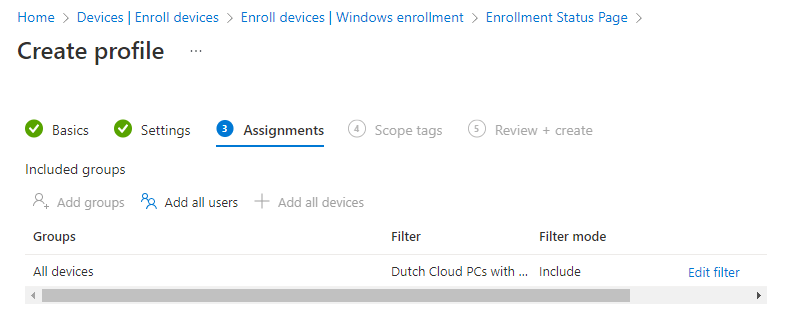
We can assign the policy to All Devices and use the filter we created earlier. Just click on;
- All devices
- Edit filter ‘button’
- Choose: Include filtered devices in assignment
- Click on the filter you created earlier
- Click on Select to save
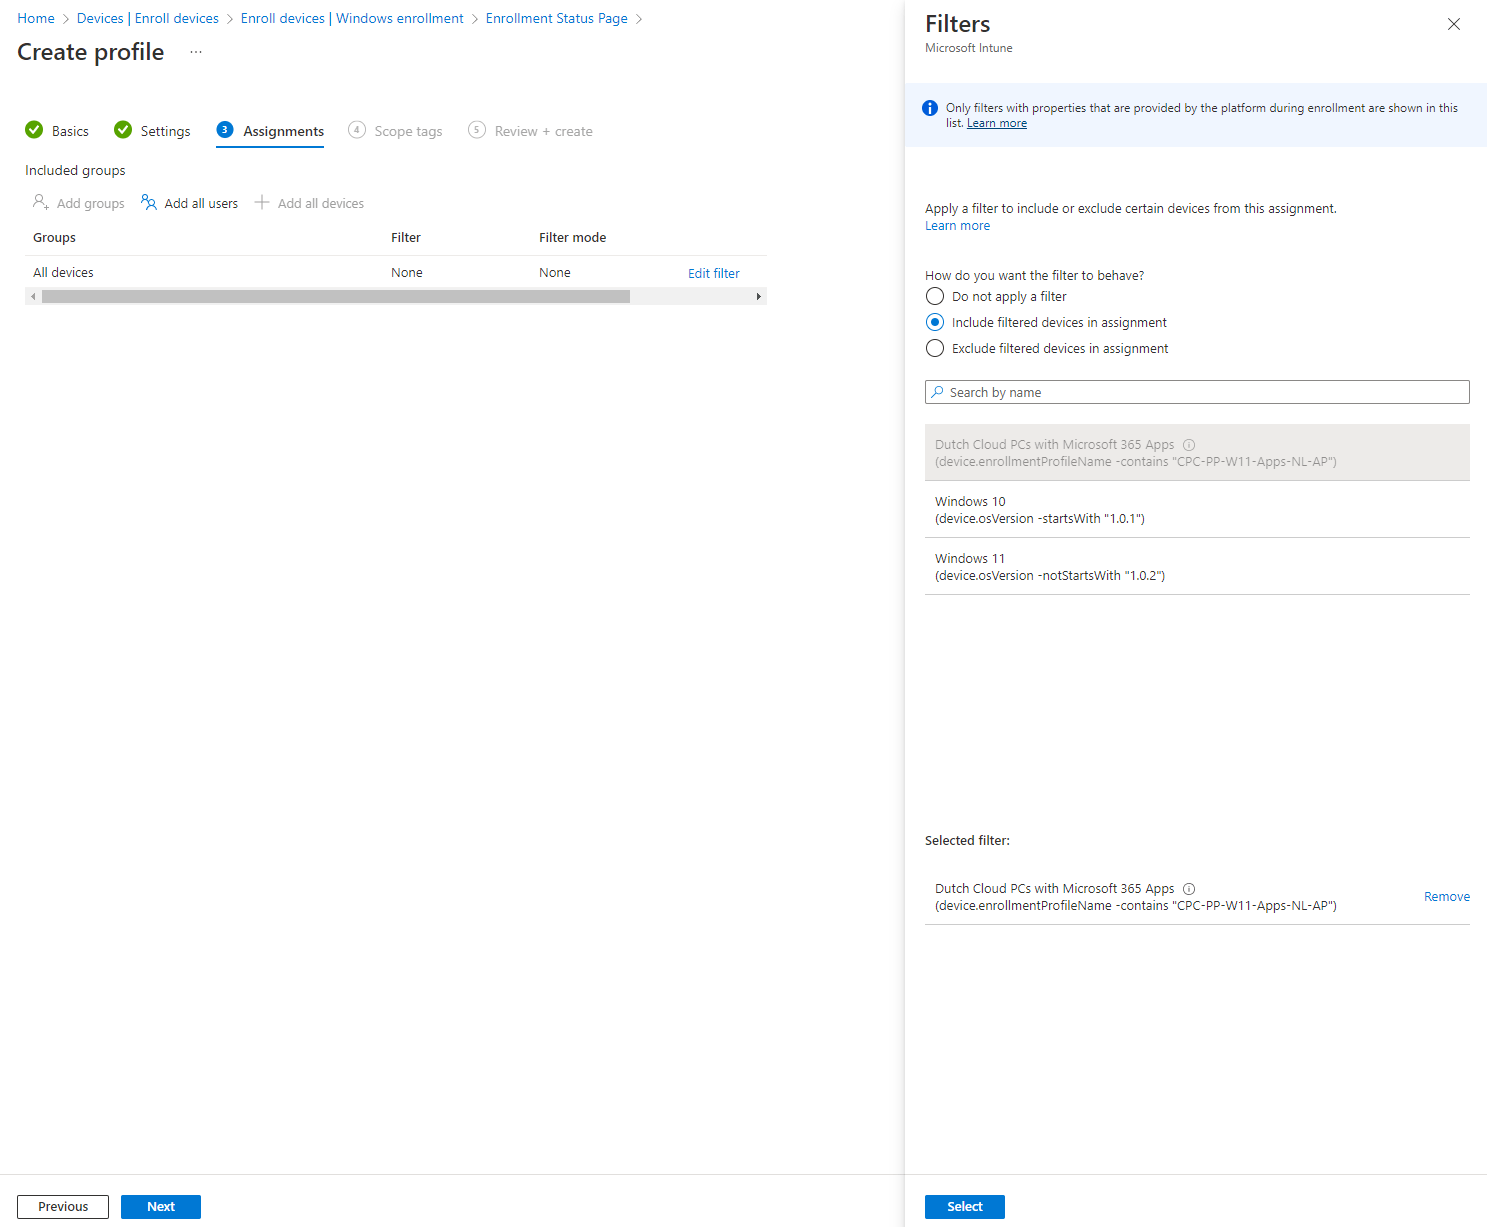
Once saved, you should end up with something like this:
Finish up by adding scope tags, review and save the ESP.
Test the enrollment status page
Now it’s time to reprovision the Cloud PC. Go to Devices, Provisioning, Windows 365, All Cloud PCs. Click on the Cloud PC and click on Reprovision.

Reprovisioning takes a bit of time to complete. Once done, just log in using your favorite method and you should see the ESP doing it’s thing:

Check the menu bar on the top left side to verify that this ESP is presented on a Cloud PC. In my demo environment I only have a couple of apps and profiles assigned to my demo user so this process was pretty fast.
Resources
I used the following resources for this blog:
Create filters for Cloud PCs from a specific provisioning policy