What’s up everyone!
In this post we will have a look at Windows 365 Business. It is intended for smaller business, it has limited management capabilities and it should be pretty straightforward to setup. Let’s find out!
This post is part of a series about Windows 365! (Also known as Cloud PC) In this series I will explore this awesome technology. If you are curious what Windows 365 can do for you and your organization, this series might be for you!
Series – Windows 365 with Nerdio Manager
- Part 1: An Introduction To Windows 365
- Part 2: Windows 365 Business vs Enterprise
- Part 3: Configure Windows 365 Business
- Part 4: Configure Windows 365 Enterprise
- Part 5: How To Migrate From Citrix Or VMware To Windows 365
- Part 6: Use Universal Print on Windows 365
- Part 7: Monitor And Improve Performance For Windows 365 Cloud PCs
- Part 8: Use Windows Autopatch To Keep Your Cloud PCs Up-To-Date
Prerequisites
If you want to give Windows 365 Business a try, you’ll need;
- A Microsoft tenant
- A Microsoft 365 license, for instance Microsoft 365 Business Premium (to fiddle with M365 services)
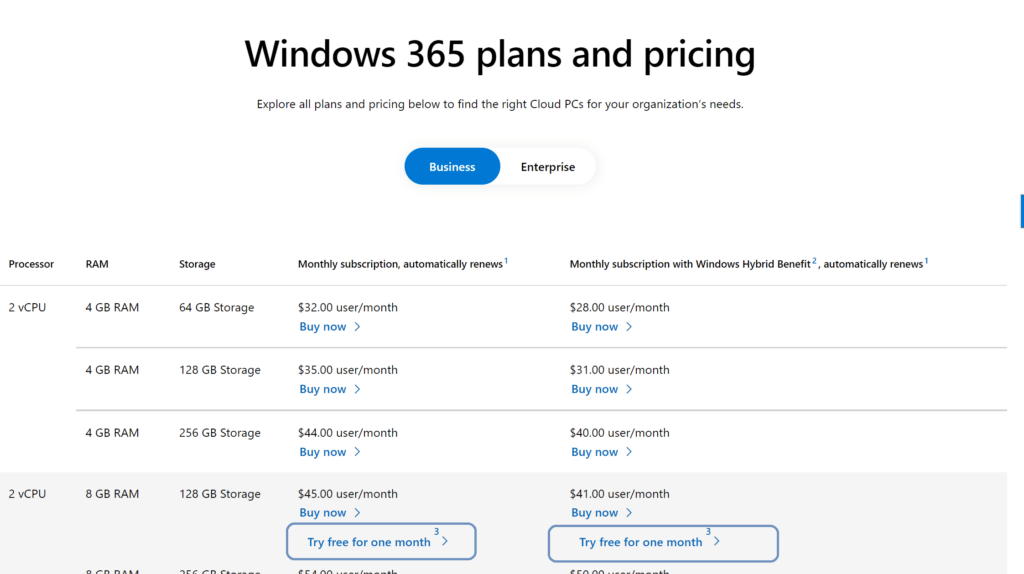
- A Cloud PC license, for instance Windows 365 Business 2 vCPU, 8 GB, 128 GB
It’s still possible to try Windows 365 for a month. You can create a new Microsoft tenant and add some Microsoft 365 trial licenses. I was able to get a trial license for Windows 365 Business on the all licenses page from Microsoft. Make sure you click on the ‘Try free for one month‘ link. However, I noticed the link disappeared pretty quick again after I got my trial license.
Configure Windows 365 Business
Let’s configure Windows 365 for Business now that we have some licenses to play with.
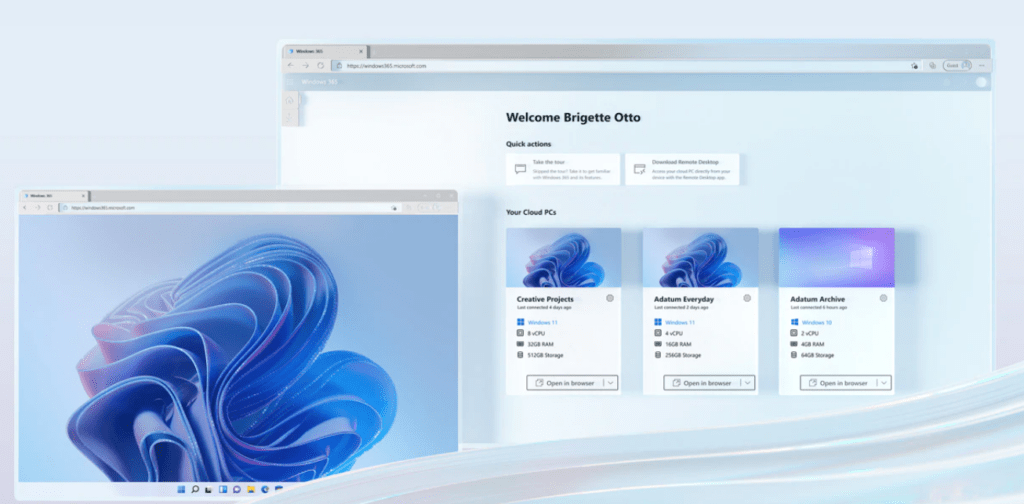
Open up your browser and go to https://windows365.microsoft.com.
This portal can be used to configure your organization settings, assign Cloud PC licenses to your users and to get access to your Cloud PC. We can connect using your browser or download the Remote Desktop client.
Click on the Your Organization’s Cloud PCs tab.
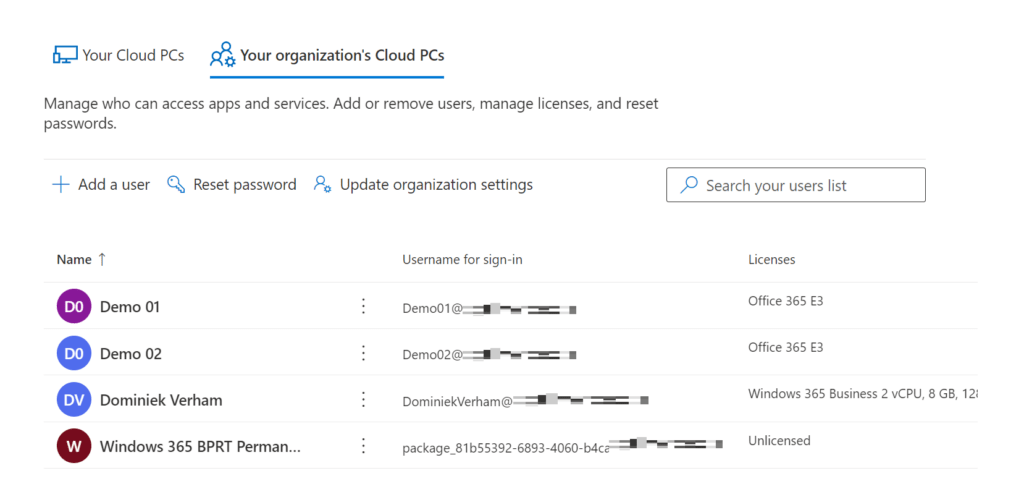
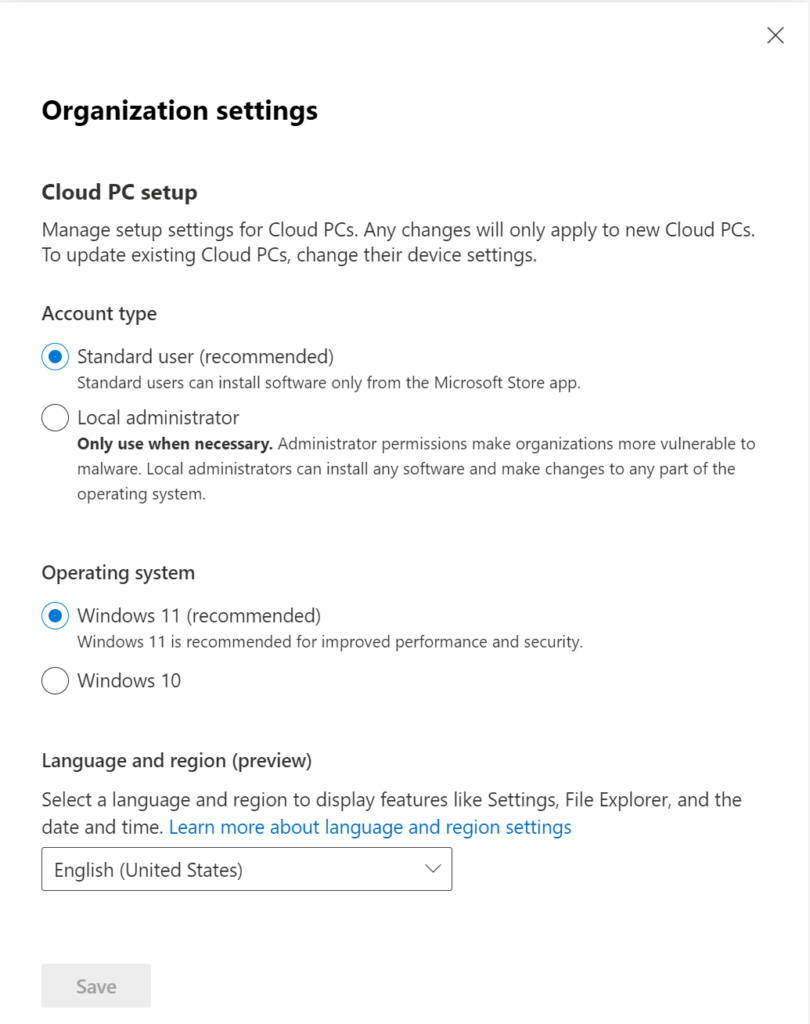
We can add users, reset passwords and update organization settings. These settings are some global settings that apply to all your Windows 365 Business Cloud PC’s. At this point we have three settings;
- Account Type: Standard User or Local Administrator
- Operating System: Windows 10 or Windows 11
- Language and Region options
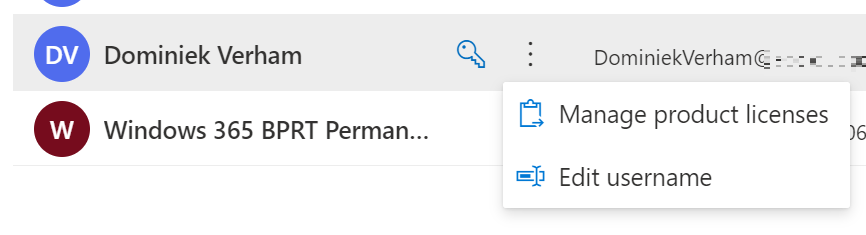
We can assign a Cloud PC (Business) license by clicking on the three dots next to the user account and click on Manage product Licenses.
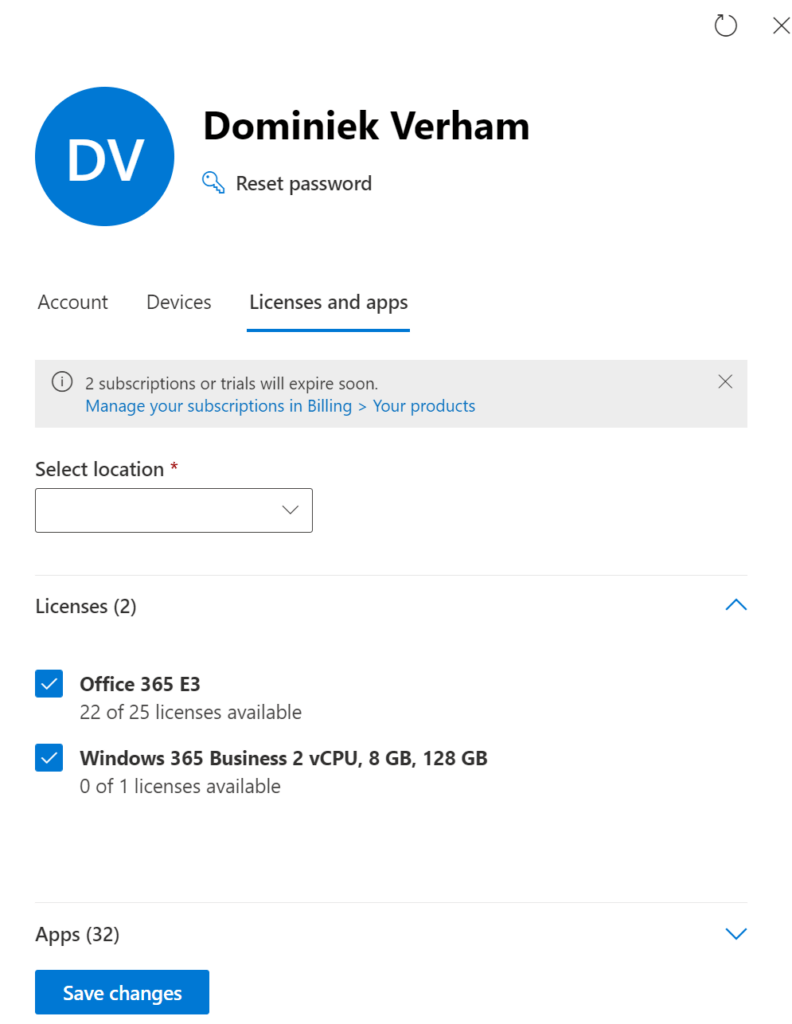
Just check the box next to the license you want to assign and click the Save Changes button.
Spinning up the Cloud PC from scratch can take some time to complete. In my case, the provisioning process completed in about 15 minutes. It really was that fast!
The above screenshot also has a Account and Devices tab. The account tab will simply show some user information. The devices tab shows your assigned Cloud PC’s.
It is possible to assign multiple Cloud PC’s to a user, as long as it’s not the same SKU.
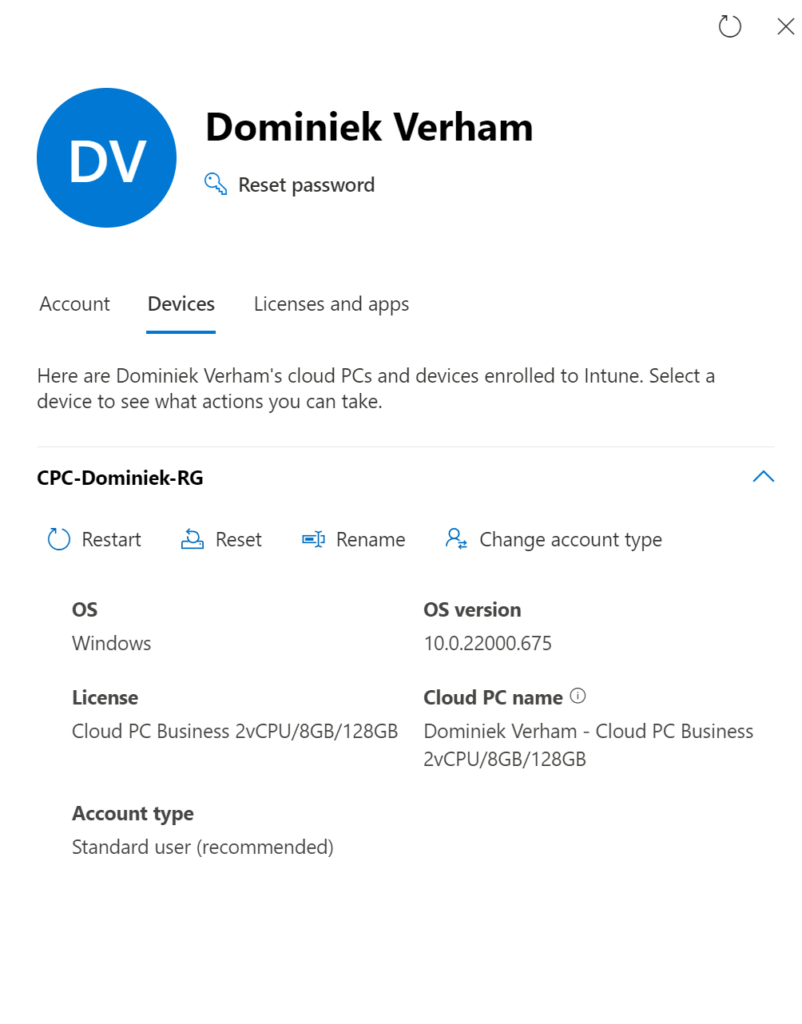
We also get some management options here. We can;
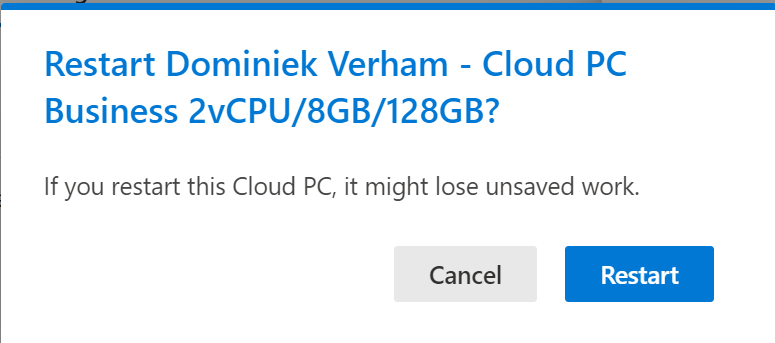
- restart the Cloud PC
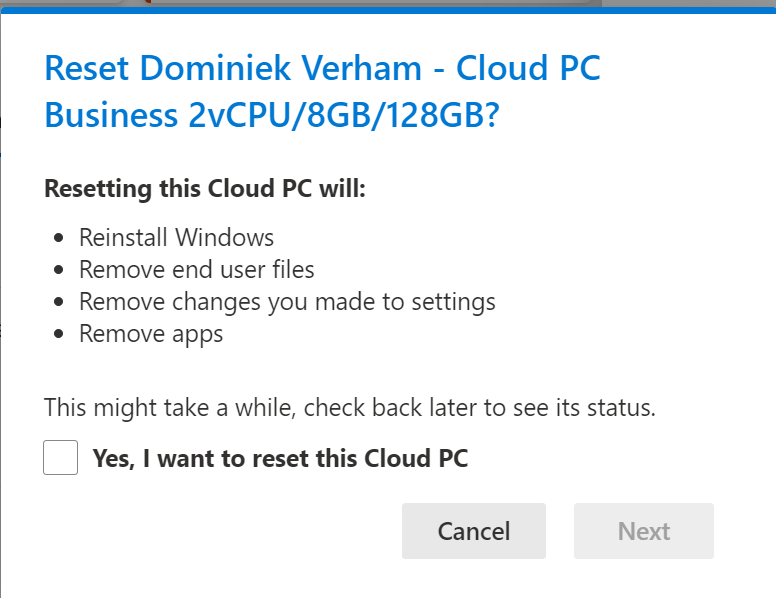
- reset the Cloud PC (basically reinstall)
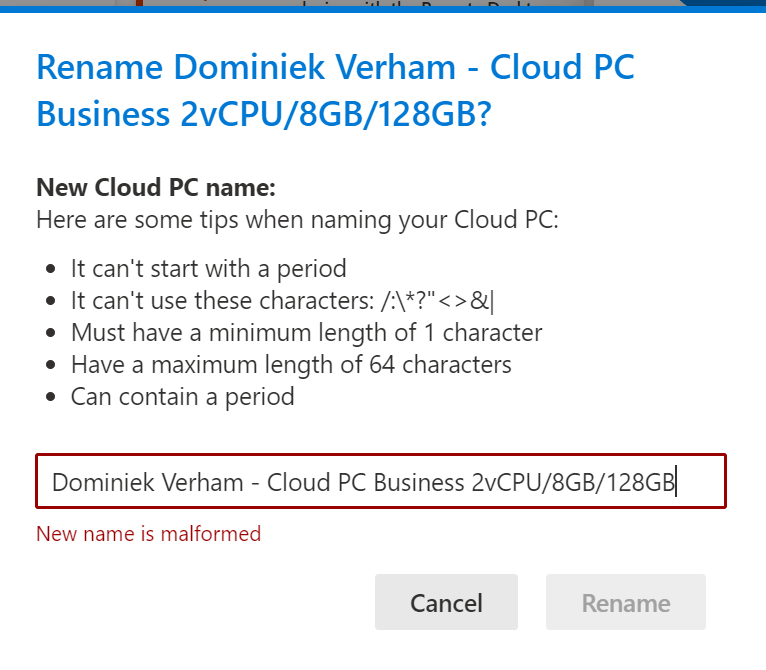
- rename the Cloud PC
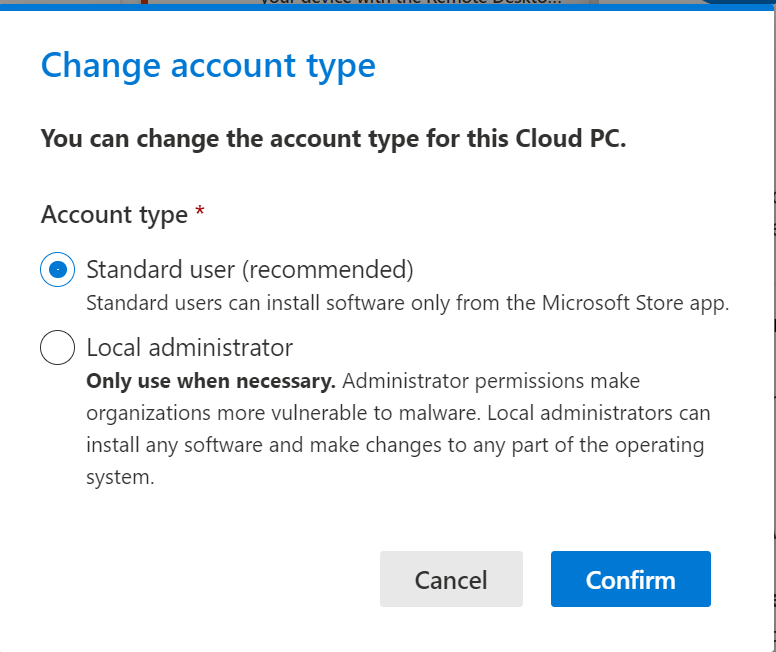
- change the account type from standard user to local administrator and vice versa
Once the license is assigned to the user, we can access the Your Cloud PCs tab. And once the provisioning process completes, we can connect to the Cloud PC. This is the tab that your users will see and use to connect to their Cloud PC, and the provisioning process has already completed.

Users have some self-servicing possibilities here. If they click on the gear icon on the top right corner of their Cloud PC, they see the following options:
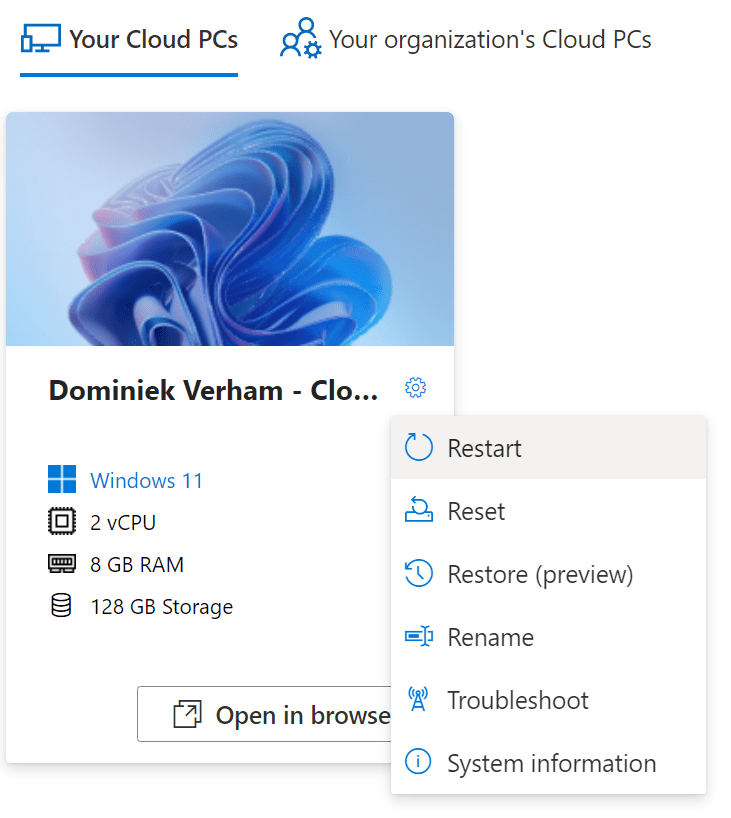
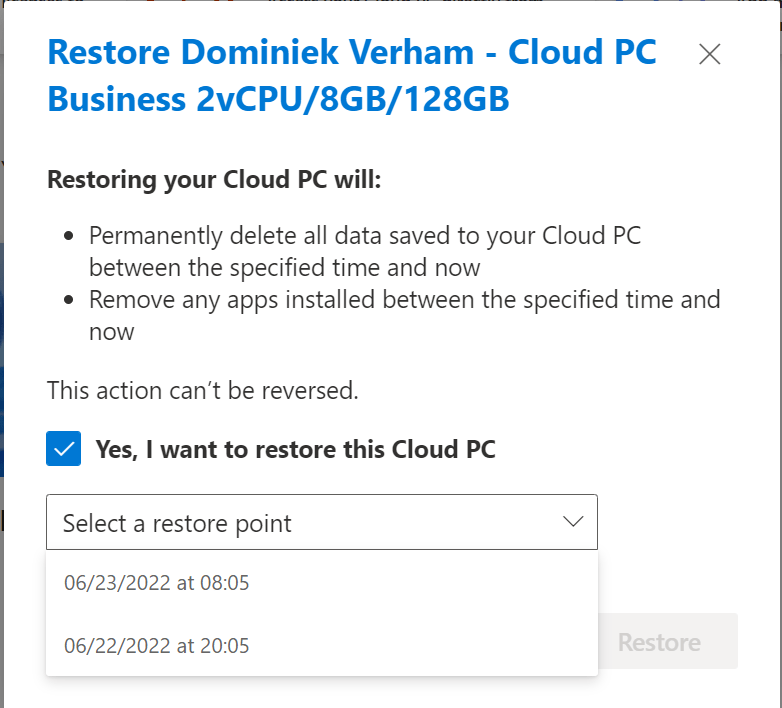
There’s a pretty cool option here, still in preview though. Remember this is a PC with the power of the cloud. If something were to happen to the Cloud PC and it does not work anymore, we can restart the Cloud PC. It’s still unusable? Then we can reset the Cloud PC, but we will lose some configuration and possible some data. Here’s where the Restore option helps out. We can simply restore the Cloud PC from a time we know it still worked like it should.
How To Connect To Your Cloud PC
We have two ways to connect to our Cloud PC. We can use the browser and we can use the Remote Desktop app.
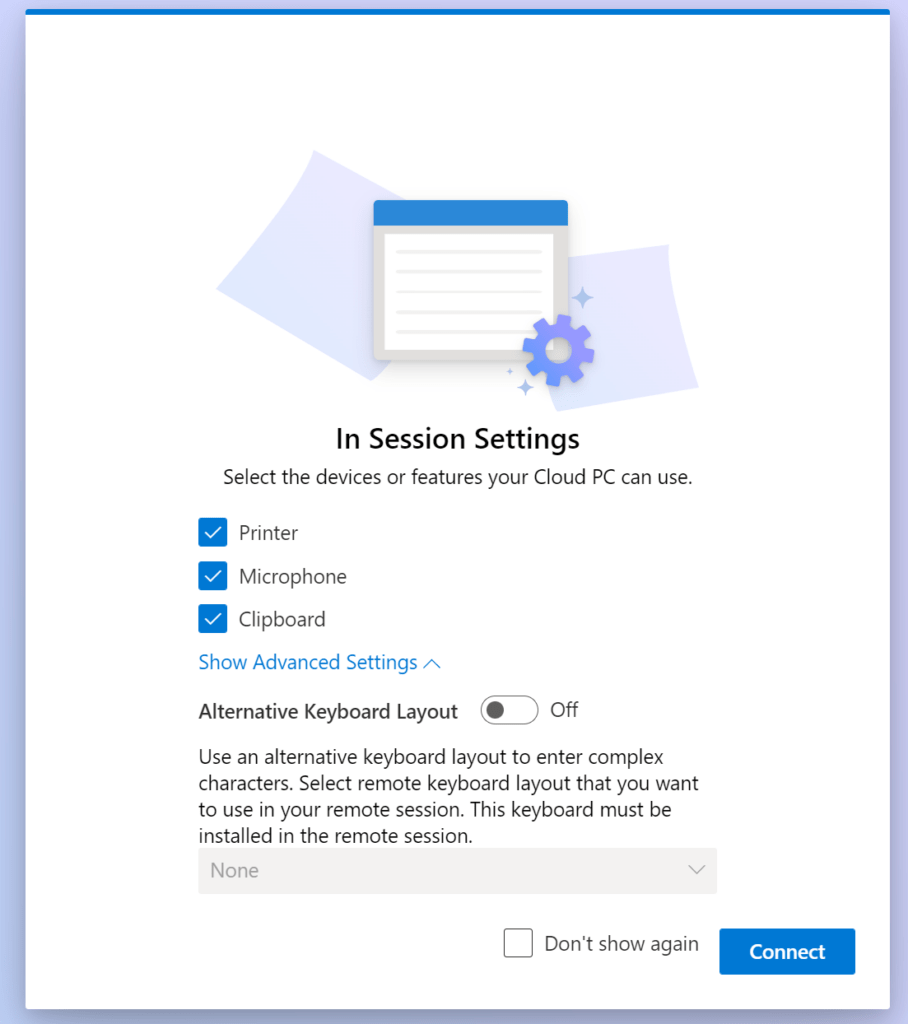
If we use the browser, just log in to https://windows365.microsoft.com and click on the Open in browser button in the Your Cloud PCs tab. We can choose which resources we connect to our Cloud PC.
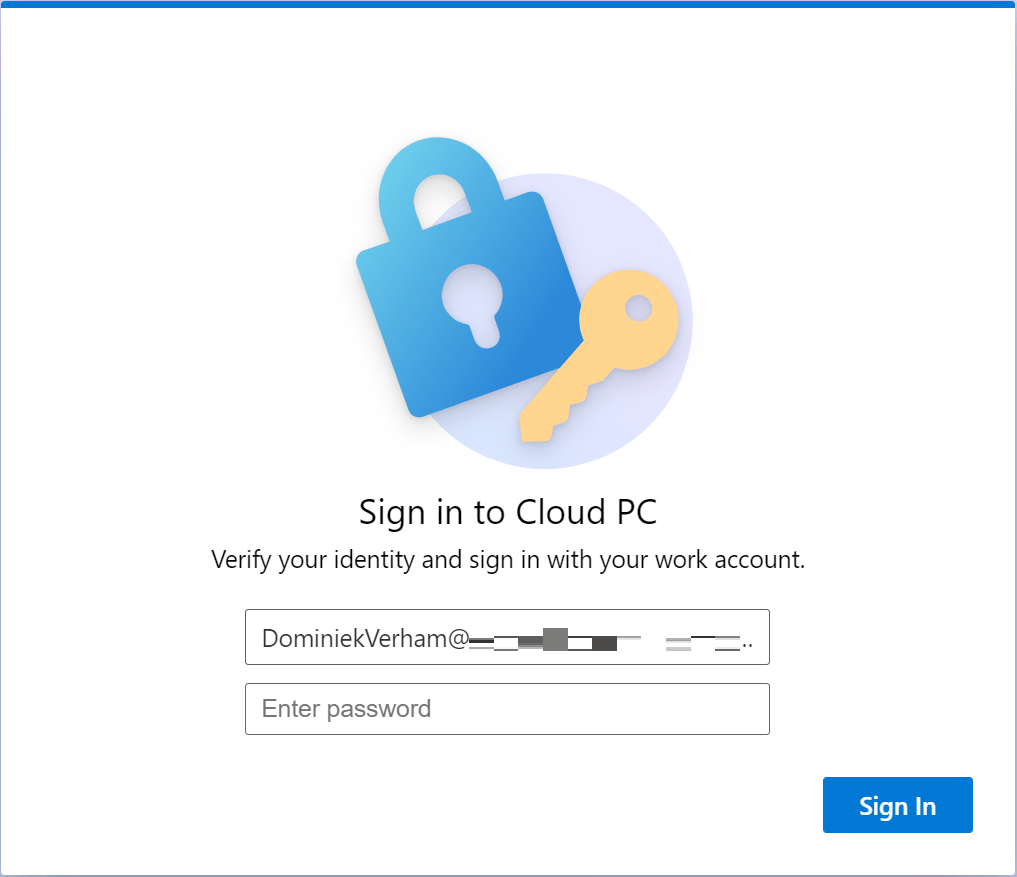
Click Connect and sign in to your Cloud PC.
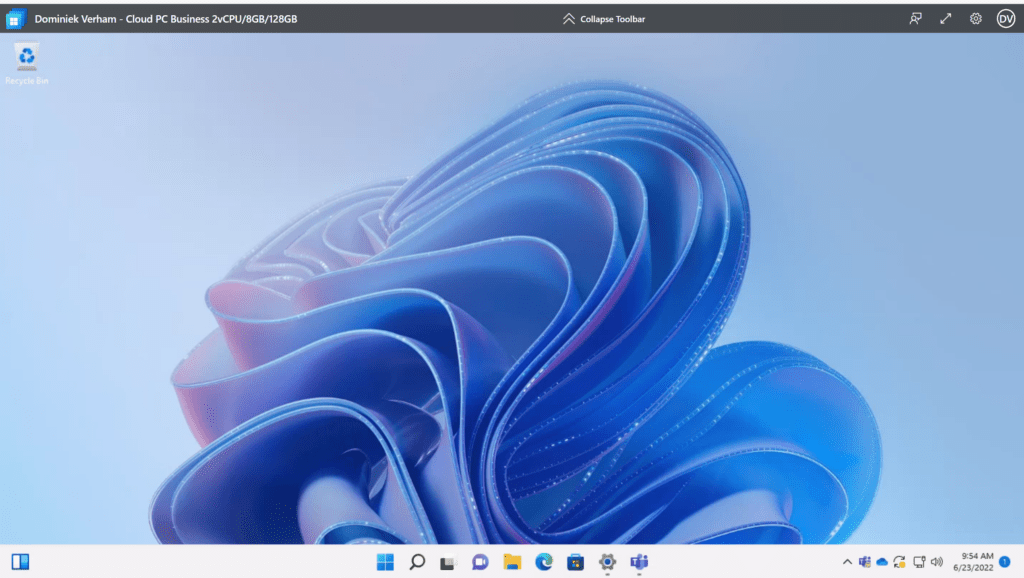
The Cloud PC will appear in your browser.
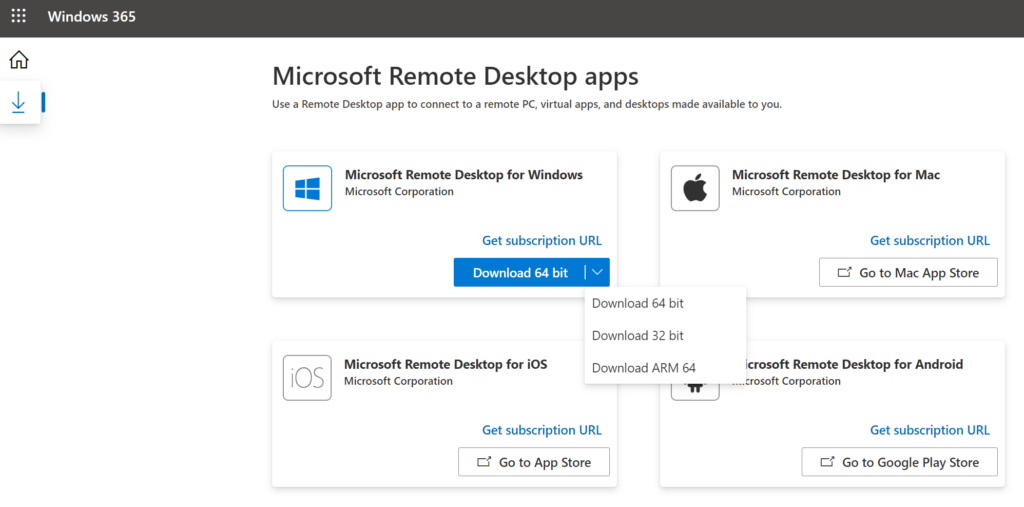
We can also make use of the Remote Desktop client to connect to our Cloud PC.
We can simply download the client from the Windows 365 portal or from the Microsoft site. The installation is a pretty straightforward next-next finish process.
Just log in using your credentials to get access to your Cloud PC. Rightclick on the Cloud PC to get more options;
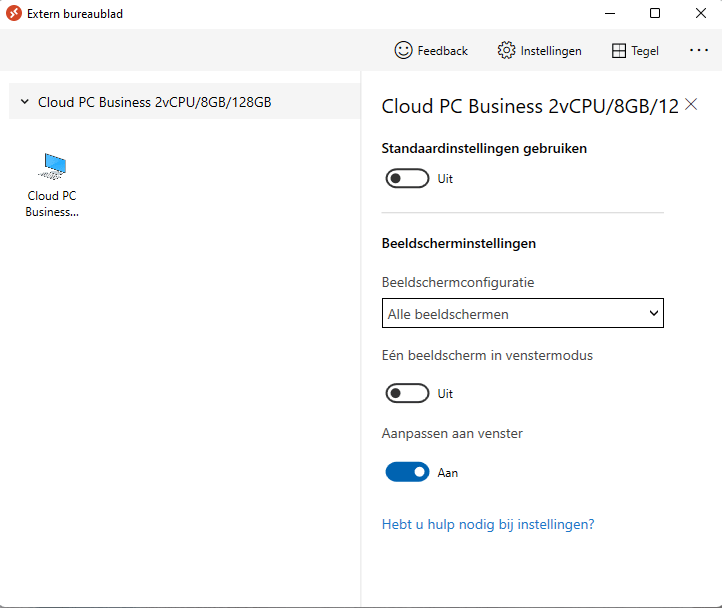
Simply doucleclick on the Cloud PC to connect.
Resources
I recommend the following resources for Windows 365 Business.