What’s up, everyone!
In this second post I will talk about configuring a custom startmenu and taskbar for Windows 11, using Microsoft Endpoint Manager. I ended up writing two posts, since the startmenu for Windows 10 and 11 are not compatible:
- Configure a custom startmenu and taskbar for Windows 10 using Microsoft Endpoint Manager
- Configure a custom startmenu and taskbar for Windows 11 using Microsoft Endpoint Manager
Let’s begin!
Prerequisites
In this demo I will use;
- A windows 11 VM to create a custom startmenu.
- A Windows 11 VM enrolled in Microsoft Endpoint Manager.
- I installed Office 365 Apps and Microsoft Teams.
Step 1: Create A Custom Startmenu
The first step for us is to create a .JSON file containing the startmenu layout we want. The term startmenu can easily be replaced by the term pinnedList. But to keep things easy, I will continu to use the term startmenu.
An easy way to do this is by starting up a virtual machine and add and remove apps in the startmenu as needed.
In this demo I started a Windows 11 virtual machine and configured a simple startmenu;
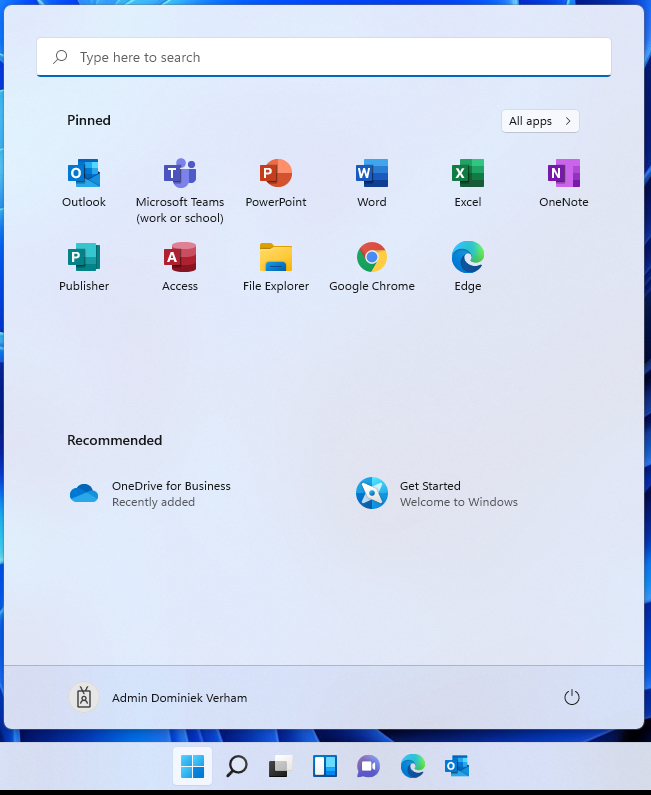
Once we have the layout we need, we can use Powershell to export the layout to a .JSON file.
Open up and administrative Powershell and enter the following command (assuming the path C:\Layout exists);
Export-StartLayout -Path ‘C:\Layout\LayoutModification.json’
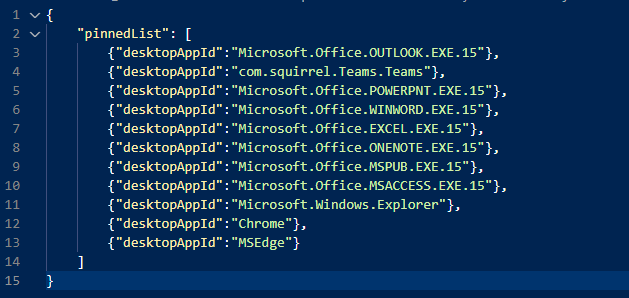
The .json file looks like:
Step 2: Configure The Device Configuration Policy
Login to Microsoft Endpoint Manager and create a new Device Configuration Policy.
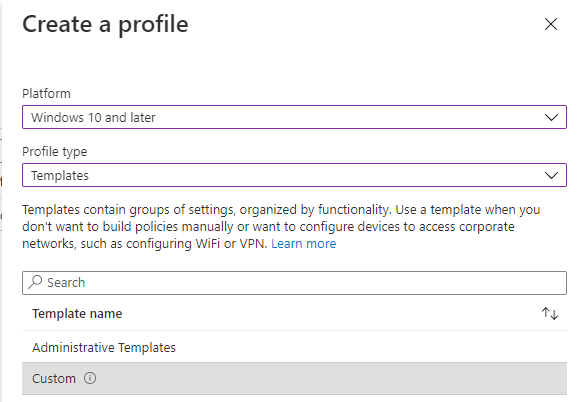
Provide a name and description.
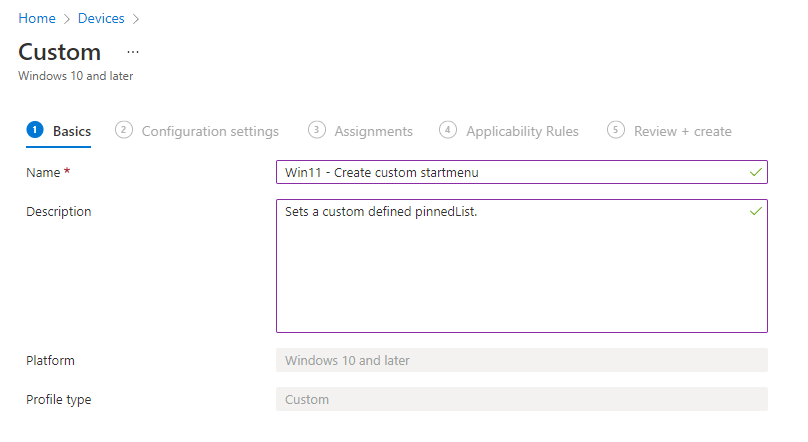
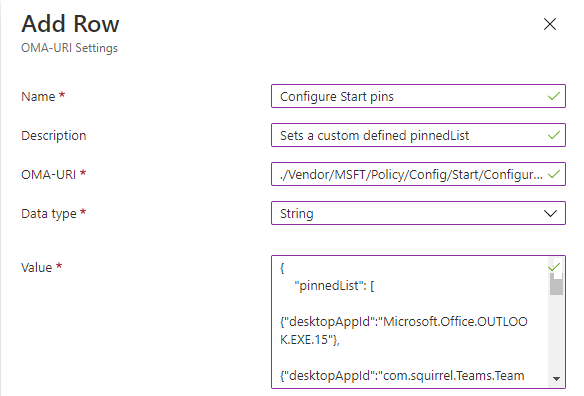
Click on the Add button. Next, add the following properties;
- Name: Enter a name
- Description: although not mandatory, it is recommended to fill in a fitting description.
- OMA-URL: ./Vendor/MSFT/Policy/Config/Start/ConfigureStartPins
- Data type: String
- Value: Paste the contents of the .json file we created earlier.
The OMA-URI settings will look something like this:
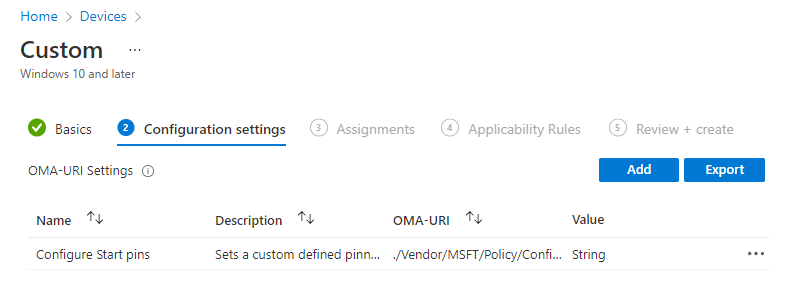
Click Next. Assign the policy, configure Applicability Rules if you want to and finish up by reviewing and creating the policy.
Step 3: Customize the Windows 11 Taskbar
In the previous post about customizing the Windows 10 startmenu and taskbar, we had to export the startmenu to an .xml and add some code to customize the taskbar.
To customize the taskbar in Windows 11, we still need to create an .xml file and add some code.
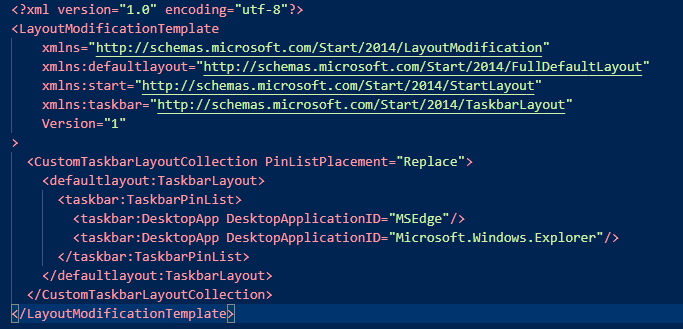
Microsoft provides us with some sample code:
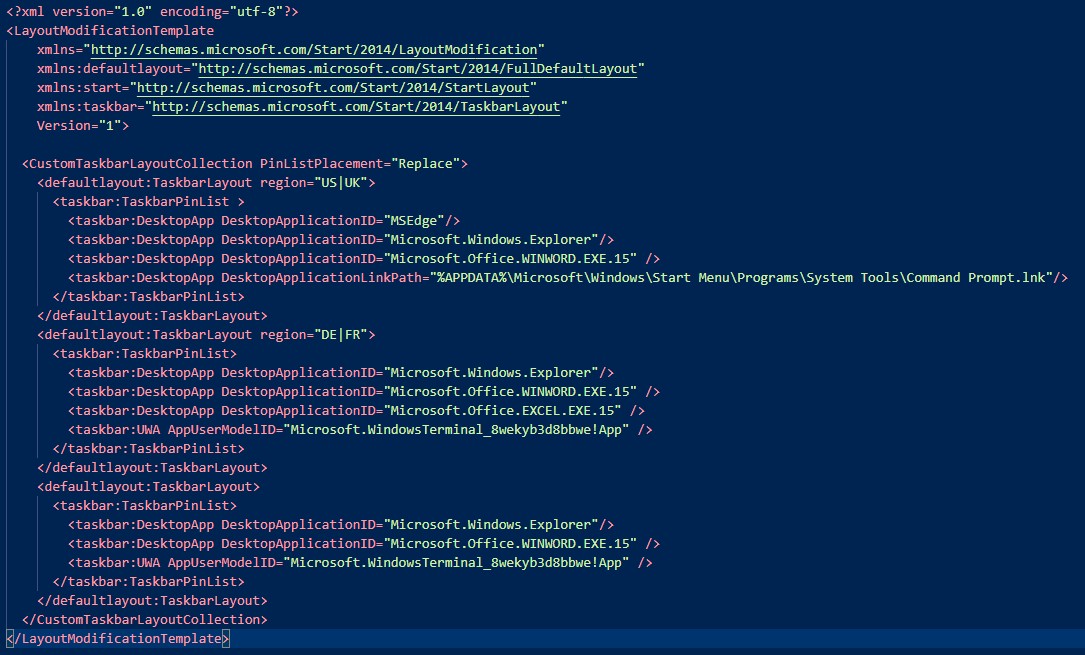
Change the content as need. For this demo I removed the region and ended up with a default layout. It just contains the Edge browser and the Windows Explorer.
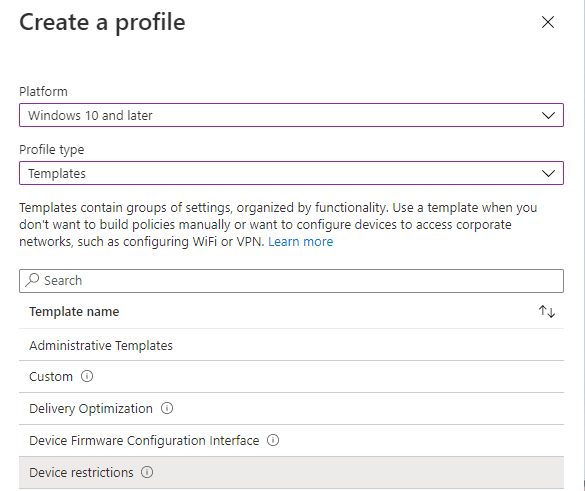
To deploy the custom taskbar to the endpoints, we have to create a new Device Configuration Policy. Choose the following options:
- Platform: Windows 10 and later
- Profile type: Templates
- Template name: Device Restrictions
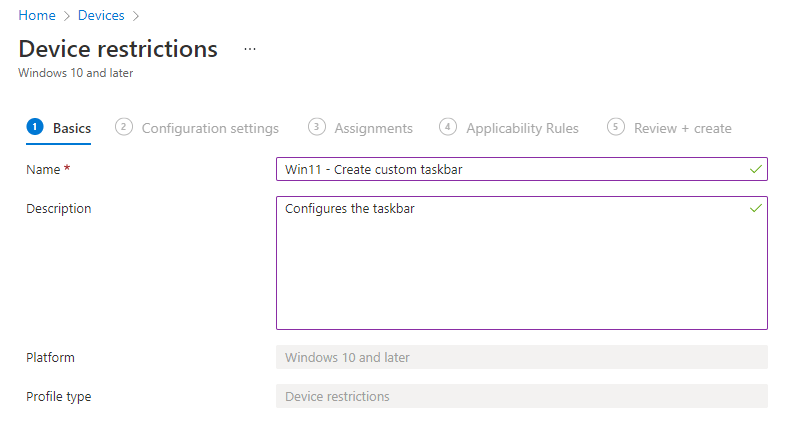
Provide a name and description.
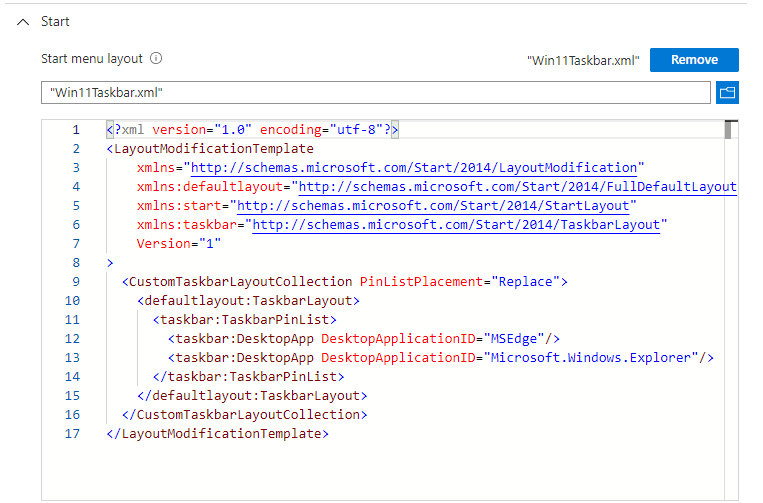
Open up the Start section and browse to the .XML file we created earlier.
Assign the policy, in my case all devices will do.
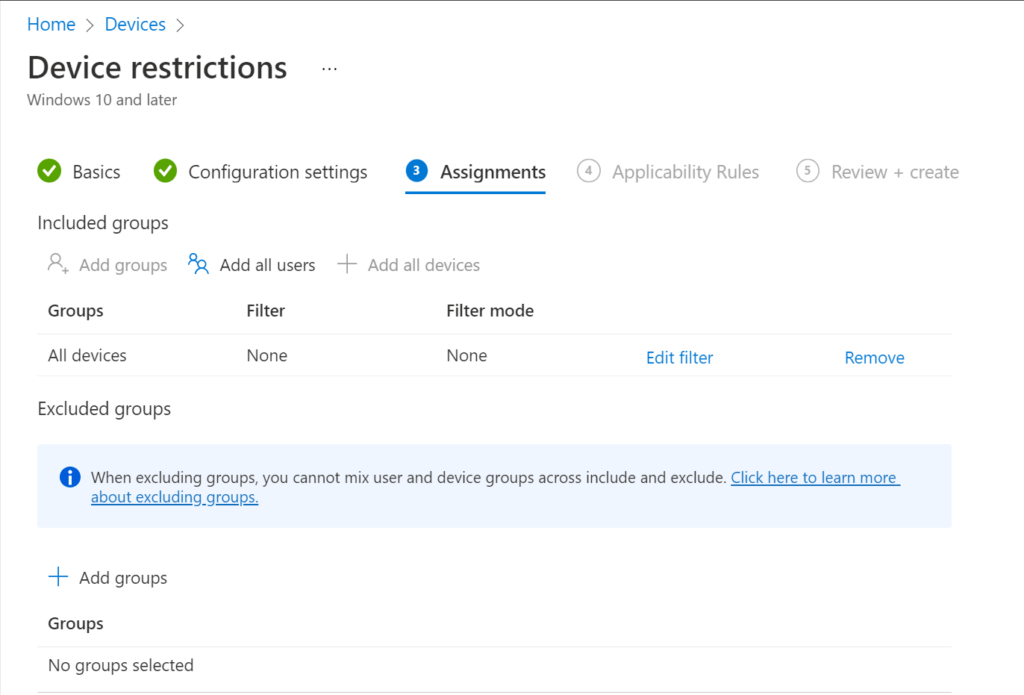
If needed, configure the applicability rules. Review and create the profile.
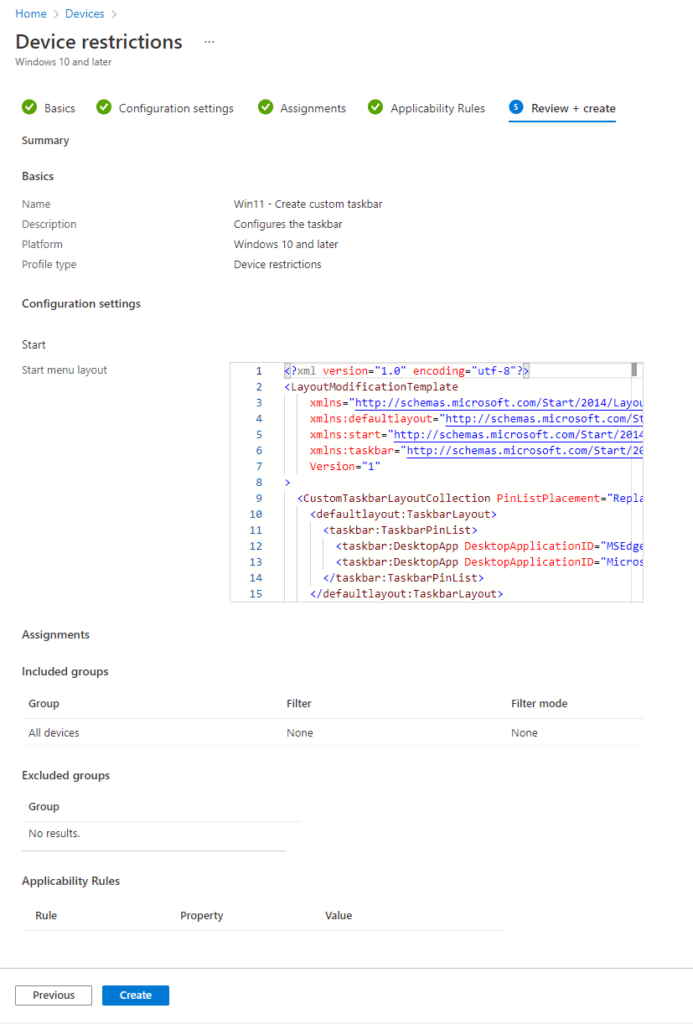
That’s all for the Device Configuration Profile.
How to filter Windows 10 and 11 operatings systems?
So, what if you have Windows 10 and Windows 11 devices and use multiple policies to configure a custom startmenu and taskbar?
It is possible to target all devices and use a filter to have more control when a policy should be applied or ignored. This is how to setup filters.
Go to the Devices blade, scroll down to the Other section and click on Filters.
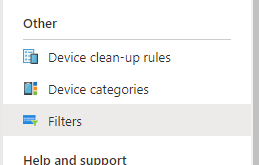
Click on + Create to create a new filter.
Let’s create a filter for devices running Windows 10 and Windows 11.
Enter the name and description for the filter and choose Windows 10 or later for platform.
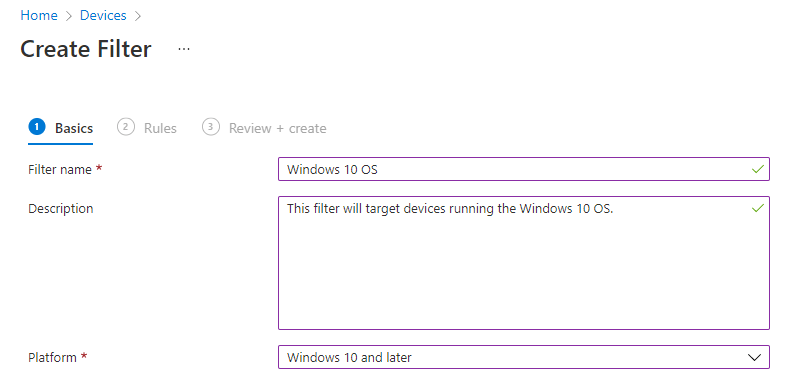
On the Rules tab, we can set the desired filter.
The filters for Windows 10 and 11 are:
Windows 10: (device.osVersion -startsWith “1.0.1”)
Windows 11: (device.osVersion -startsWith “1.0.2”)
Also make sure to checkout the Preview devices option. This will help us to validate the rules.
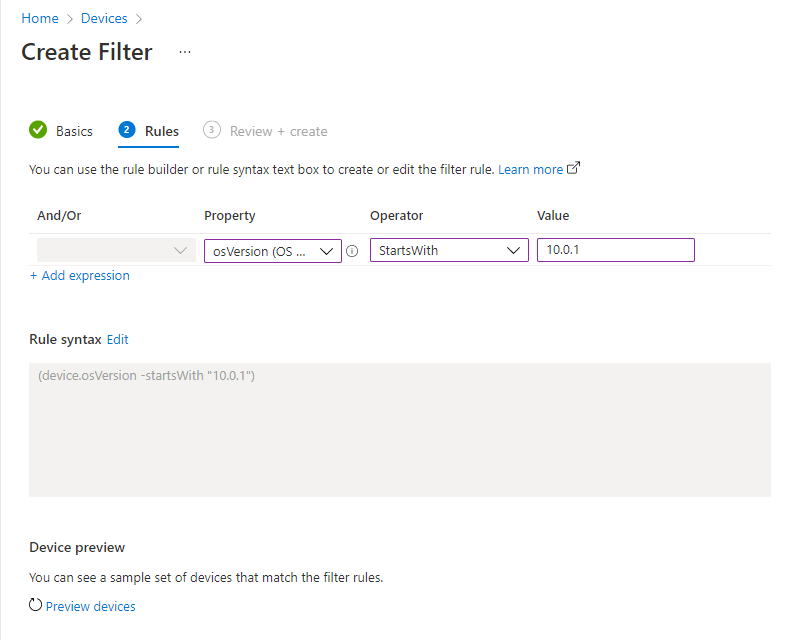
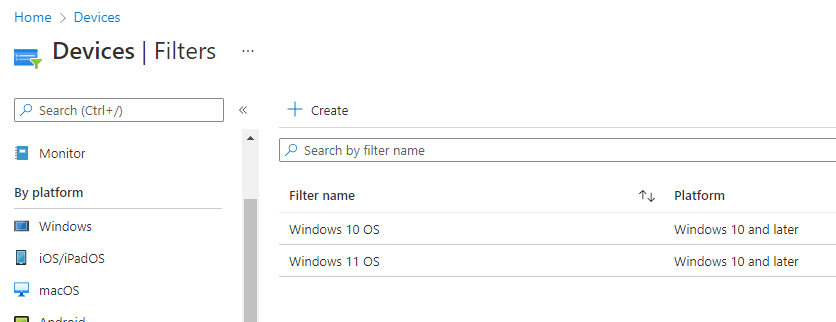
Finish up by reviewing and creating the filter. Next, repeat the process to create a filter for Windows 11. We should end up with these filters:
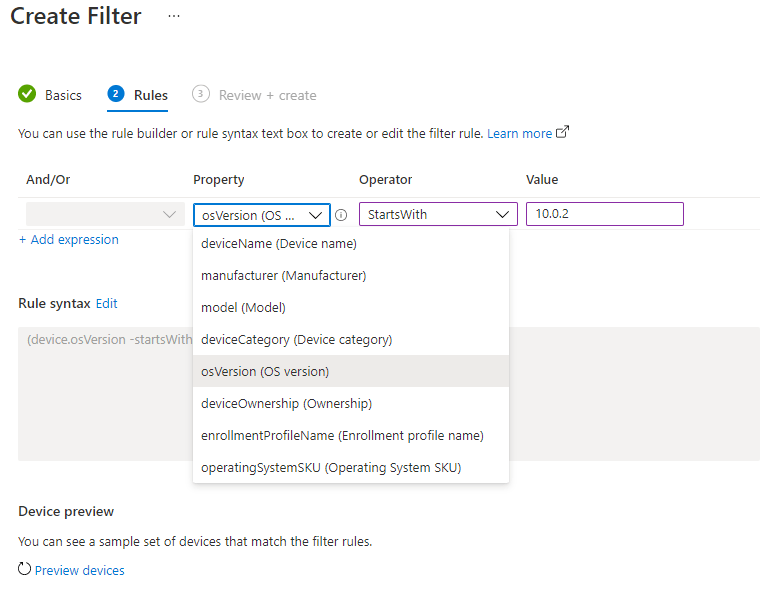
The following screenshot shows which properties are available to filter on:
Now that we created the filters, we can start to use them. For instance, we can now use the filter to apply the custom startmenu and taskbar to devices using Windows 11 as an operating system. This is especially useful if we would like to set a custom startmenu for Windows 10 and 11.
If we edit the assignment of the device configuration policy for the custom Windows 11 startmenu, we can click on Edit filter behind the Addl Devices group.
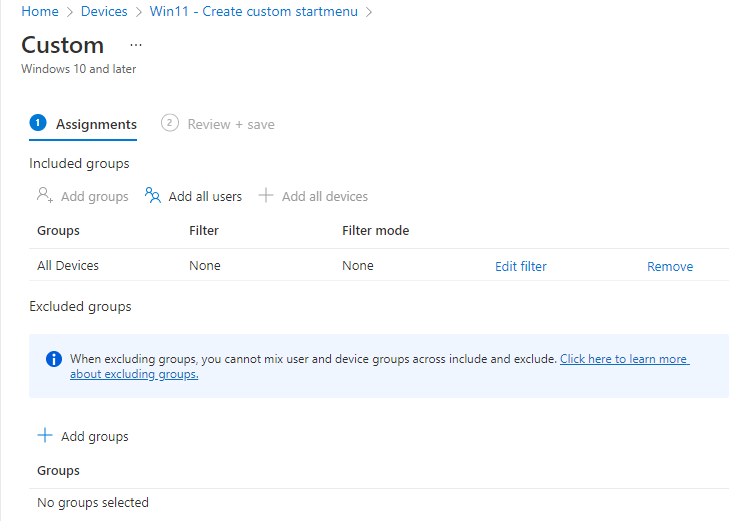
We can choose the include of exclude filtered devices in the assignment. For our usecase, we select the include filtered devices and click the Windows 11 filter.
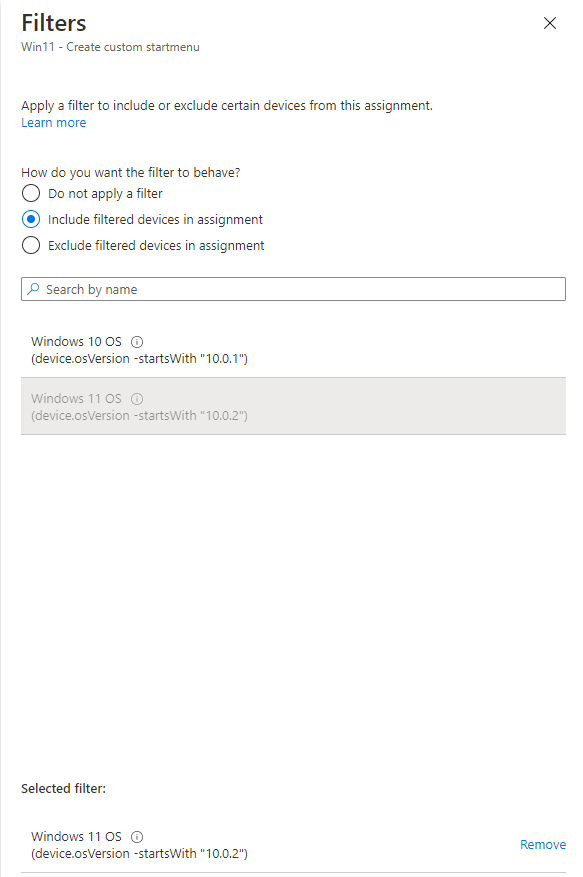
Click select to commit the change and review the change on the overview screen:
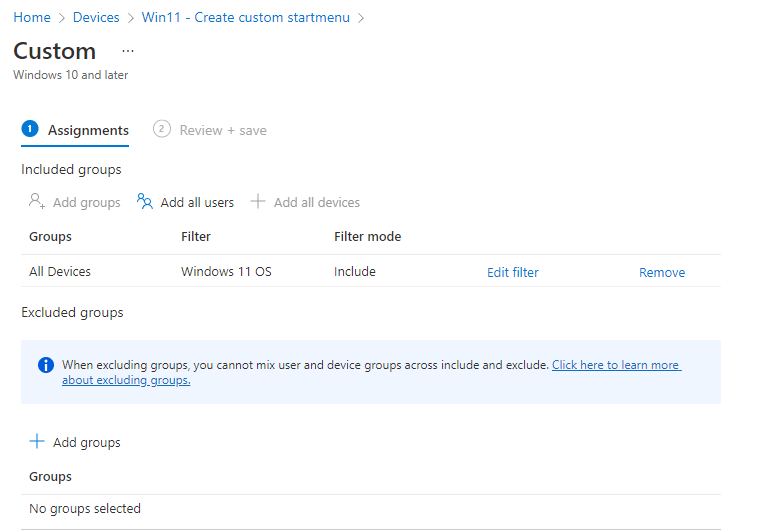
Click on the Review + save button to finish up.
Resources
I used the following resources for this blog.
Customize the Start menu layout on Windows 11
Customize the taskbar on Windows 11
Use filters when assigning your apps, policies and profiles in MEM
