What’s up, everyone!
There’s a lot of buzz around the new Microsoft Intune Suite. I really wanted to have a look at it and see what the buzz is all about.
An introduction into the new Microsoft Intune Suite
The Microsoft Intune Suite license is a premium add-on license. It basically enables more Microsoft services on top of the Intune core services that you are already using. As of this moment it has the following features:
Microsoft Intune Tunnel for Mobile Application Management
A lightweight VPN solutions for iOS and Android that does not require device enrollment.
Microsoft Intune Management of specialty devices
A set of device management, configuration and protection capabilities for special purpose -built devices.
Check this Microsoft site for more information about specialty devices.
Microsoft Intune Remote Help
A cloud-based solution that enables secure helpdesk-to-user connections.
I wrote a post about the Microsoft remote support options for Windows a while back. It also discusses Remote Help. You can check it out here if you are interested to learn more.
Microsoft Intune Endpoint Privilege Management
A feature that allows standard users to perform elevations approved by their organization.
Microsoft Intune advanced endpoint analytics
A set of analytics-driven capabilities that help IT admins understand, anticipate and improve end-user experiences.
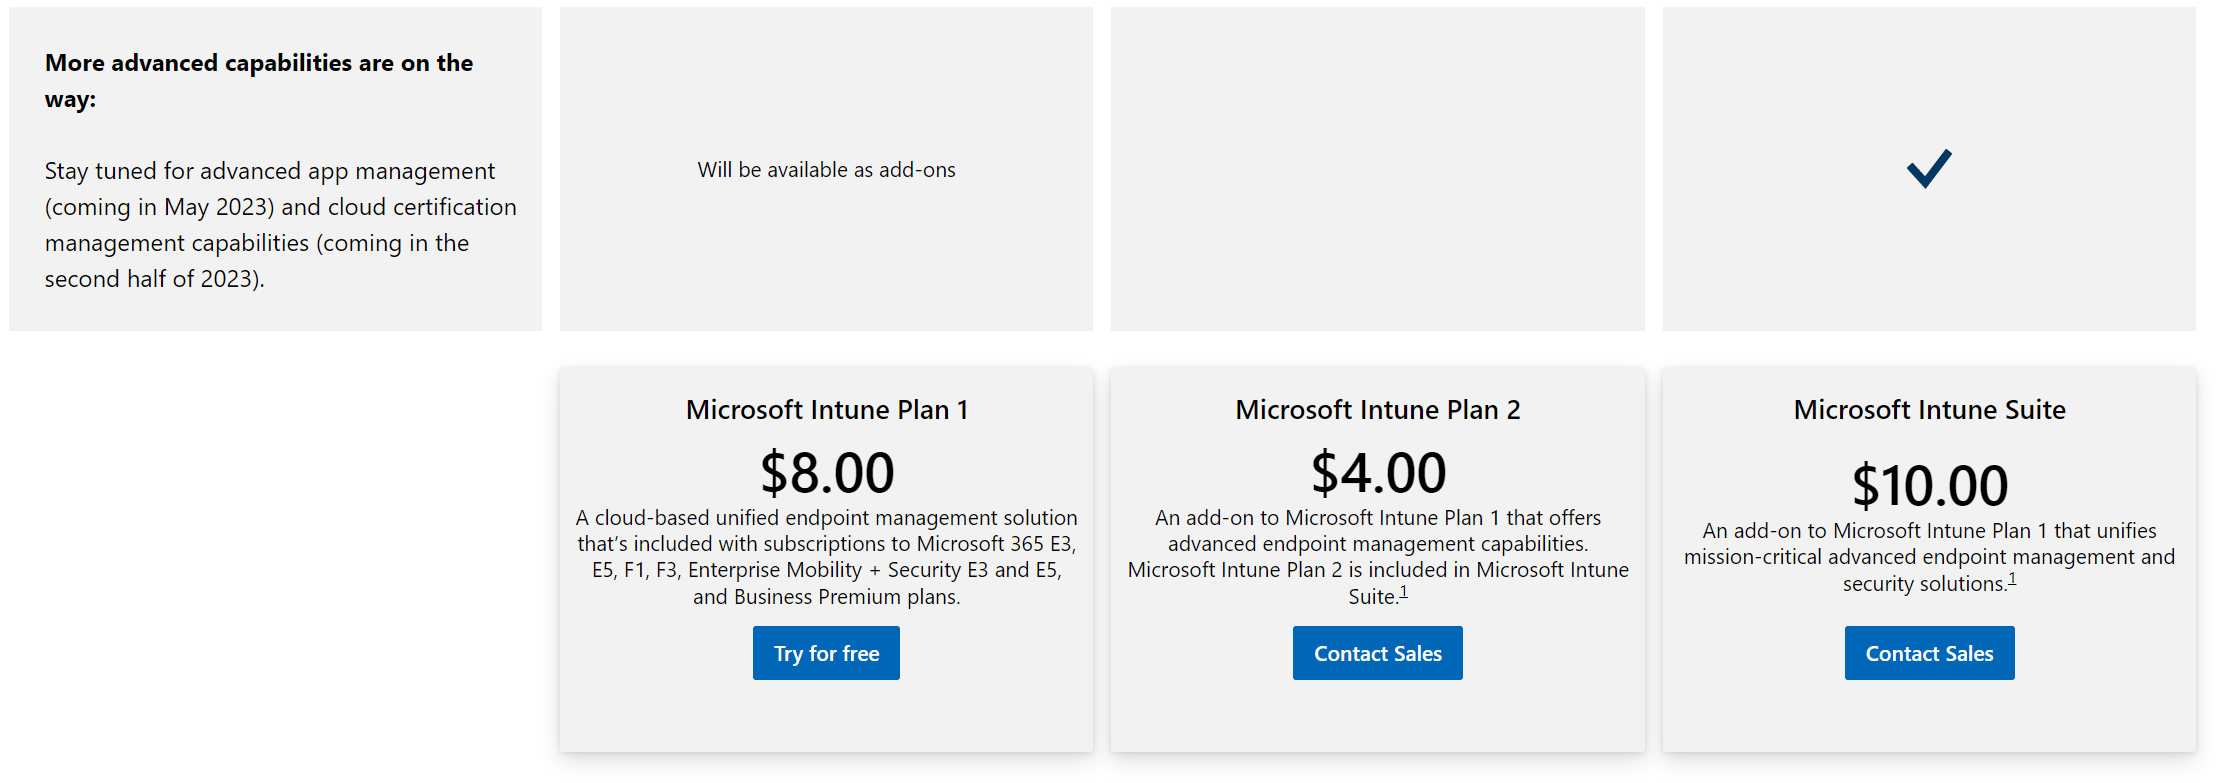
But wait! There’s more on the way!
Alright, I’ll admit. That sounded like a commercial. But on a serious note, in todays IT world features are added pretty fast and that’s no different for the Microsoft Intune Suite. There are already two more solutions announced:
License updates
A couple of things changed in the Microsoft world of licensing. For instance:
The Intune license is now called Microsoft Intune Plan 1. It has the core capabilities of Intune and it’s included with Microsoft 365 E3, E5, F1, F3, EMS E3, EMS E5 and Business Premium plans.
Microsoft Intune Plan 2 is an add-on to plan 1 and adds advanced endpoint management capabilities. Microsoft Intune Plan 2 is included in the Microsoft Intune Suite plan.
The following features are core capabilities of Microsoft Intune:
- Cross-platform endpoint management
- Built-in endpoint security
- Mobile application management
- Endpoint analytics
- Microsoft Configuration Manager (with the exception of Business Premium plan)
How to setup a trial
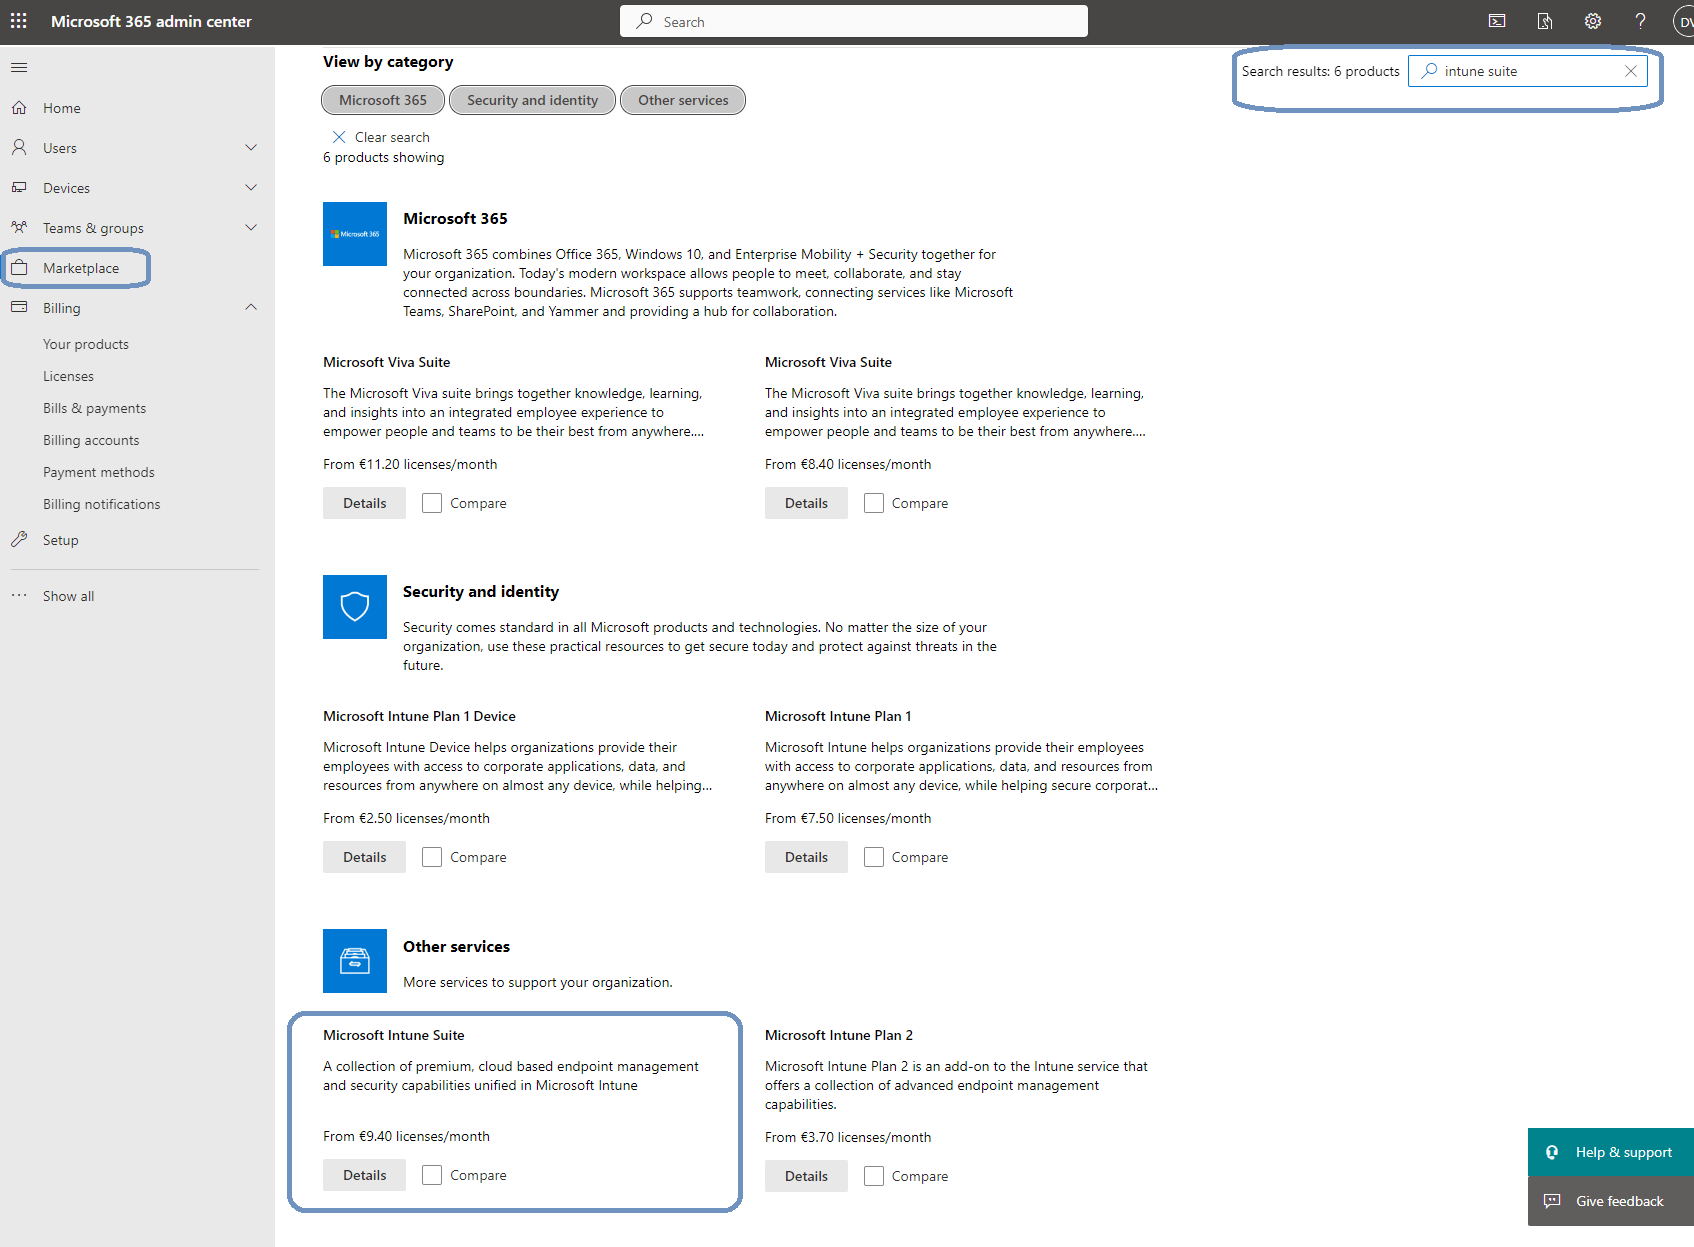
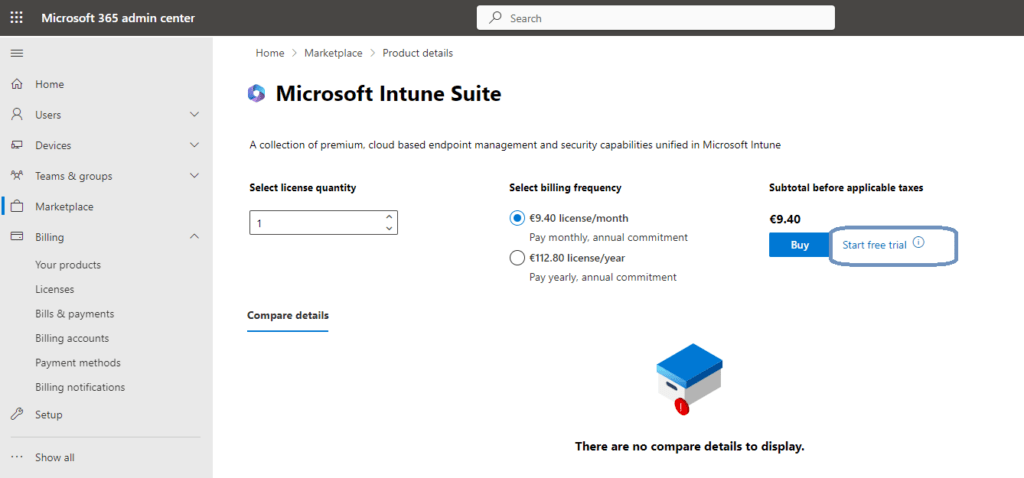
For this demo I added some trial licenses. Here are the steps you can take if you want to follow along. Make sure that your account is a global admin or billing administrator. Login to the Microsoft 365 admin center and go to Marketplace. Use the seach box to search for something like Intune Suite. You might need to scroll down a bit until you see Microsoft Intune Suite.
Just click on the details button to go to view the product details.
There’s a Start free trial option next to the Buy button. Just click on the trial link.

All that is left is to click the Try now button to add the trial licenses.
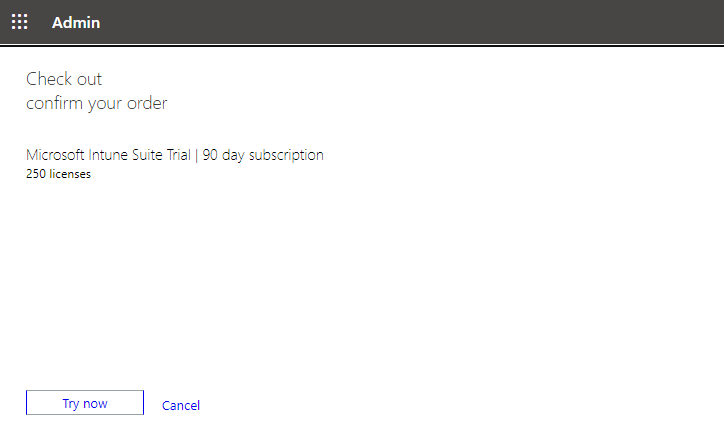
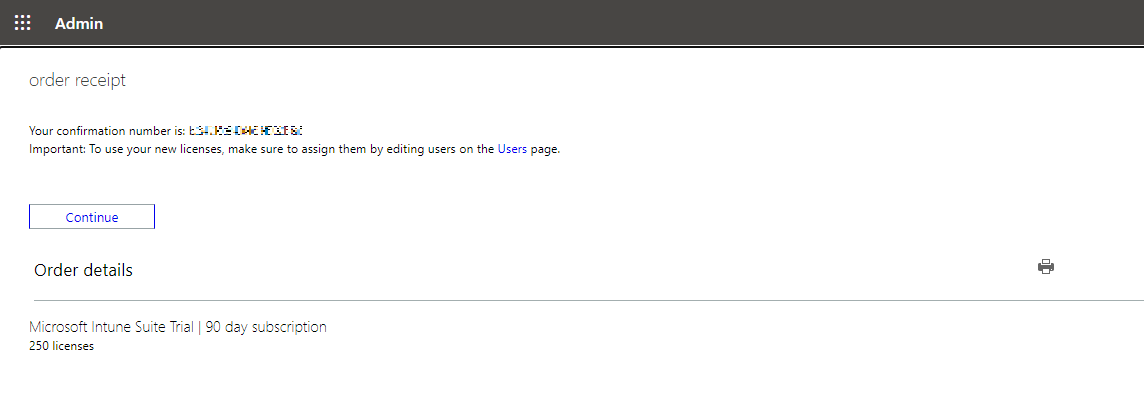
You will get a confirmation and a reminder that you’ll need to assign the licenses to your users. The trial contains 250 licenses.
Assign licenses to the users
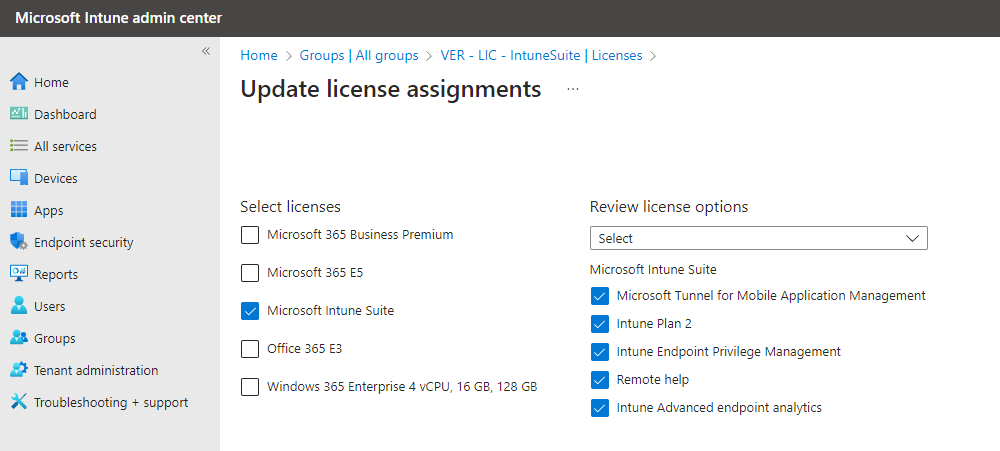
Let’s assign licenses to the users. You can either assign them directly or use group-based licensing. I chose group-based licensing. So I created a group, added some users and selected the Microsoft Intune Suite license.
Everything is setup. Let’s have a look at one of the features. The Endpoint Privilege Management feature is one thing that I am excited about. So let’s have some fun with that.
Endpoint Privilege Management (EPM)
As admins we are happy when our users have standard user rights. But we also know that our users sometimes need more privileges to be able to do their job right. This is where endpoint privilege management to the rescue. As an admin we can now define policies so that our end users can elevate their privileges for tasks that we approve. Let’s see how this works.
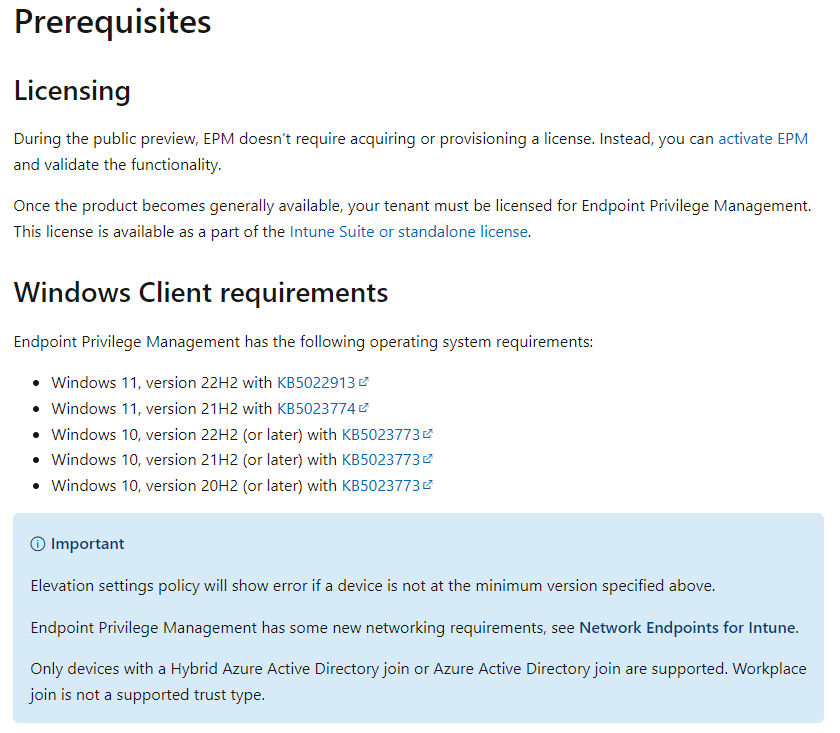
EPM prerequisites
Here are the Microsoft prerequisites for EPM:
Step 1: How to enable EPM for your tenant
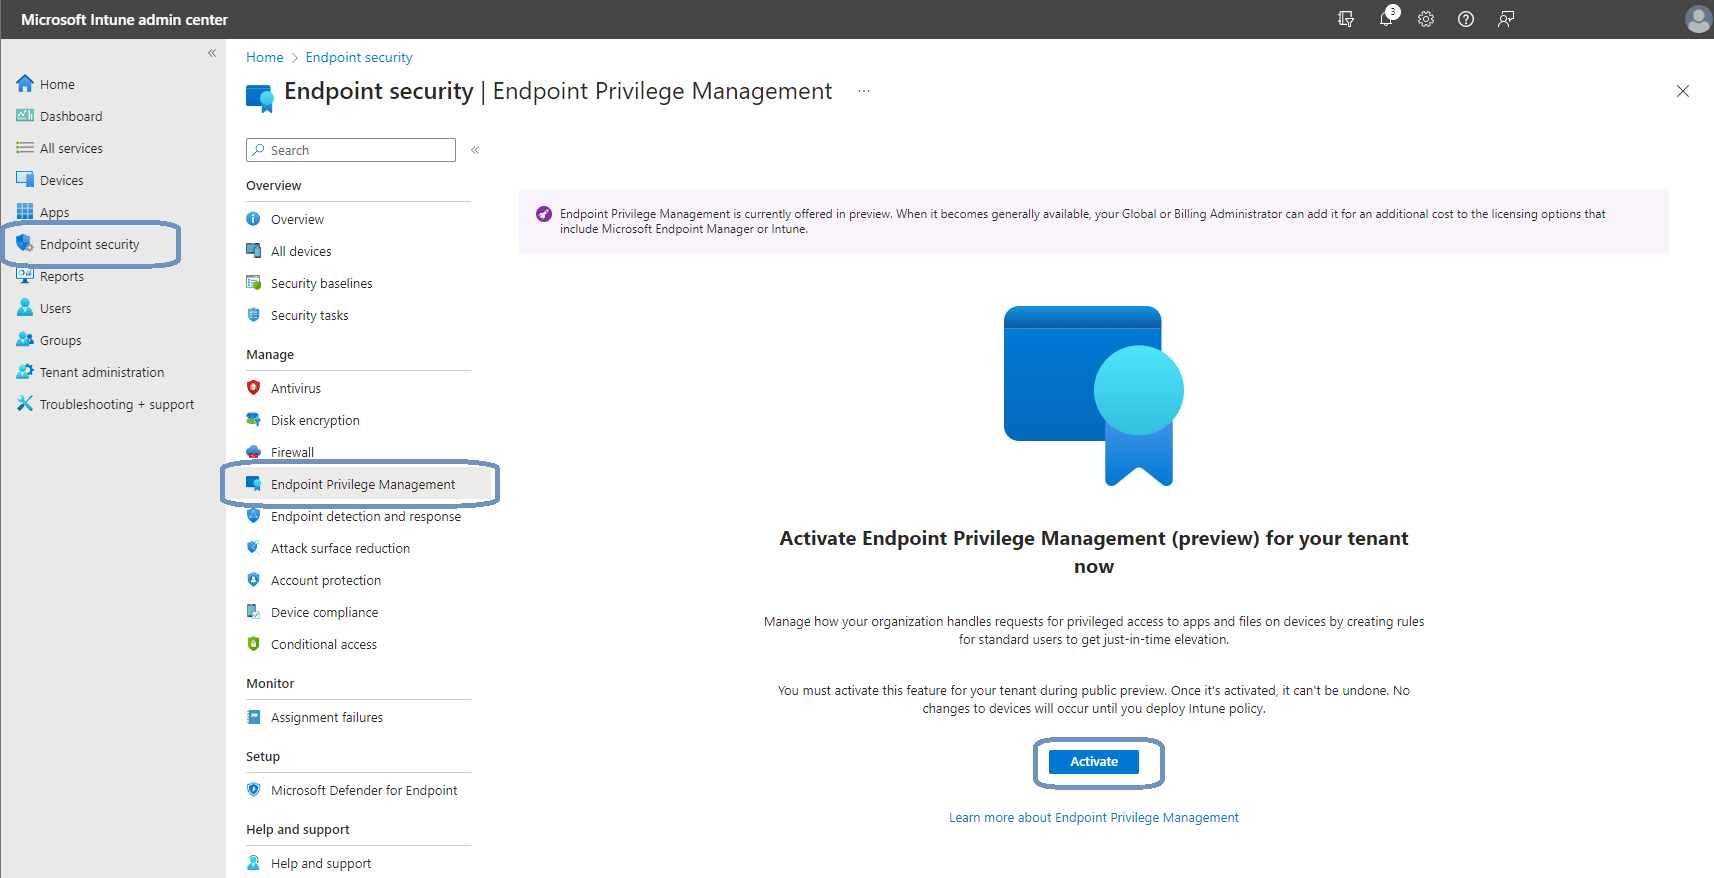
Sign-in to the Microsoft Intune admin center, endpoint security, Endpoint Privilege Management. Click the Activate button.
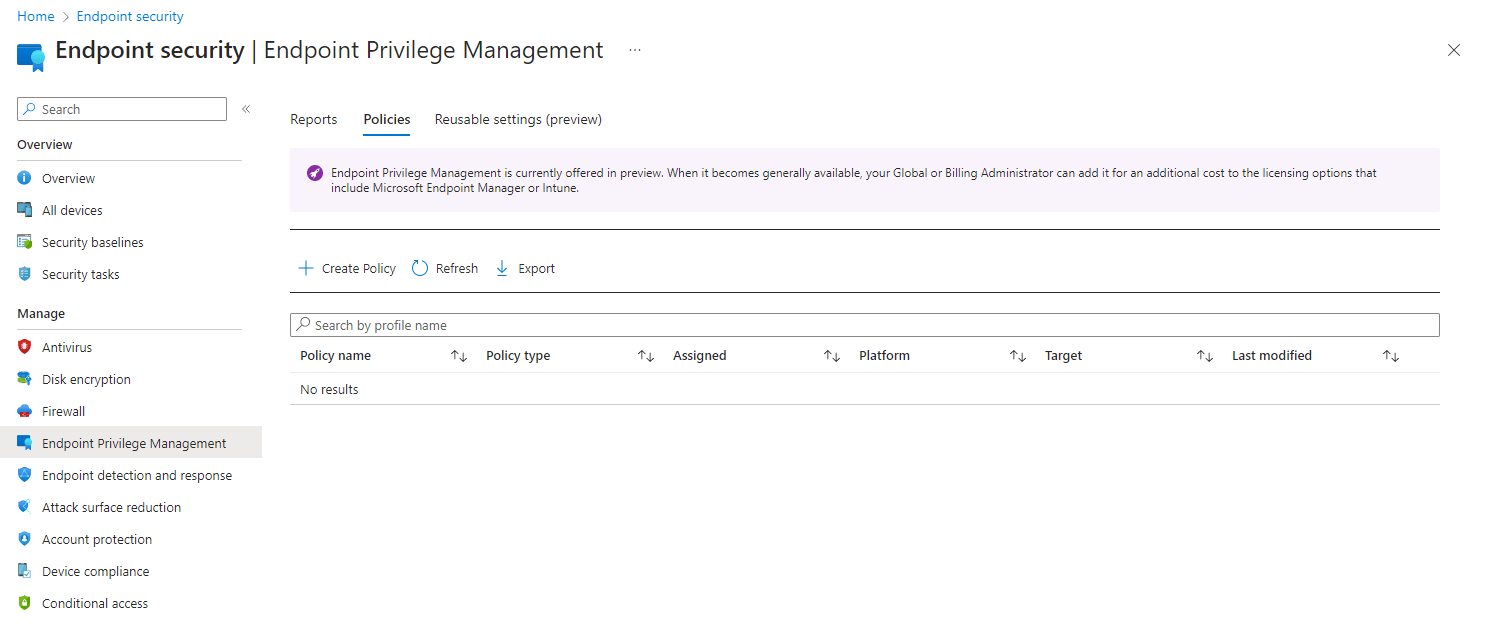
The process of activating EPM is pretty fast. We now have access to the EPM:
We have three tabs:
- Reports: This tab has two reports. The first is the Elevation report (view all elevations both managed and unmanaged by elevation policies) and the second is the Managed elevation report (See the status of elevations that occurred inside the elevation management policies).
- Policies: Create and manage policies.
- Reusable settings (preview): contains settings to manage certificate that validate the file you manage with EPM elevation rules.
Step 2: Create an elevation settings policy
Now it’s time to talk about policies. First we will need to enable EPM on our client devices. We can use an elevation settings policy for this. Then we can use an elevation rule policy to link an application or task to an elevation action. Let’s see how we can create an elevation settings policy.
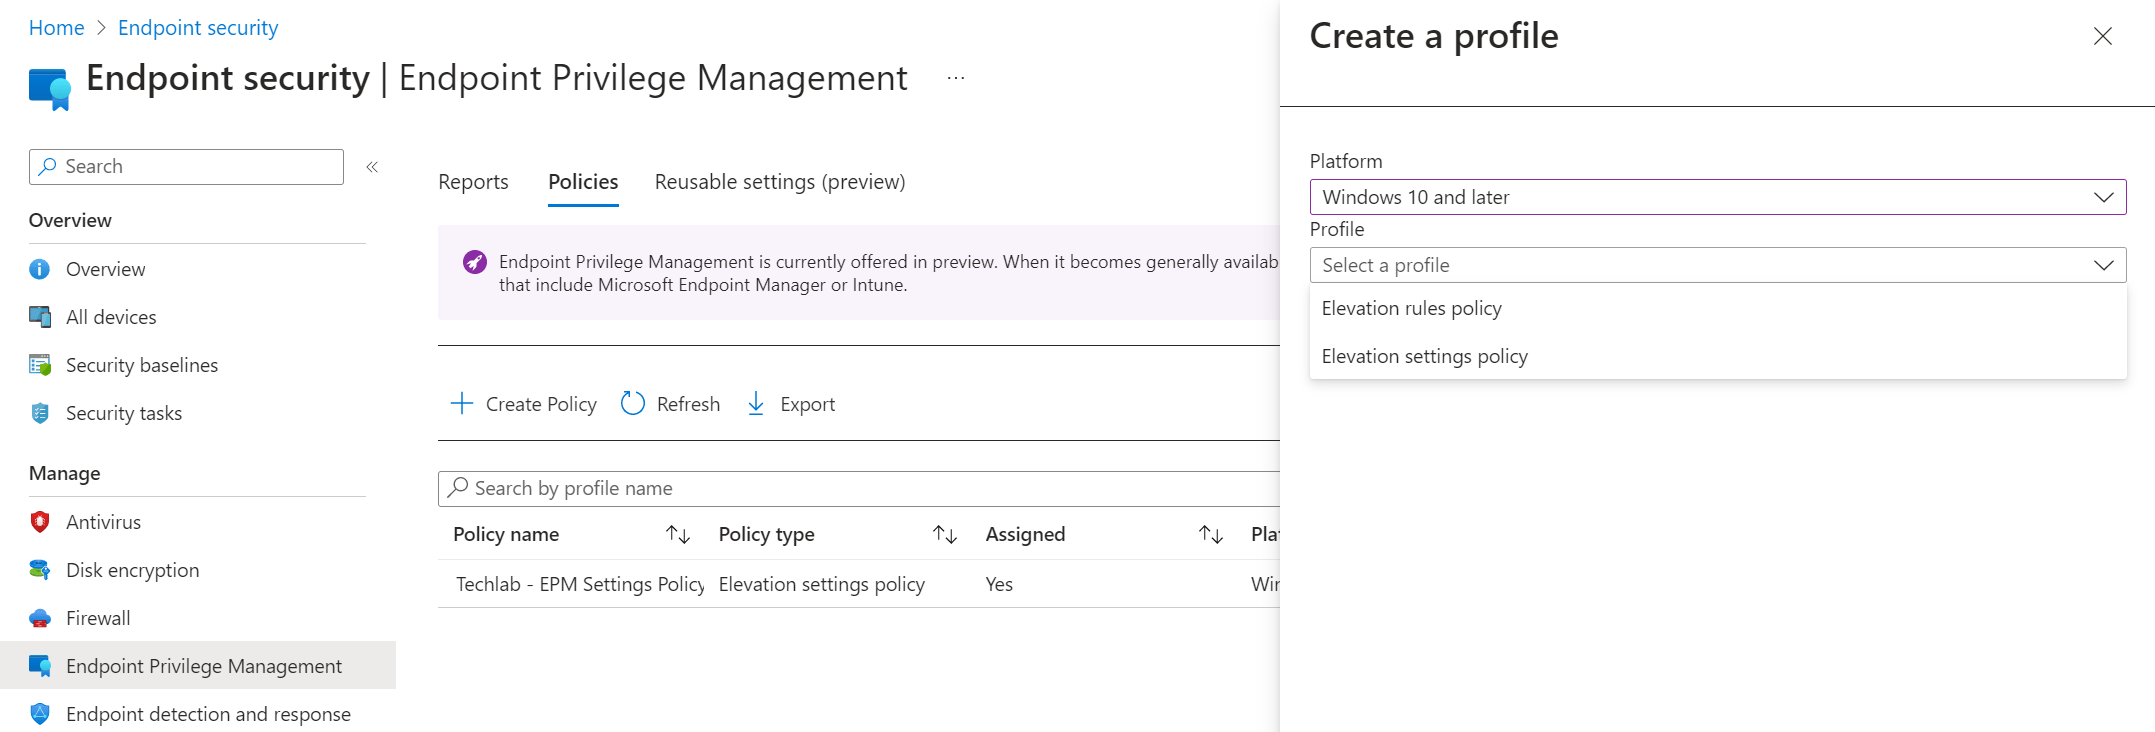
Navigate back to Endpoint Security, Endpoint Privilege Management, Policies. Click on the + Create Policy button and select Windows 10 and later as the platform and Elevation Settings Policy as the profile.
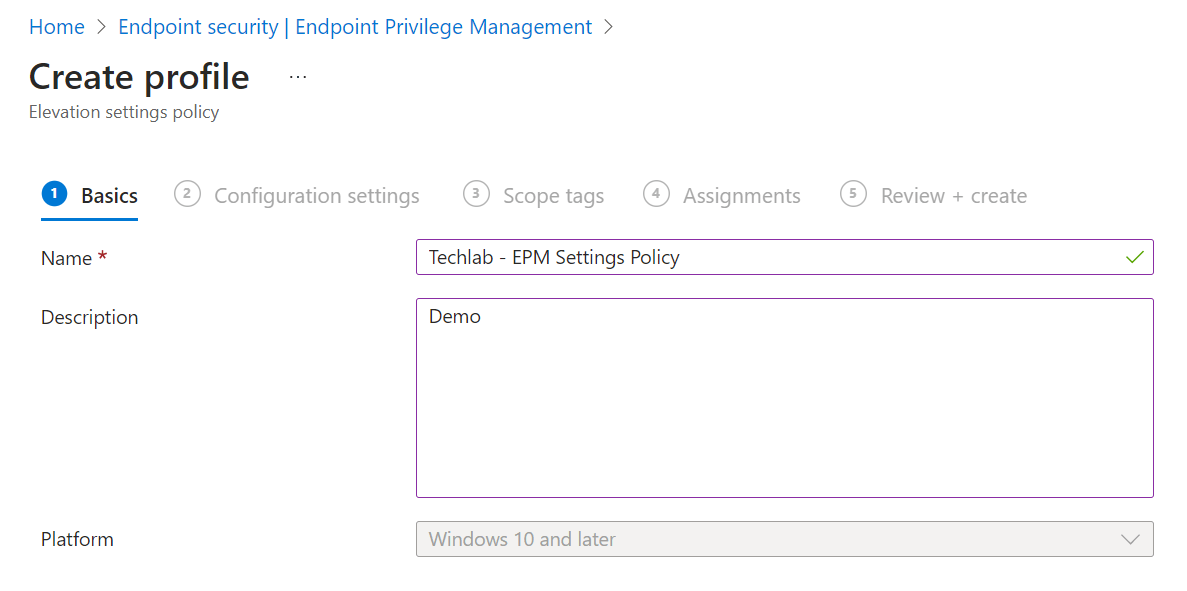
Give the settings policy a name and description and click Next.
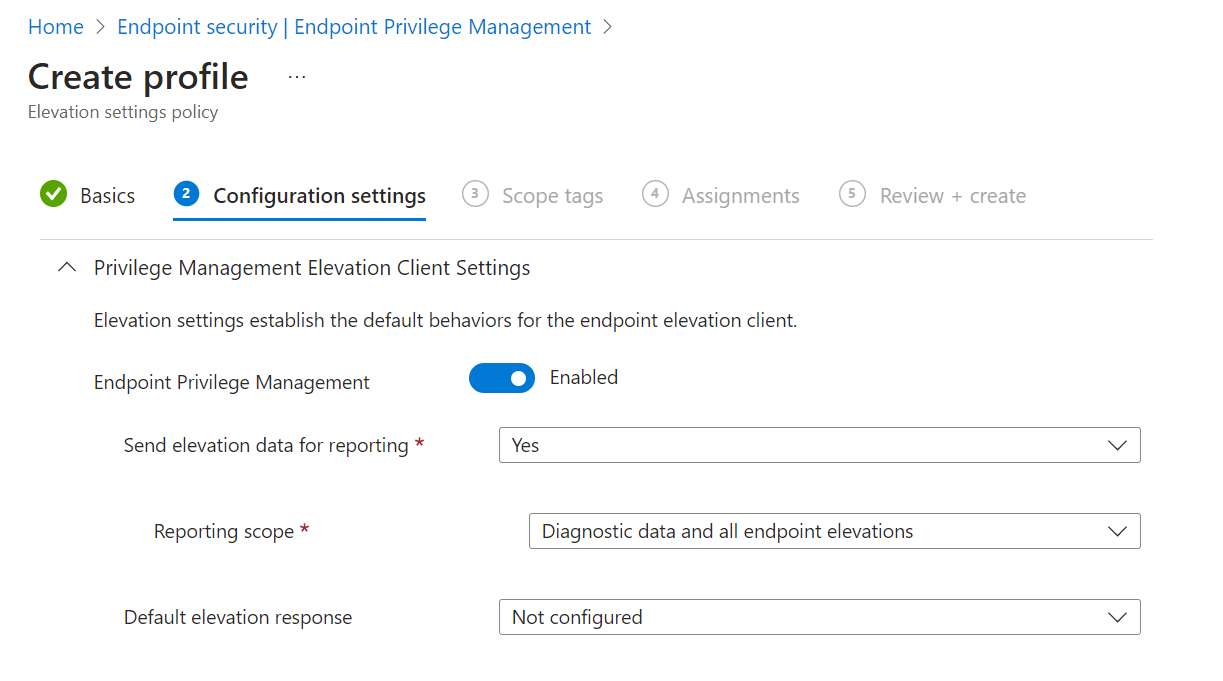
The Endpoint Privilege Management slider will be set to Enabled. You can define the following settings:
- Send elevation data for reporting: Can be set to Yes or No.
- Reporting scope: Can be set to Diagnostic data and managed elevations only, diagnostic data and all endpoint elevations or Diagnostic data only.
- Default elevation response: select the default response for an elevation request of any file that is not managed by an elevation rule policy. Can be set to Deny all requests, require user confirmation or not configured.
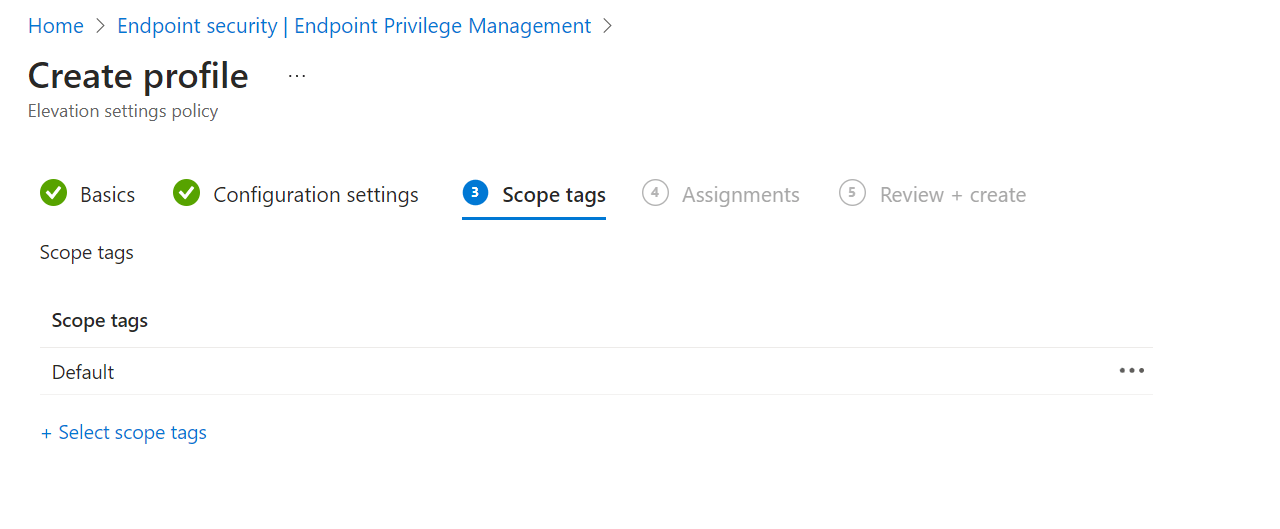
Configure scope tags if you like and click next.
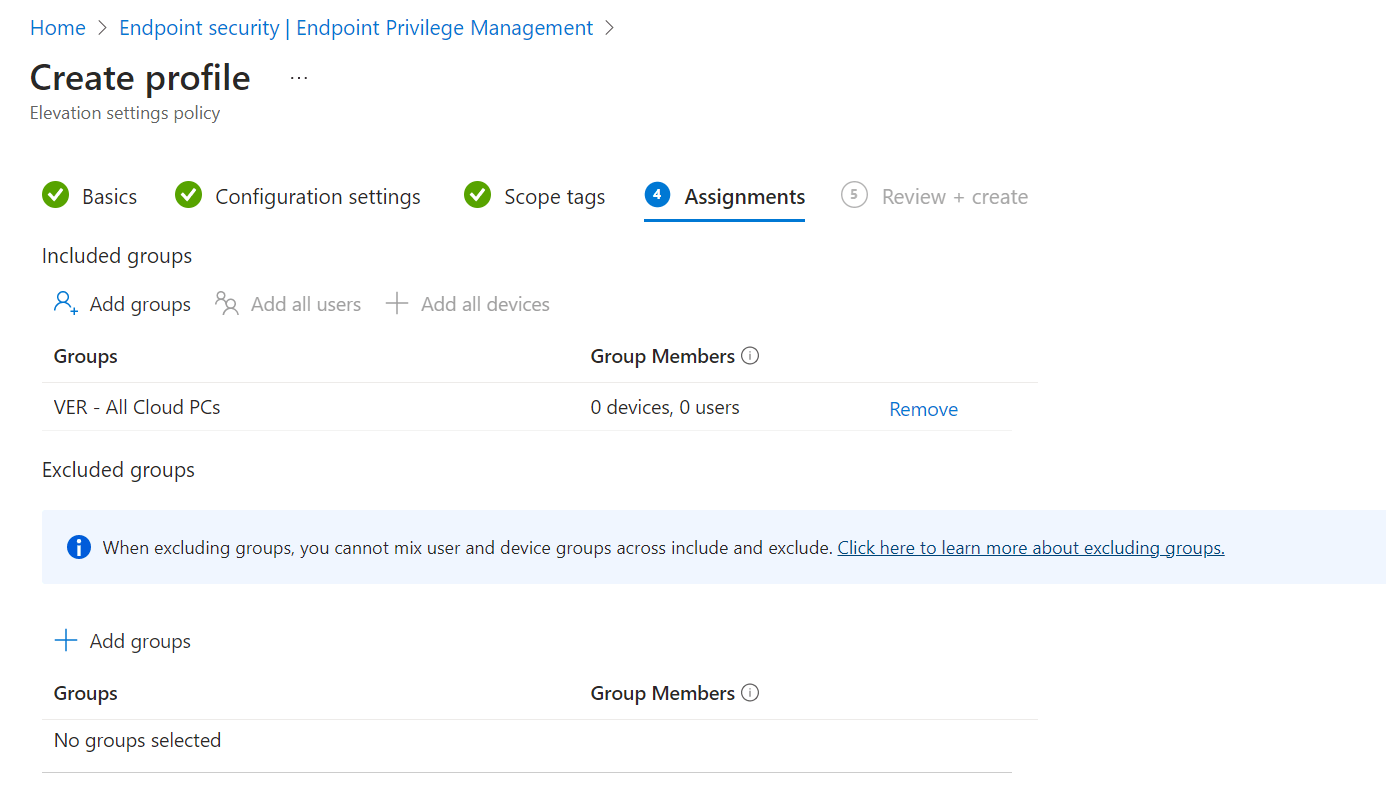
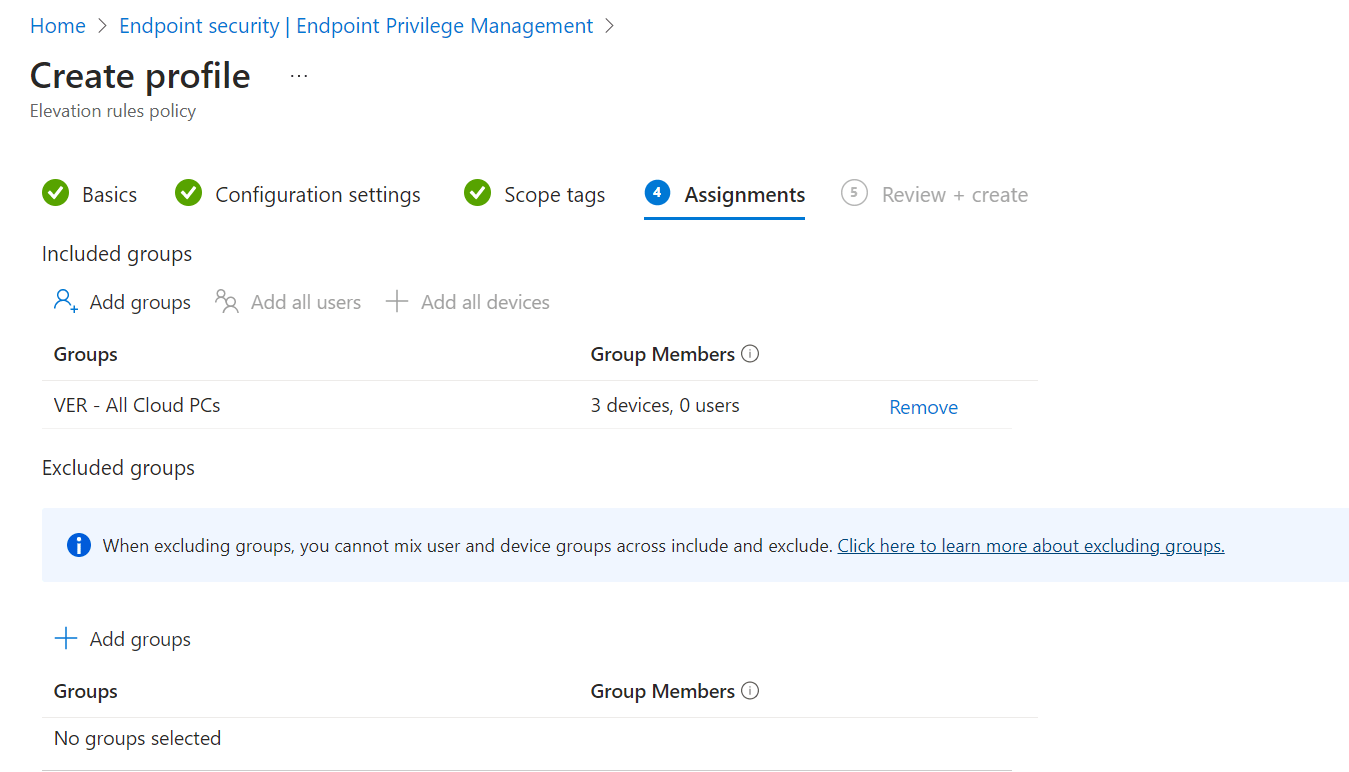
In the fourth step we can assign the elevation settings policy to a group or more groups. You can choose the built-in groups like all devices, but you cannot use filters. I created a new dynamic group for all Cloud PCs, so it might take a moment for devices to become a member.
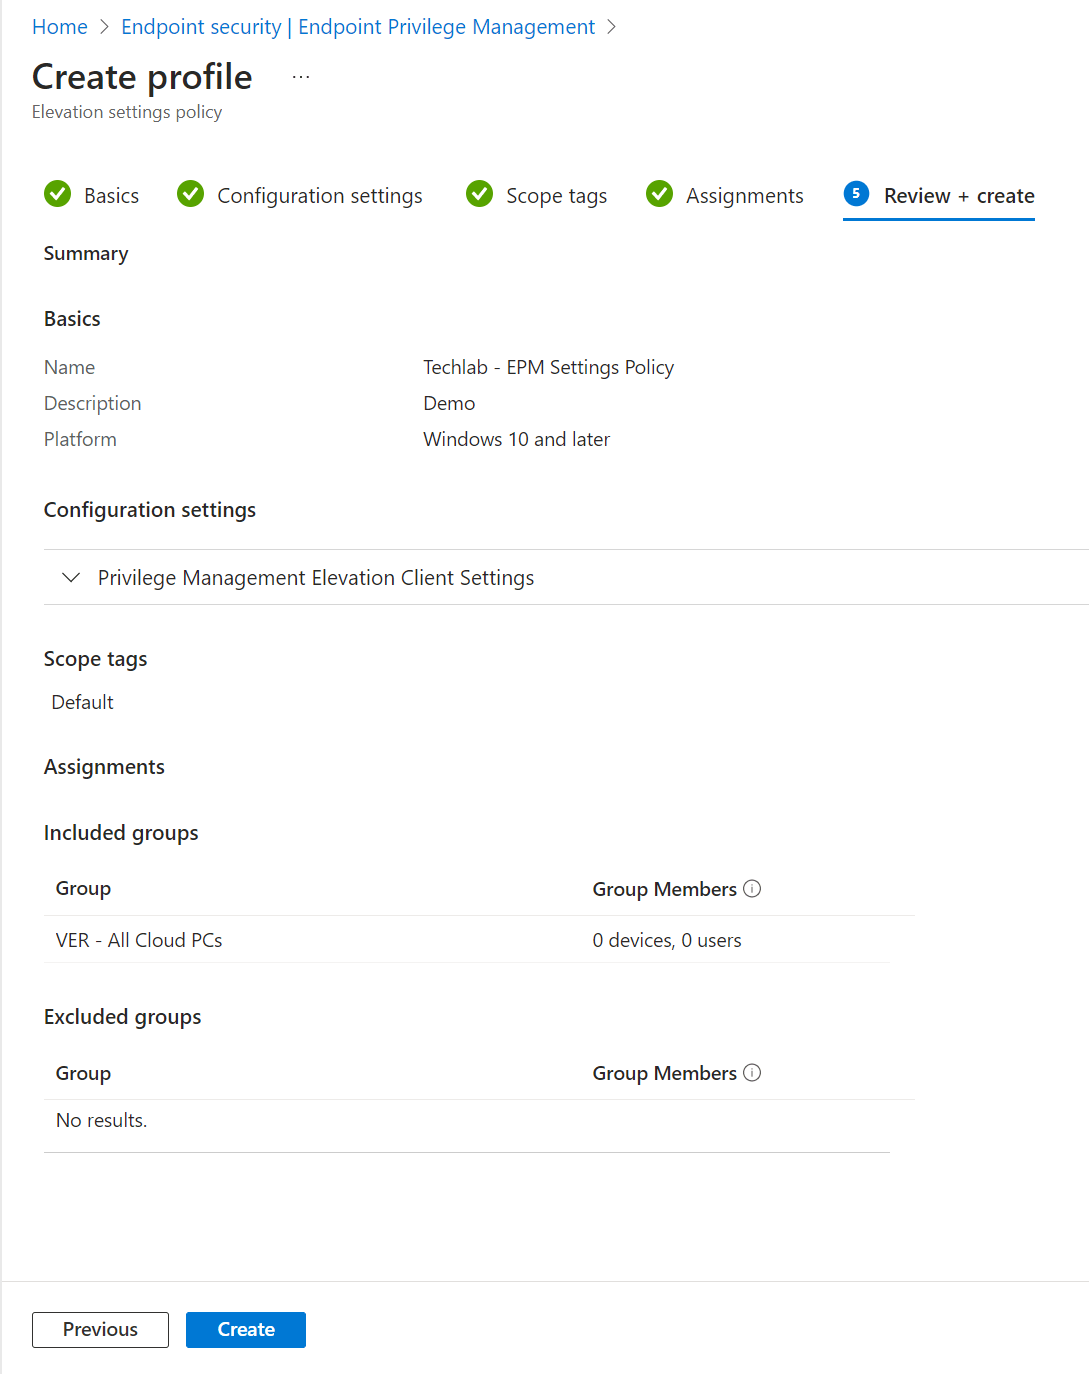
Take a moment to admire your awesome work and create the policy if you’re happy with it.
Next up we can create one or more elevation rule policies.
Step 3: Create an elevation rule policy
Creating the elevation rule policy starts the same as creating the elevation settings policy. Click the + create button and select the elevation rules policy as the profile.
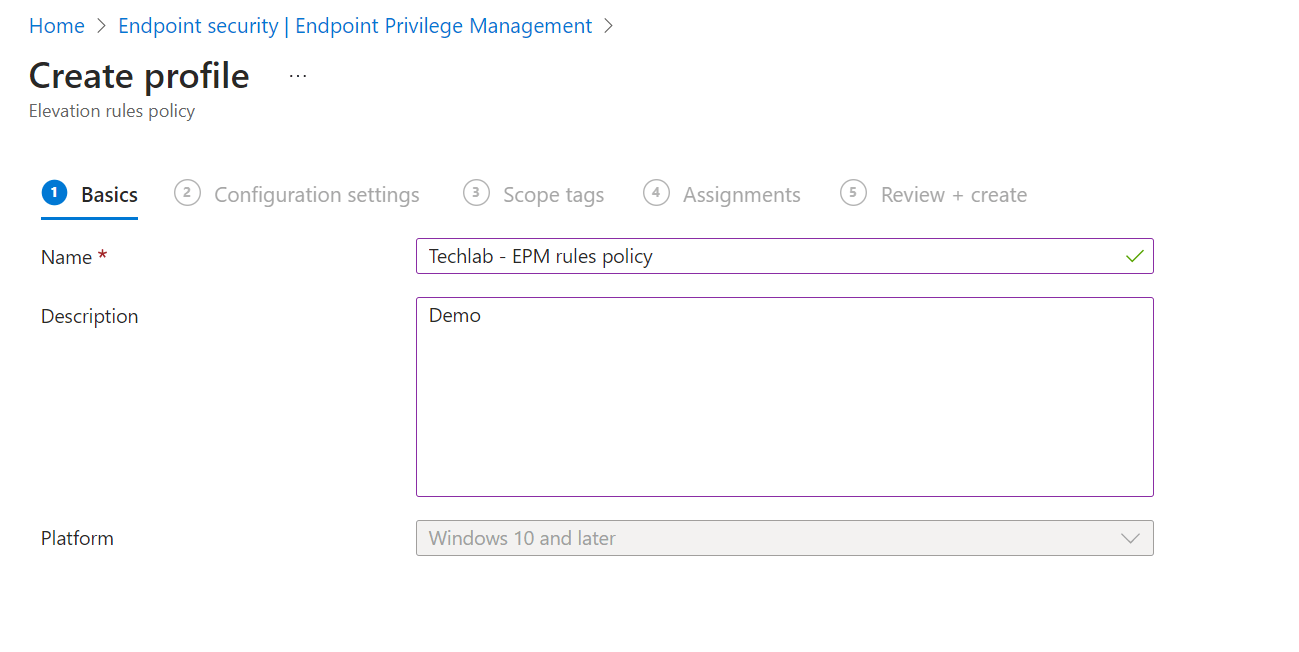
Give the rules policy a name and a description and click Next.
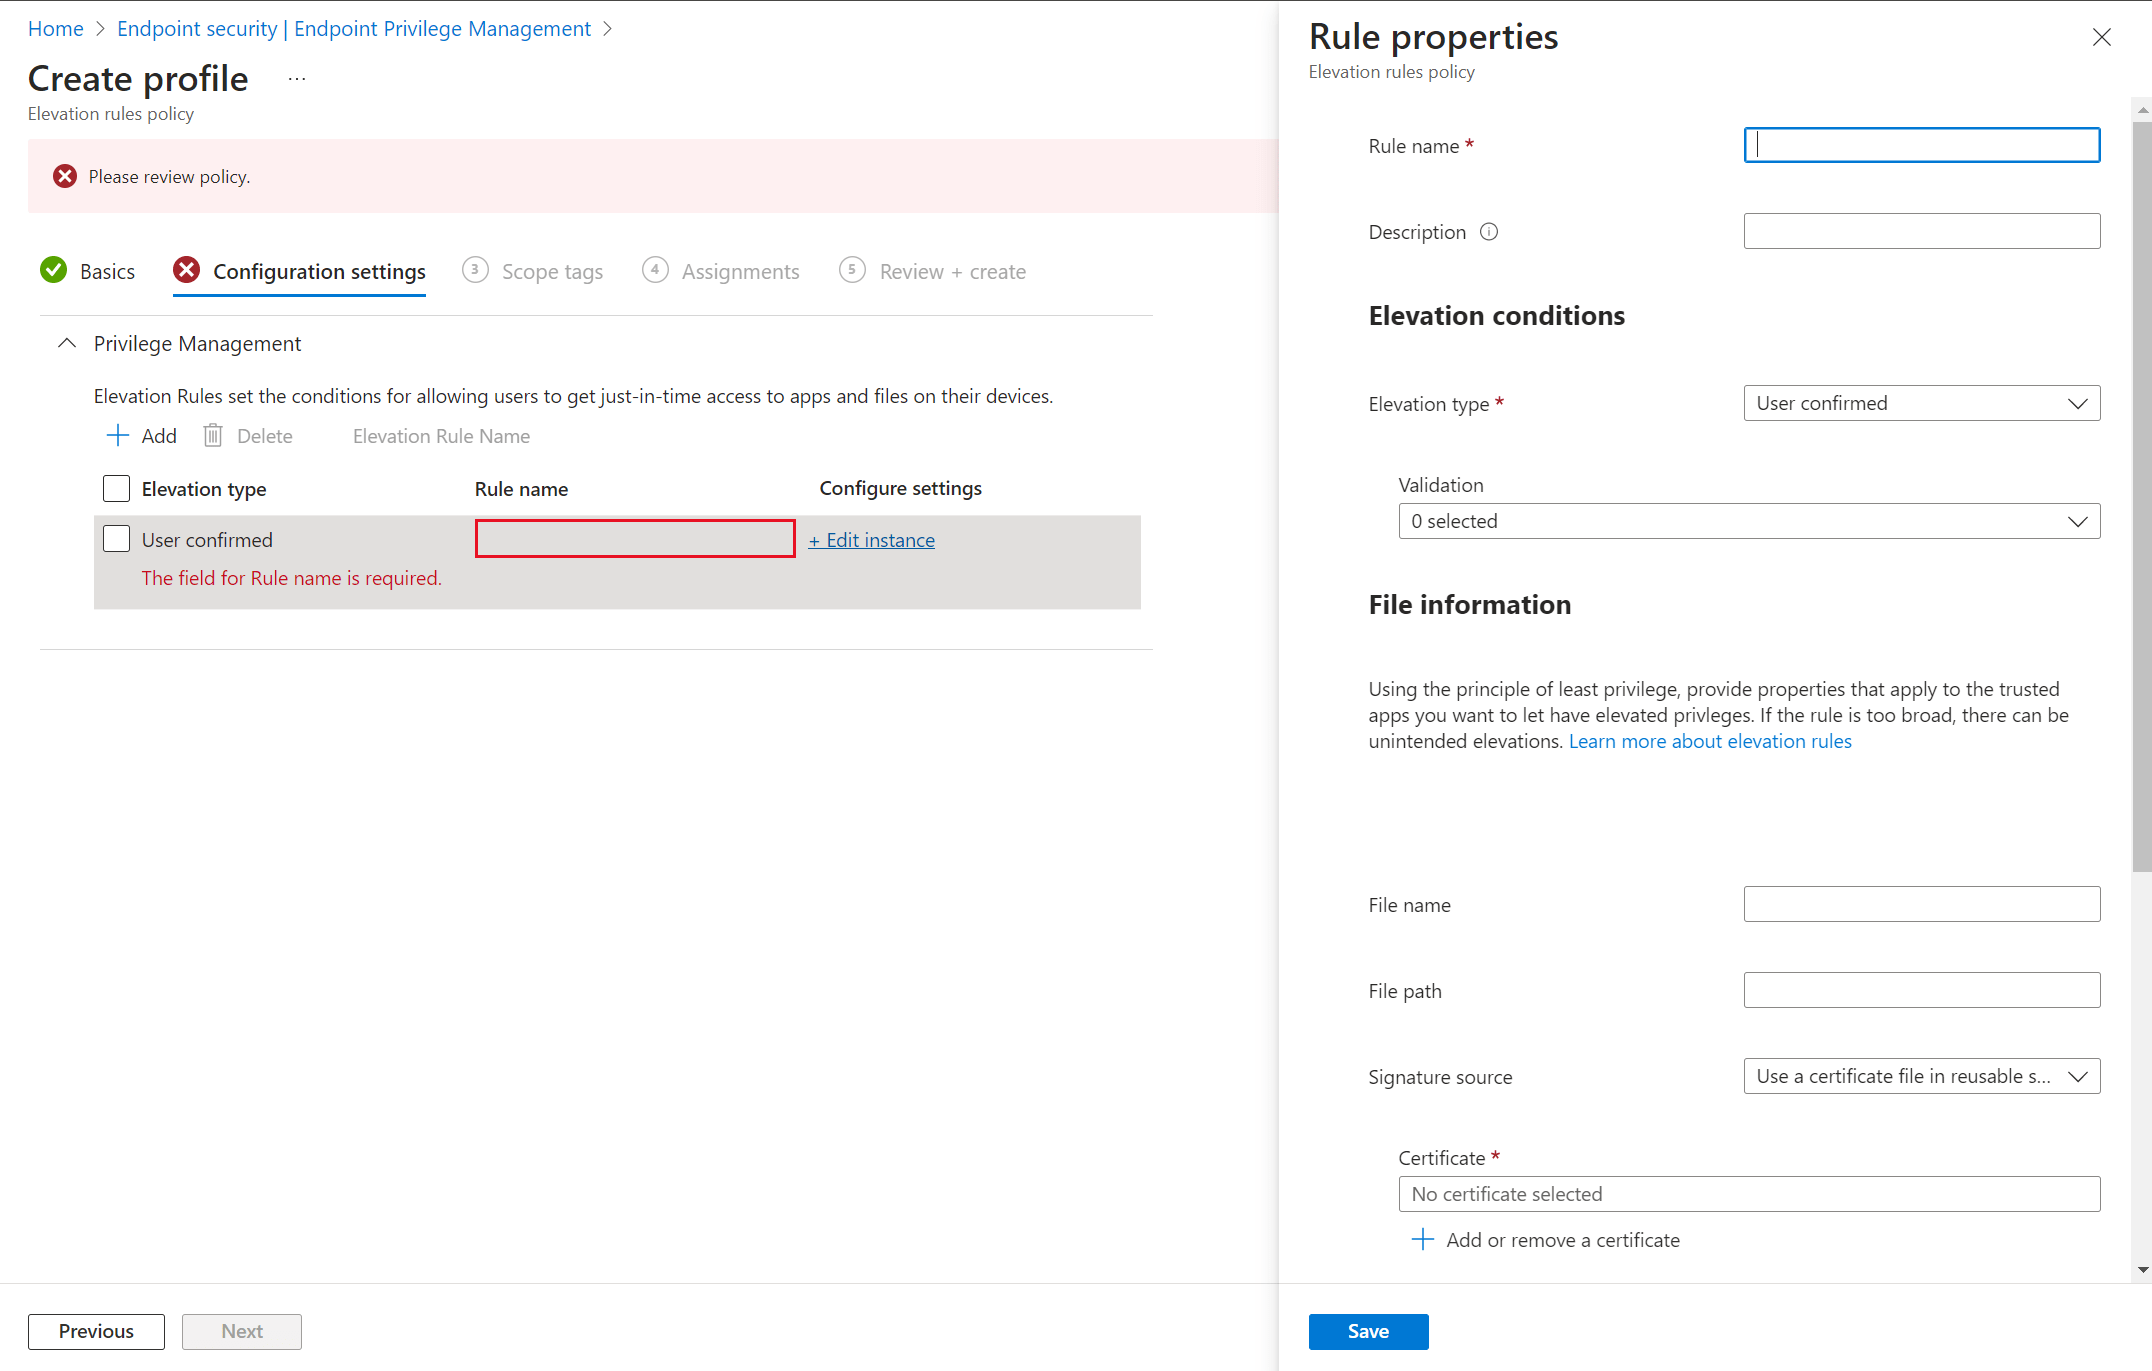
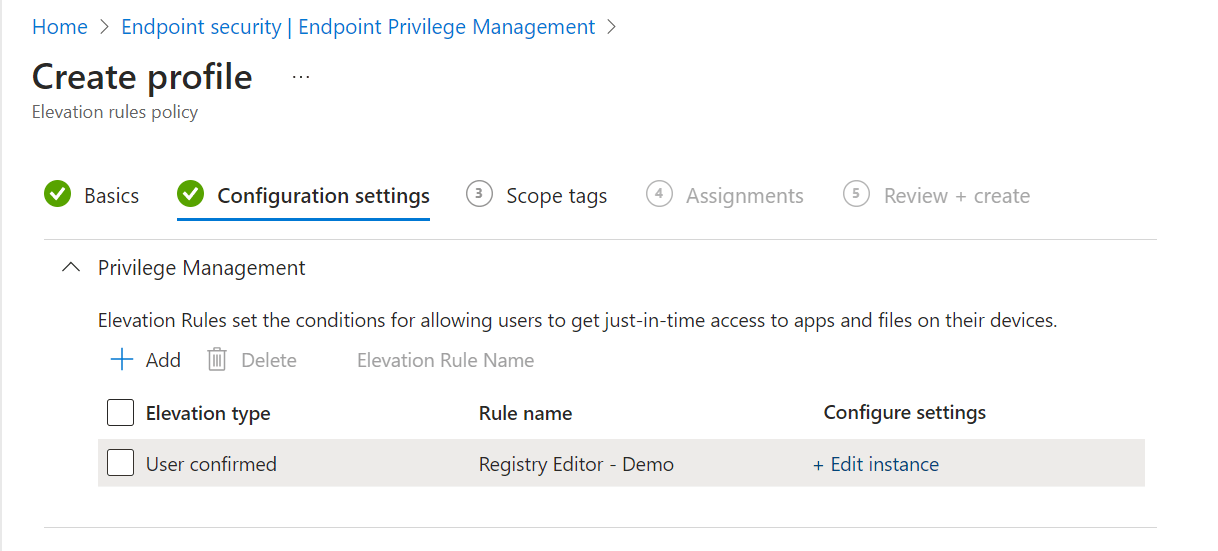
In the Create profile overview you can click on Edit instance. A new blade will appear on the right side.
Give the rule a name and description.
Elevation condition
Choose the elevation type. There are two:
- User confirmed: This is the recommended setting. A user confirmed elevation requires the user to click on a confirmation prompt. You can choose a business justification, windows authentication or both.
- Automatic: No prompts, just happy users!
File information
Fill in the following information:
- File name: determine the file name.
- File Path: fill in the file path.
- Signature source: you can choose three options. Use a certificate file in reusable settings, upload a certificate file or not configured.
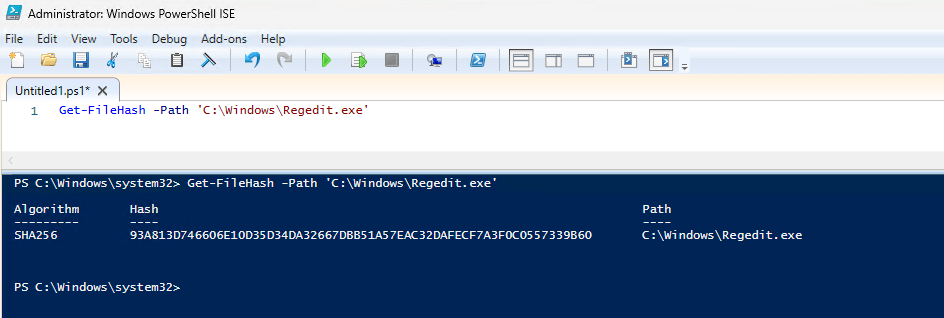
- File hash: A file hash is required for automatic rules. For a user confirmed rule you can use both a file hash or a certificate.
- Optional: Minimum version.
- Optional: File description.
- Optional: Product name.
- Optional: Internal name.
Copy the hash into the rules policy and click next. You should end up
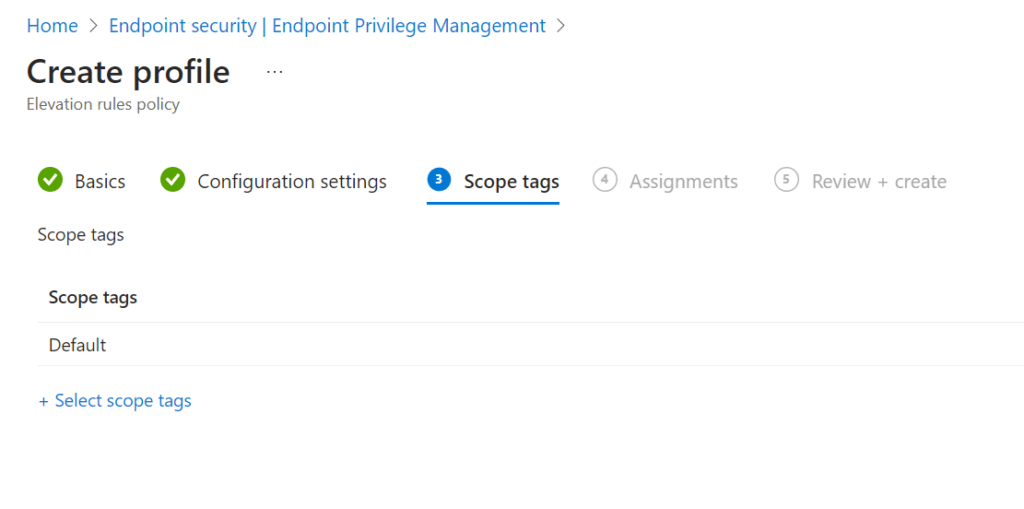
Add scope tags as you like and click next.
Add one or more groups to assign the policy. As before you cannot use filters.
Admire your awesome work and create the policy if you’re happy with it.

